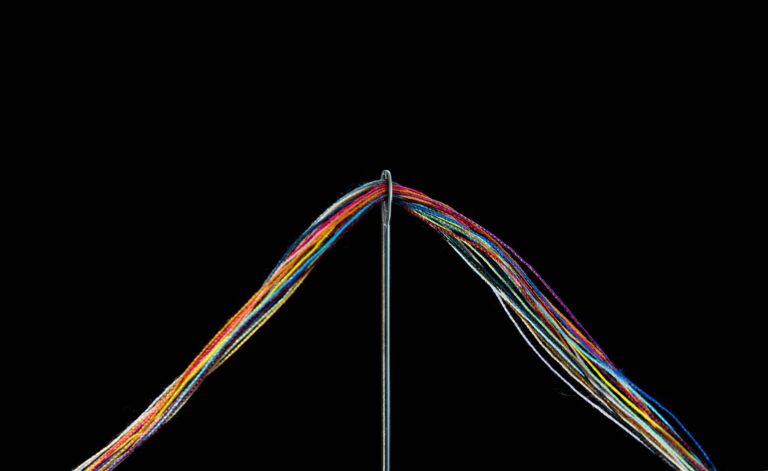
Slow stitching with Indigo: The Blue of the natural world.

Use the beautiful blue that nature provides for your own indigo slow stitch project.
Finally back
Well it has been nearly a month since my last post. I have been busy moving house and it has taken a little longer than I expected to get everything back in some sort of order. The exciting thing is, I have a brand new studio and great outside work area to start dyeing and creating again! Hopefully now all systems are go for regular posting as my experiments continue down the natural dyeing path journey.

Slow stitching with Indigo
I have been continuing down my slow stitching with nature journey. My latest play has been with indigo. As with the coffee slow stitching piece, there is a kit available with everything you need to complete this piece.
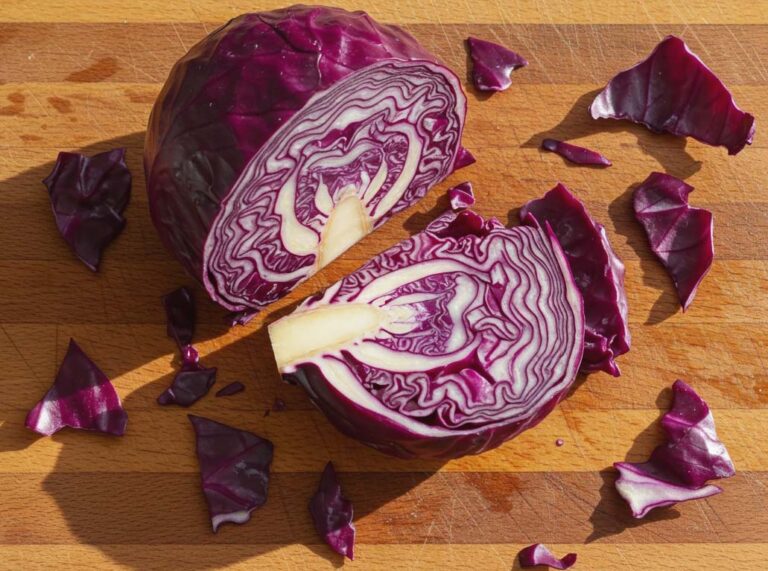
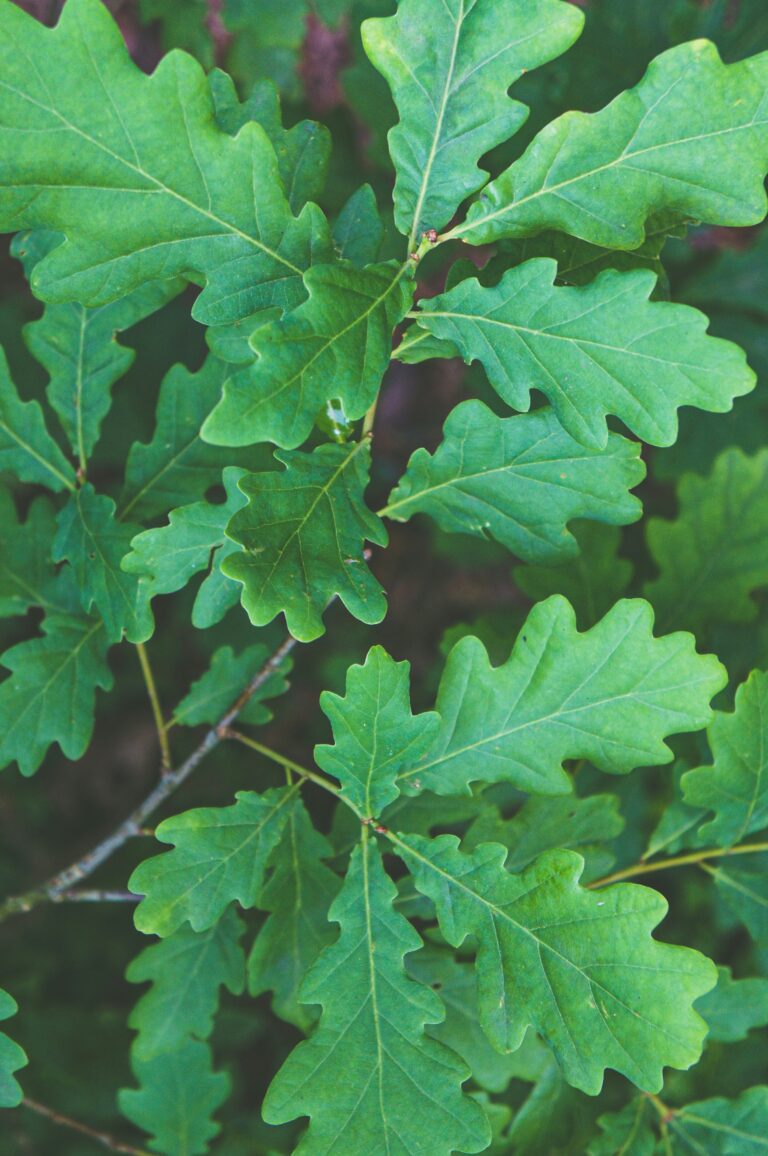
However, you will also find throughout this website, everything you need to complete your own natural dyed materials. There are a number of indigo posts as well as a post on wet felting for the background. I am sure you can also find plenty of pictures on the web of an indigo plant, that you can print on material for your centre piece.
If you are looking at indigo dyeing, a good place to start is
If you want to make your own felt try
Starting
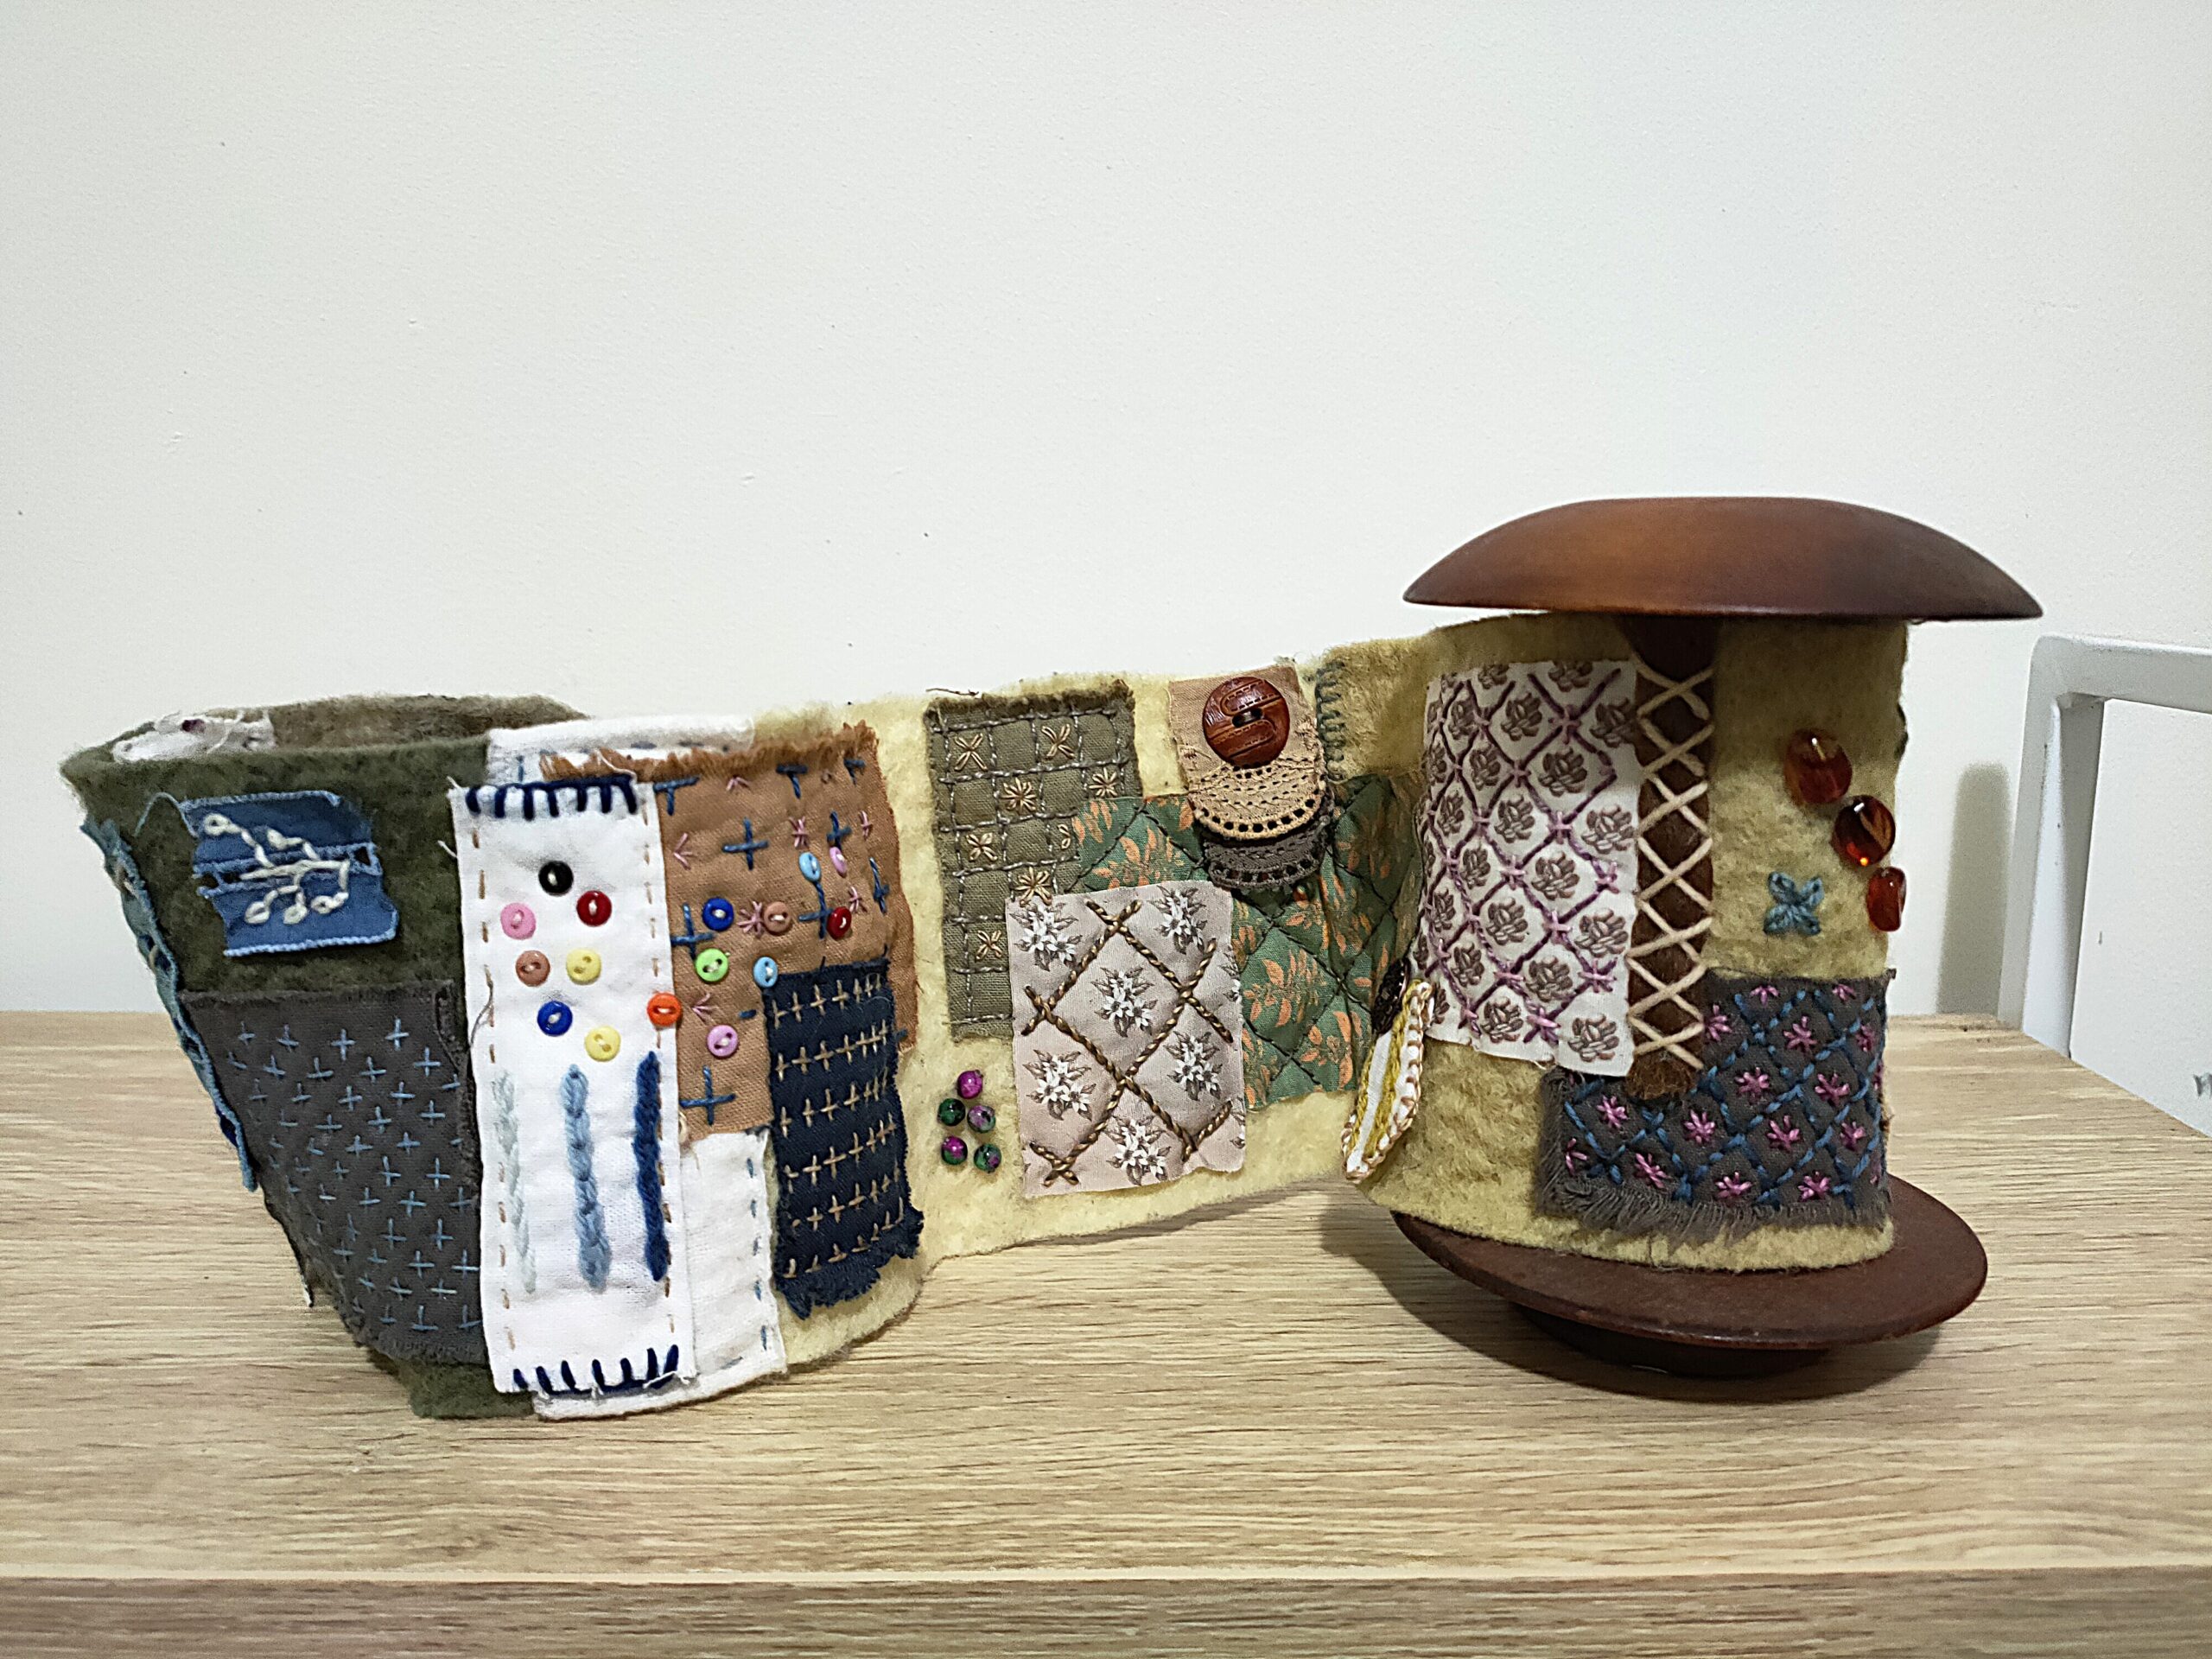
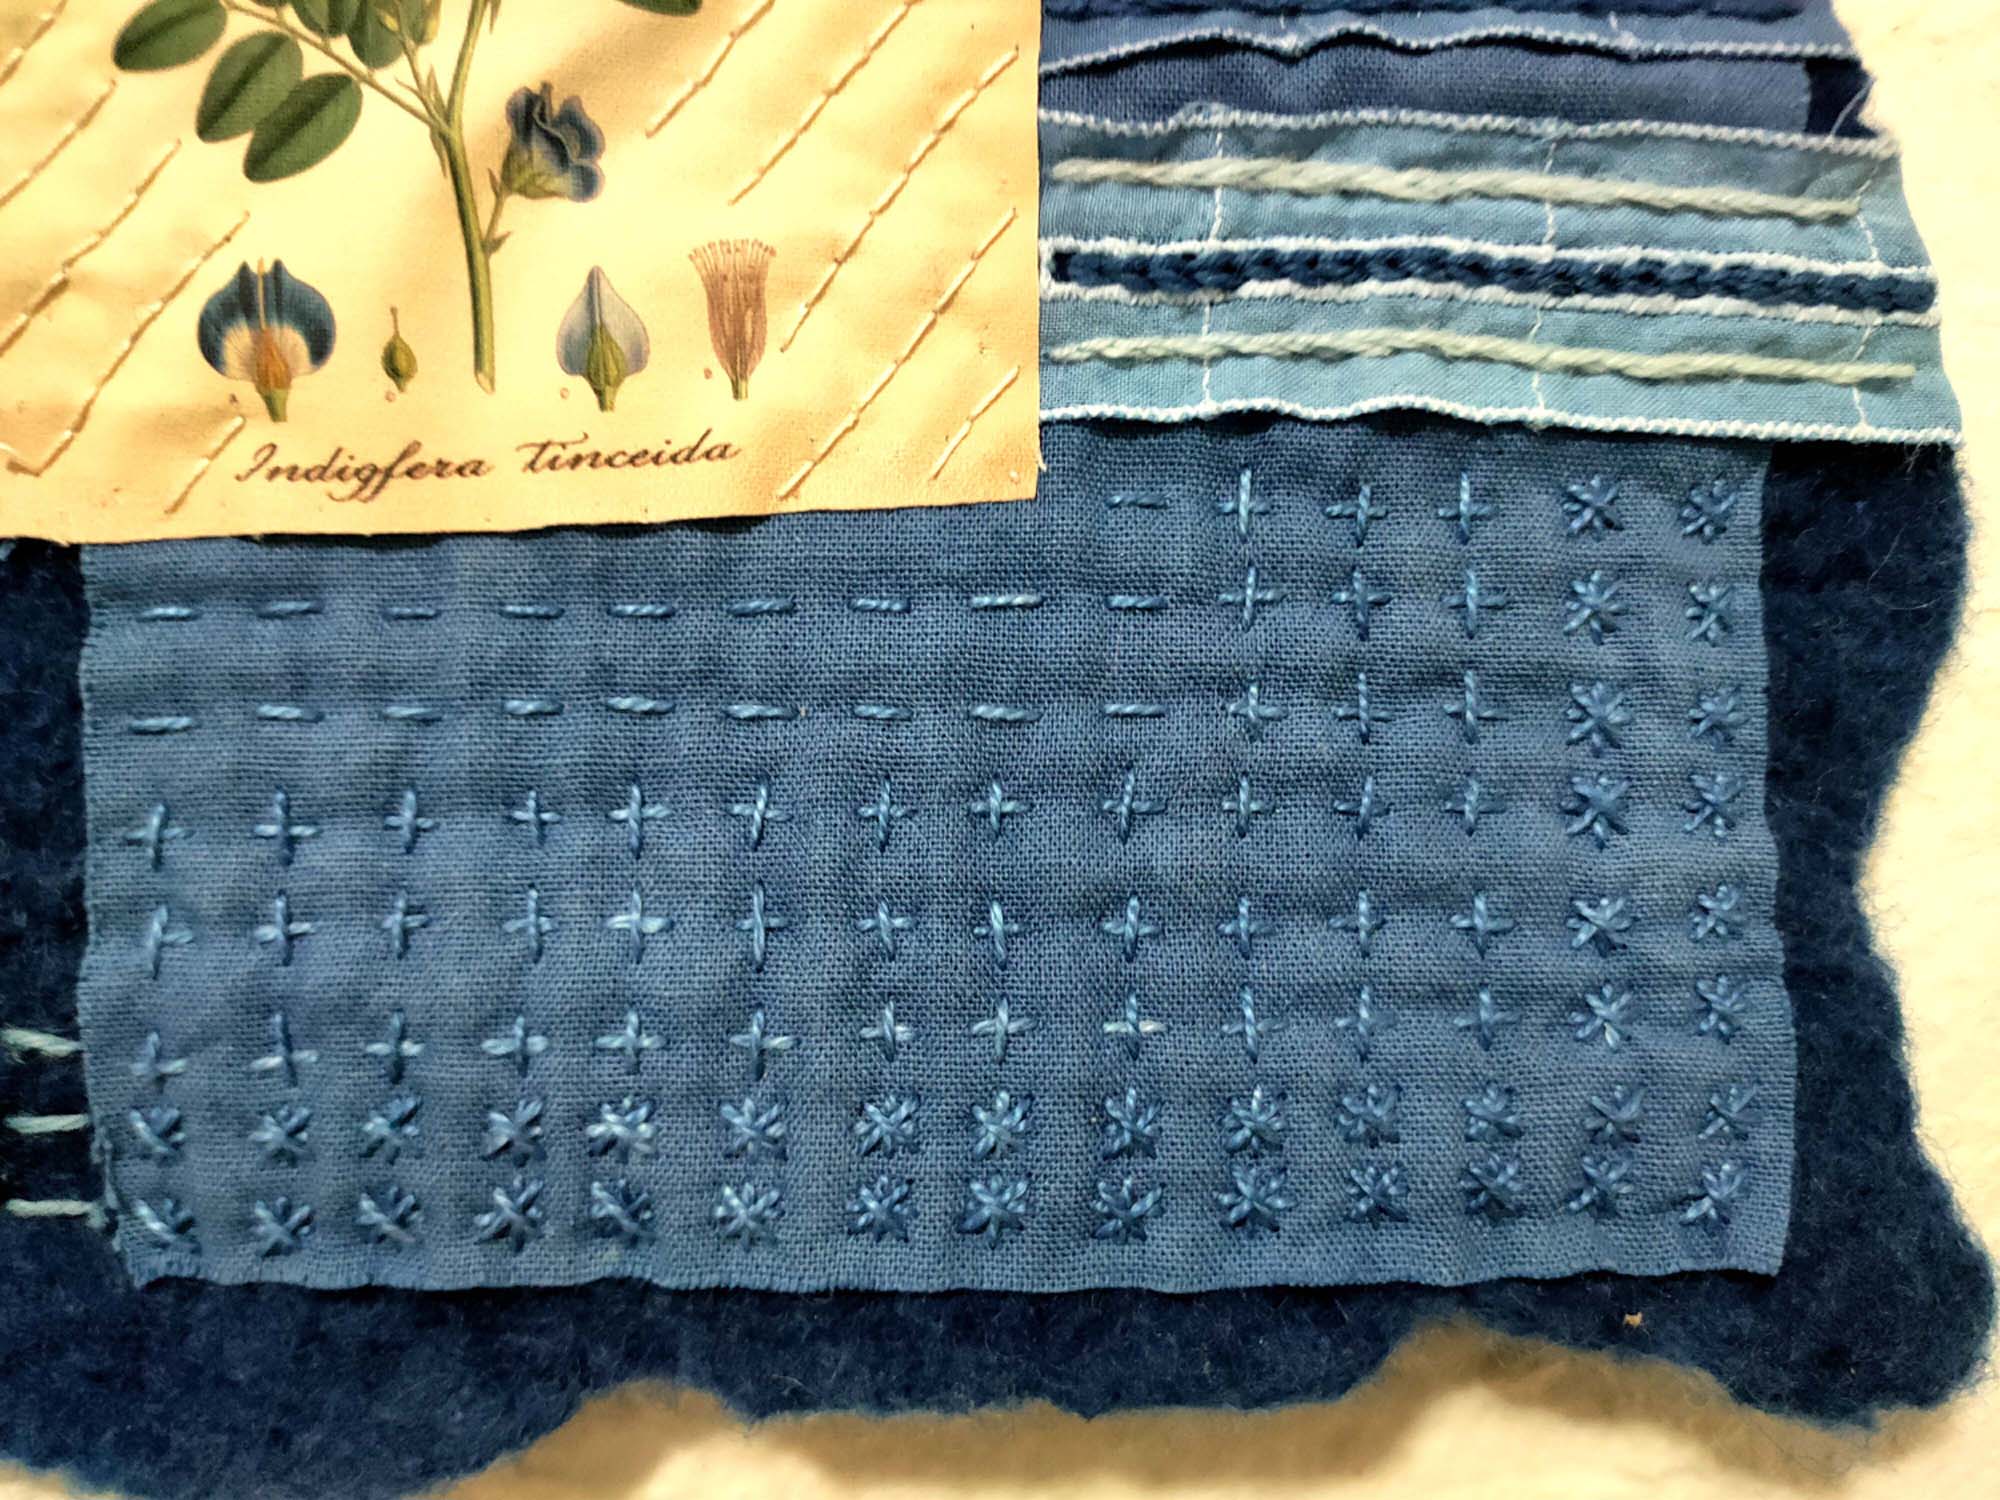
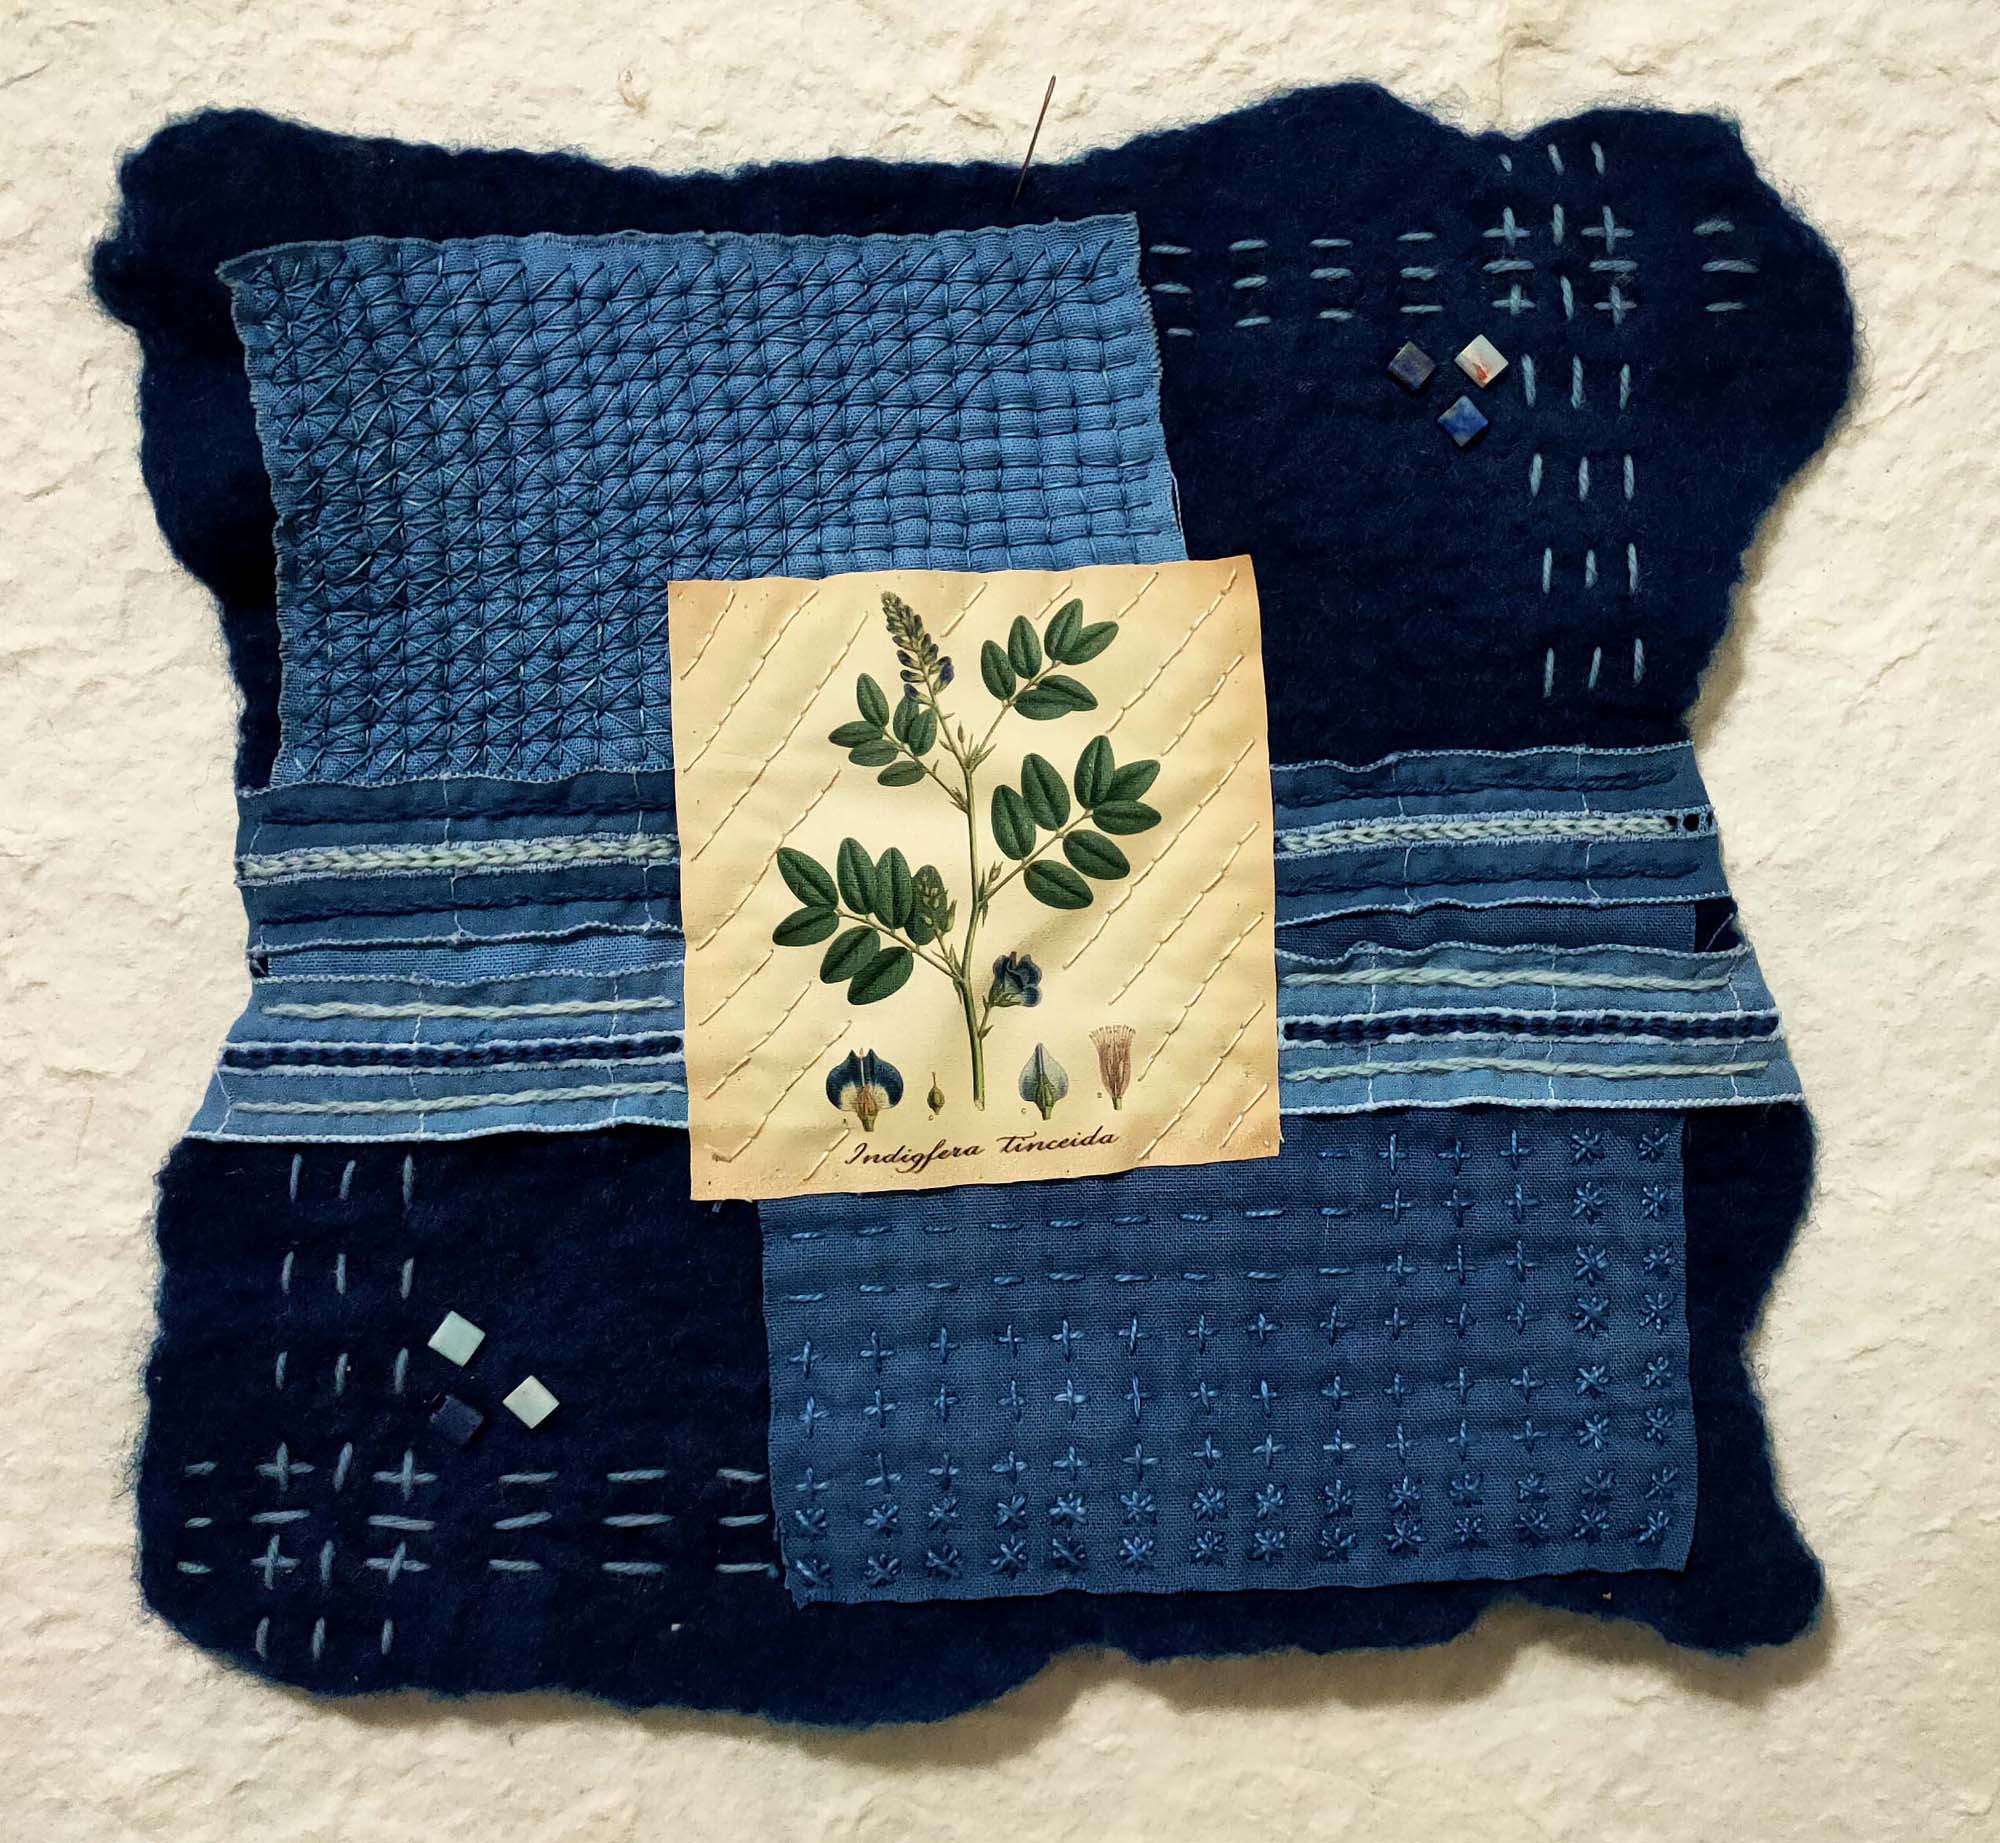
The first thing to do on your slow stitching with indigo journey is to cut, place and pin all of your pieces together in way you are happy with. With this example I have started with the darker cotton piece. It was roughly cut to 12.5 x 10cm. This was placed in the bottom corner.
On top of this we have the lighter cotton cut to approx. 12.5 x 11 and placed in the top corner. I have then added the cotton ribbon in a way which I was happy with and placed the pictured material on top. There are lots of different ways that you can place these pieces to give different results, and there is no right or wrong. Its basically what pleases you.
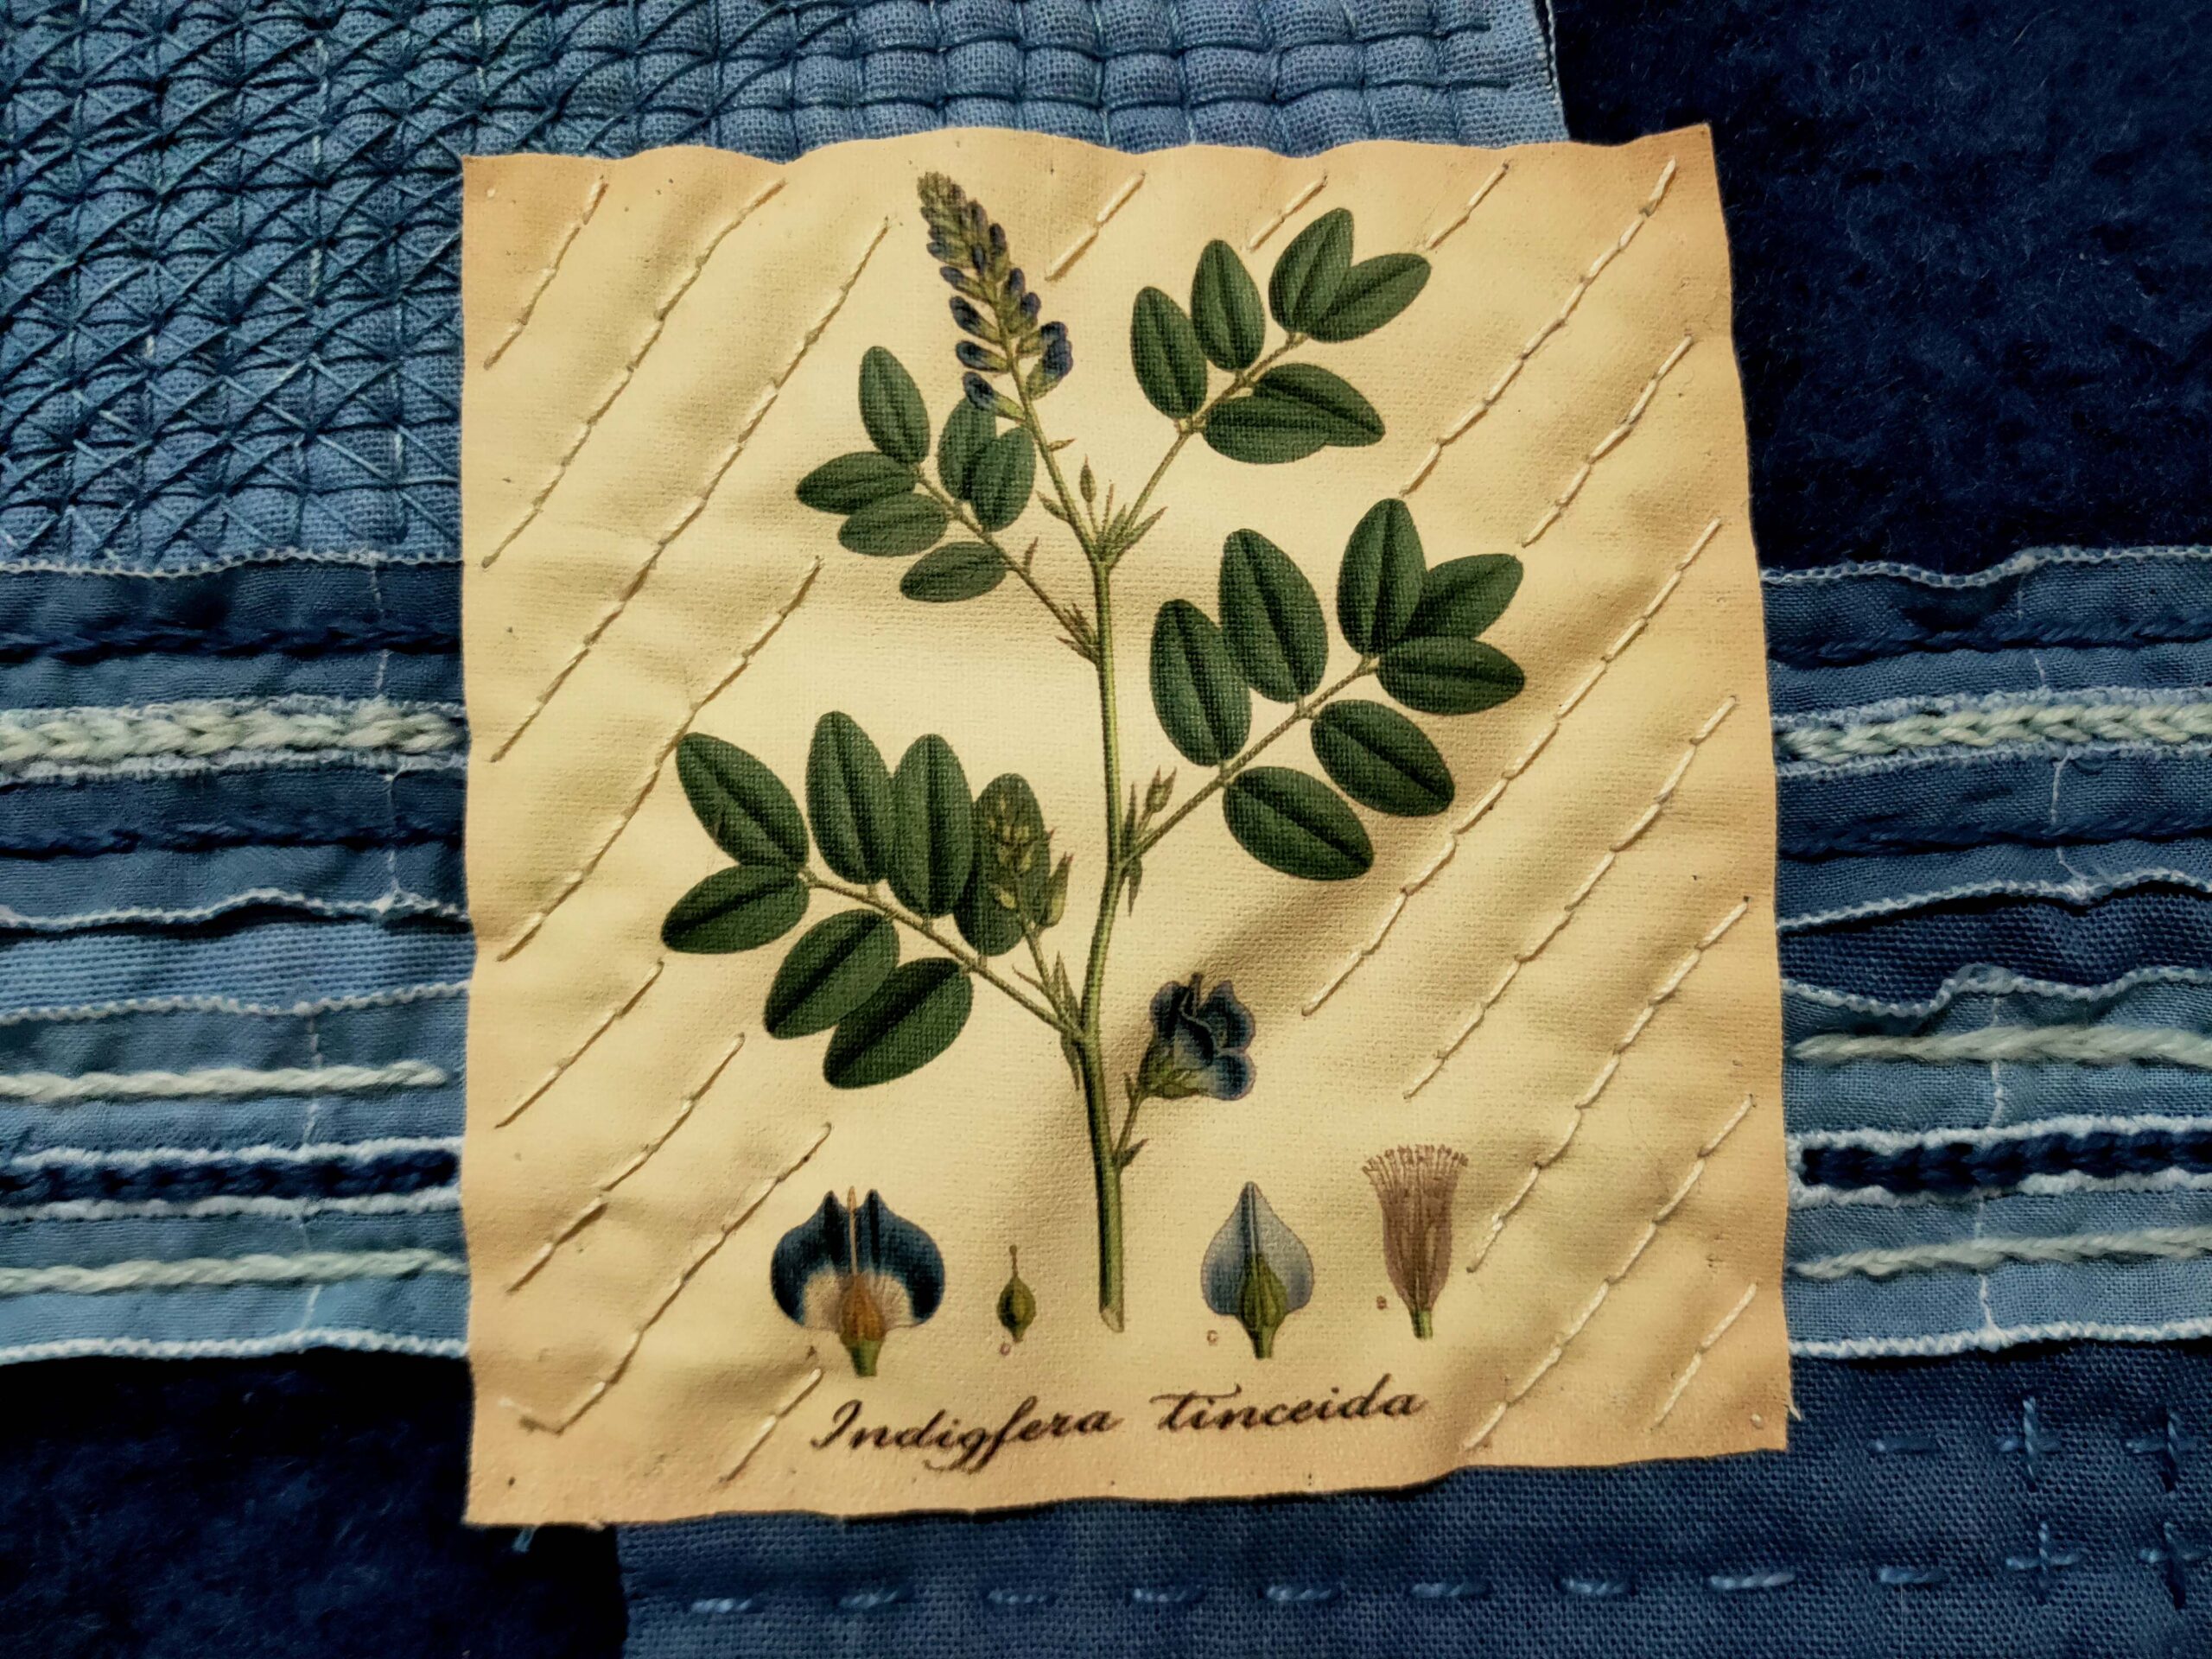
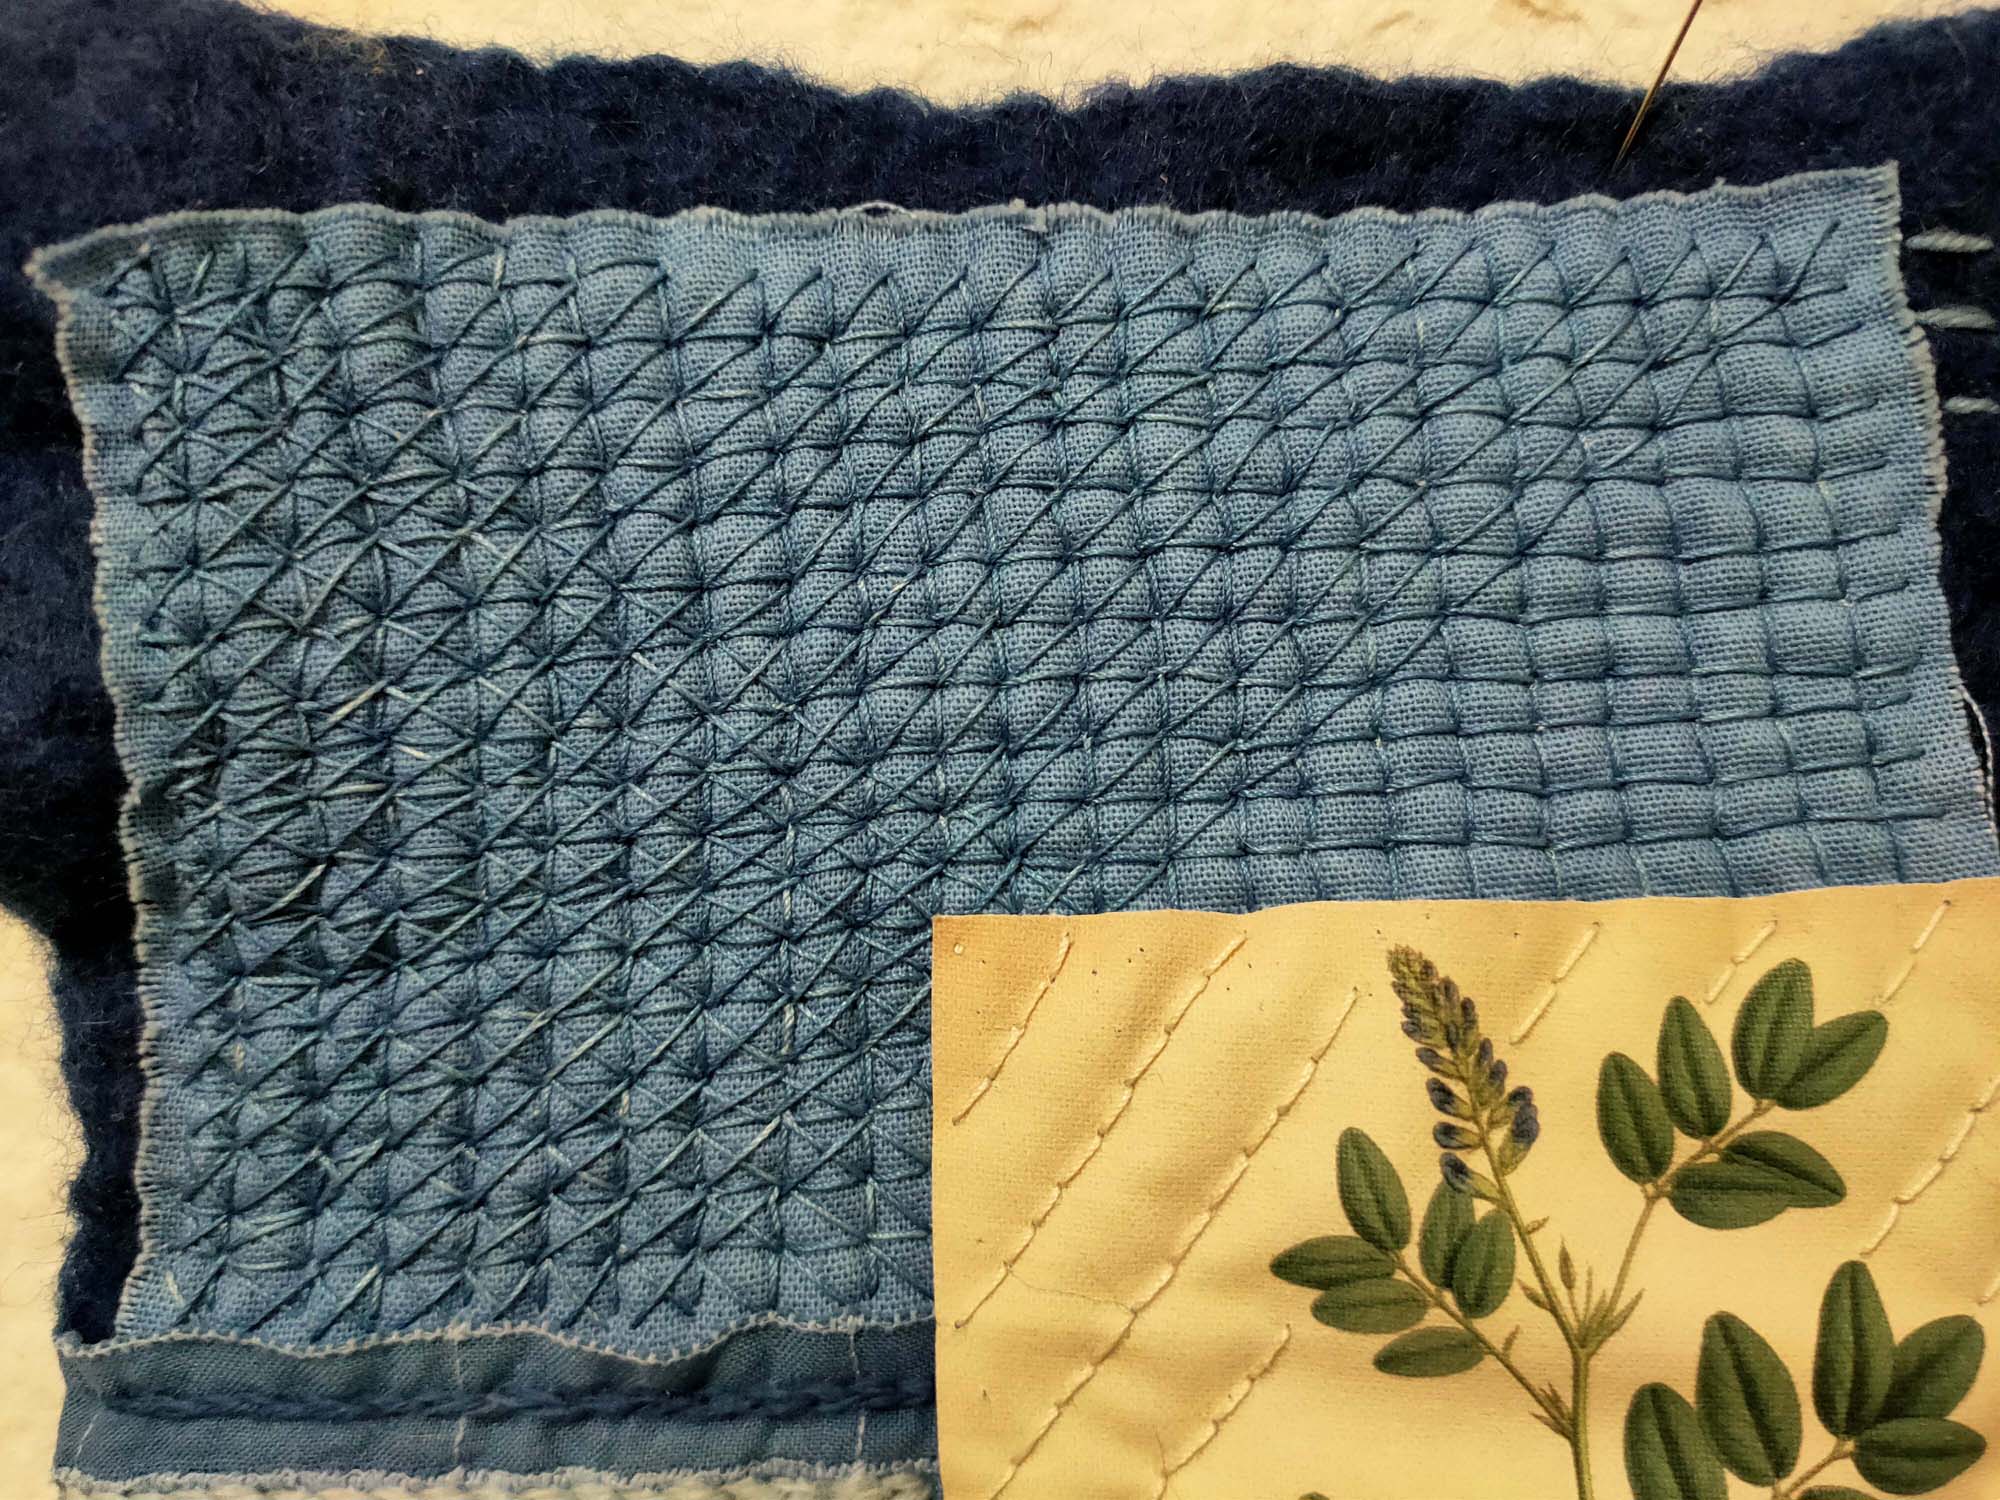
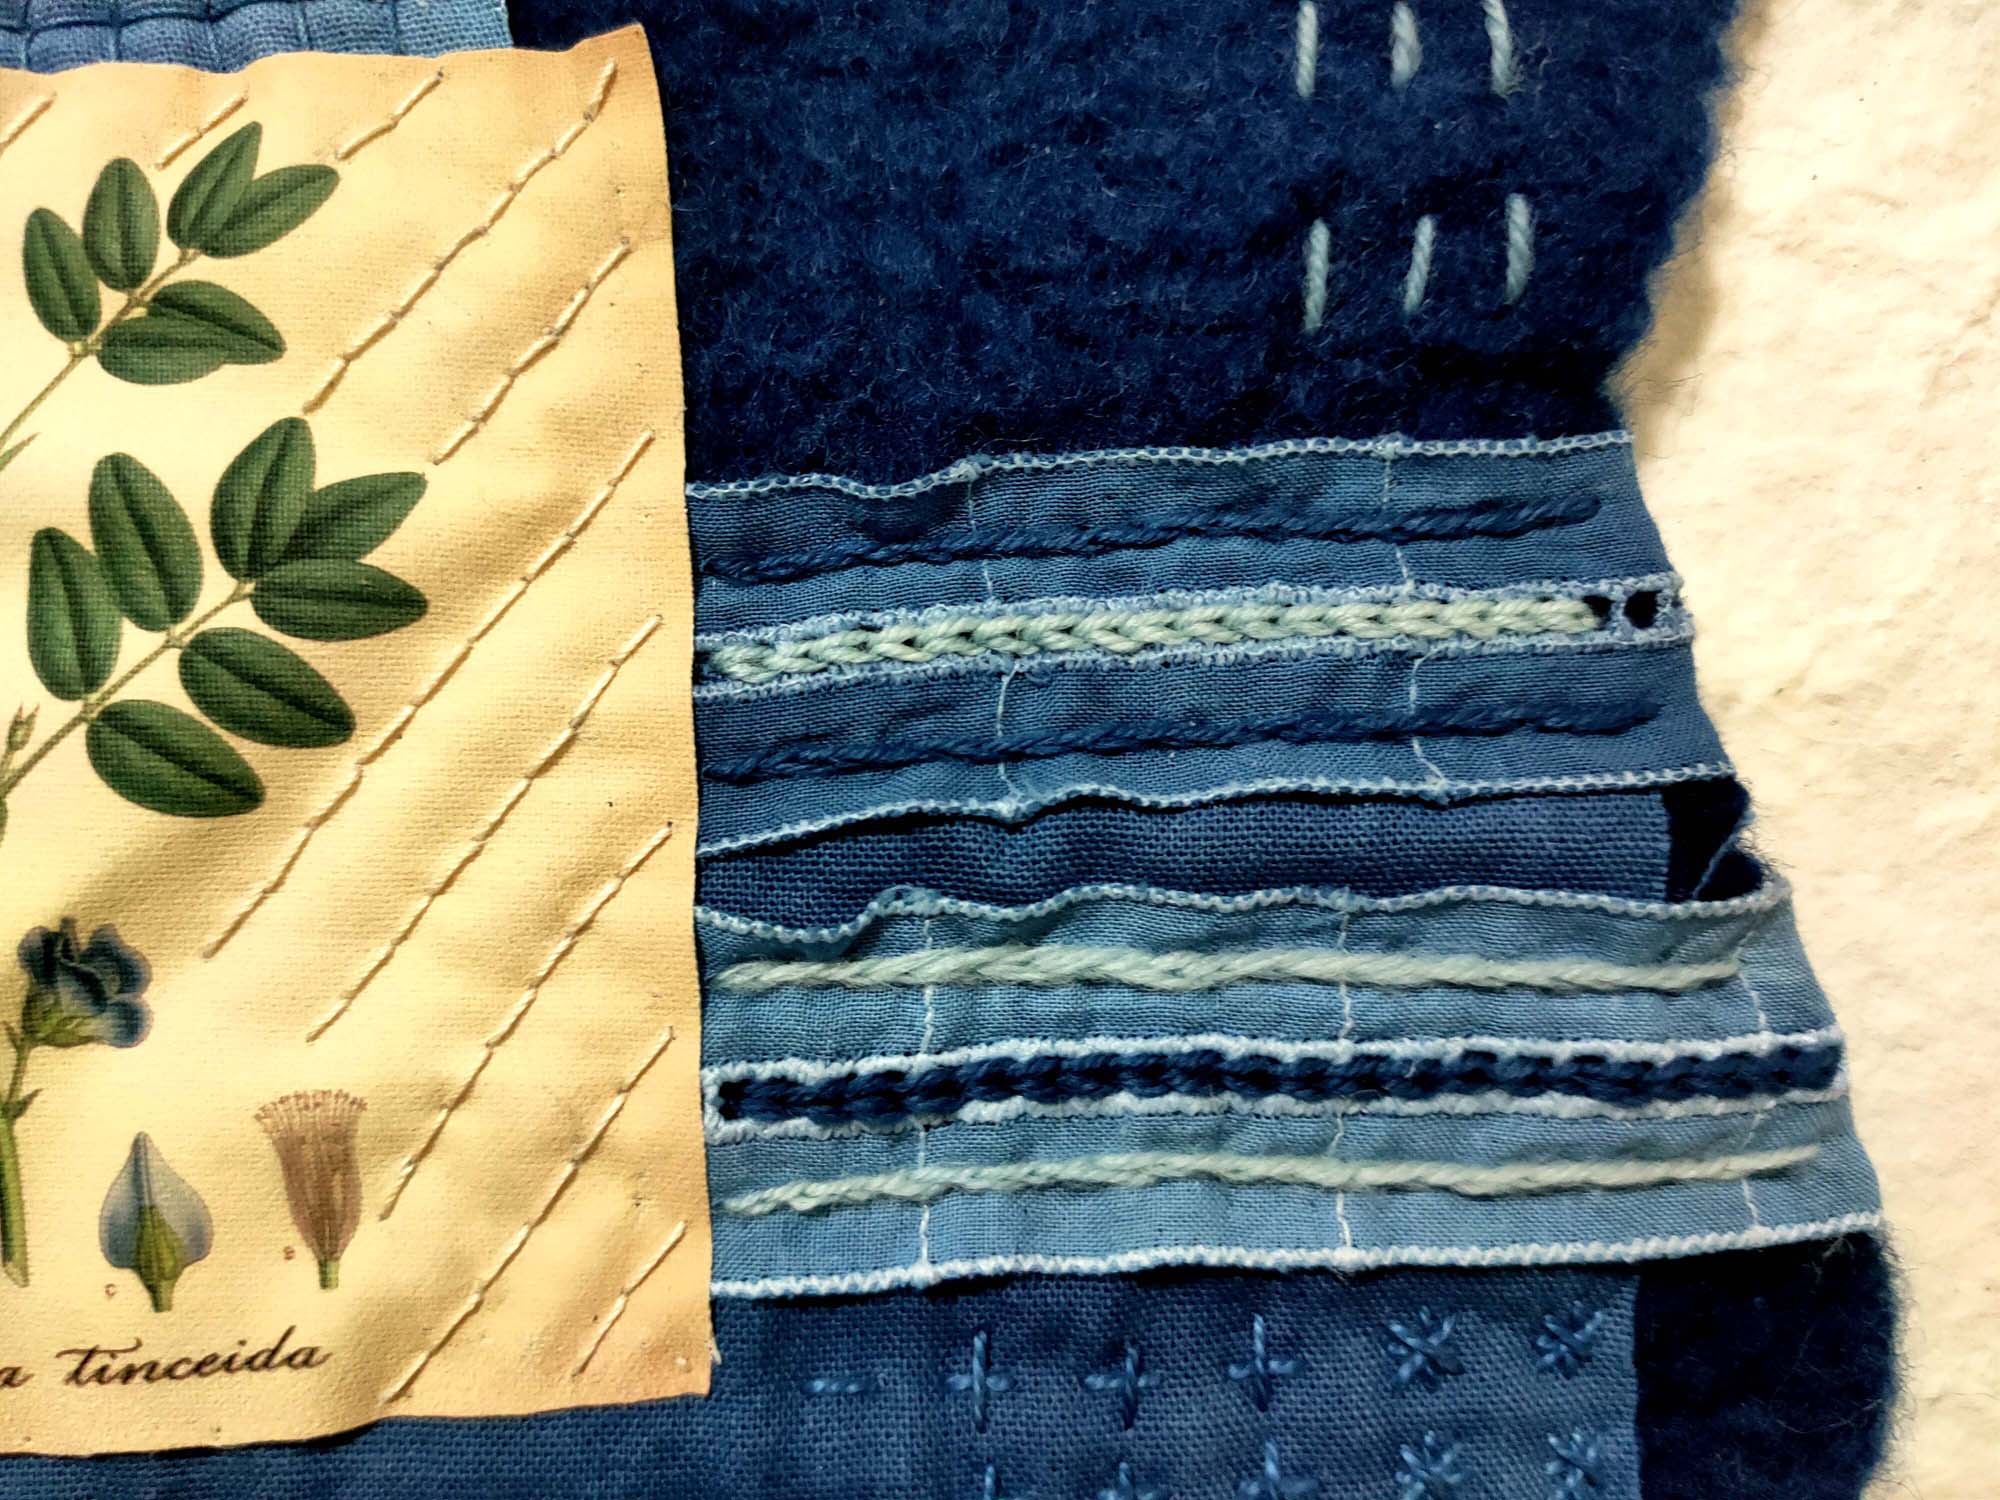
If you have purchased the kit, you will find that the botanical printed fabric has a paper backing sheet. Simply peel this off and cut your fabric to the size you want, before placing it on your felt. My botanical piece was cut to approx. 8cm x 8.5cm.
Once you have everything placed in a way that is pleasing to you, you can pin everything down and baste into place. When basting use a thread which is different in colour to anything you will be using so you know what to remove later on.

Stitches
Here are a few small videos I have made, that show the stitches I have used in this piece. They are simple and easy to do and all you need to create this piece. The videos can be found on the Dye to Craft YouTube channel and actually refer to a free project that I am working on at the moment, so feel free to check all of the videos out.
Start Stitching
I always start my slow stitch in the middle. I guess this is a rule you use in large quilts to help stop fabrics from buckling, so I don’t think it matters too much on a piece this size. Start where ever you feel comfortable. This is just a run down on what stitches I have used in what areas.
Around the botanical print I have completed diagonal rows of back stitch in a thin cotton that went with the print. These were placed approx. 7mm apart which is only because that is what felt comfortable at the time. Feel free to change this up as much as you want.
Continuing on
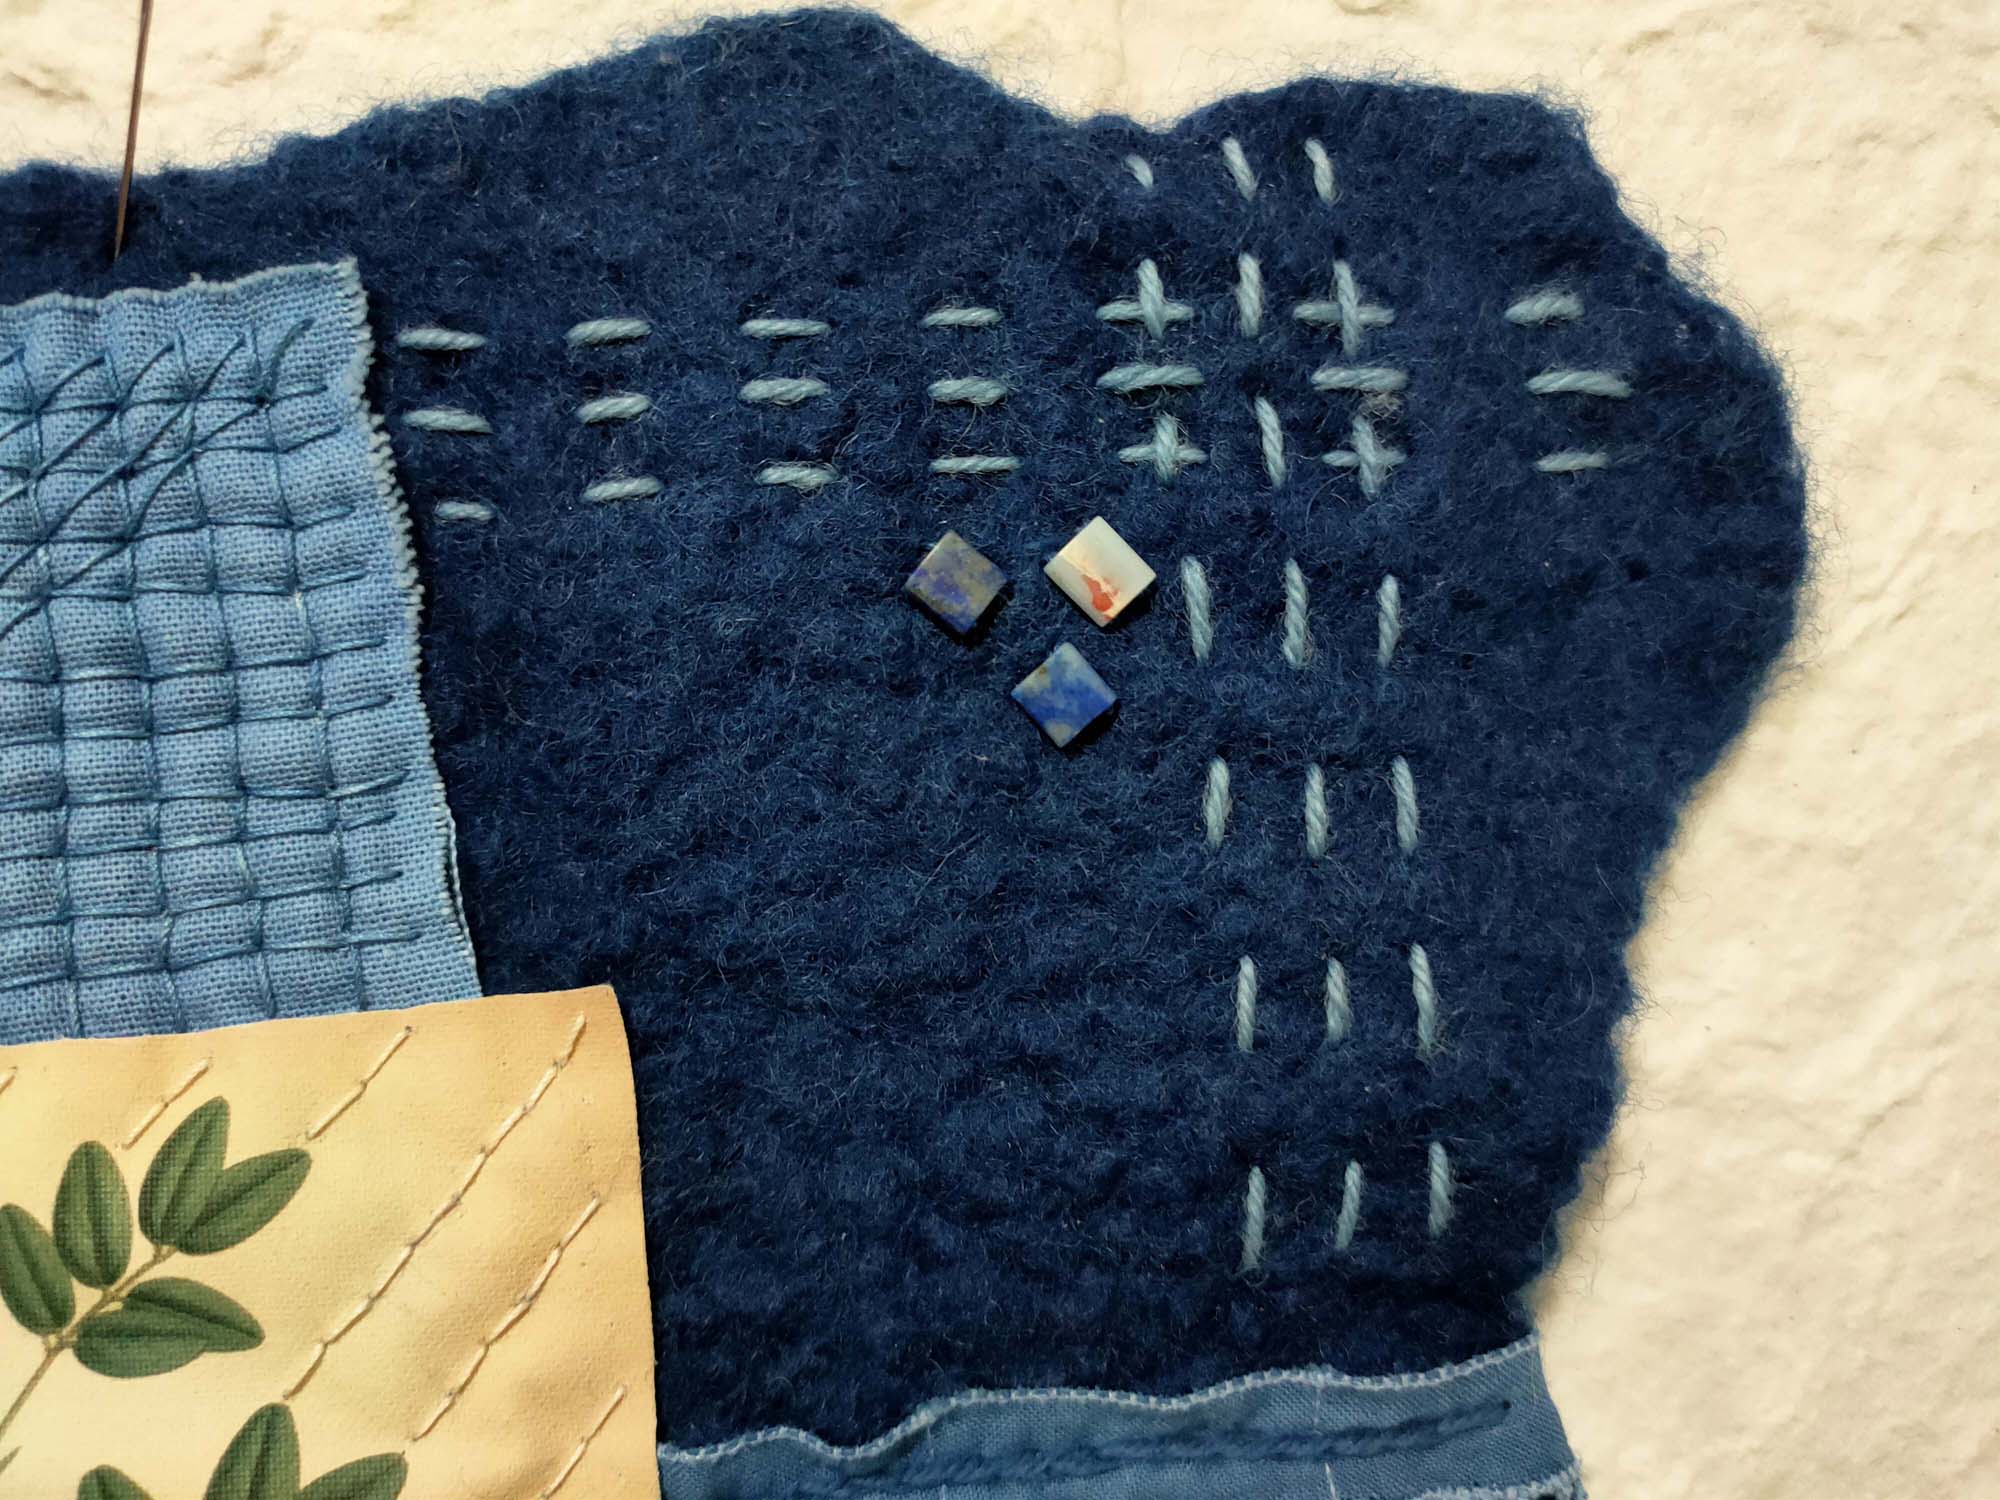
I next worked on the cotton fabric using the cross and star stitches in a gradient pattern, and then the grid stitches for the top corner.
Next was the ribbon. These were sewn using split stitch on the top and bottom of the ribbon and then chain stitch through the square lace area of the ribbon. These stitches were completed in 2ply wool in a variation of colours as you can see.
Finishing
The final piece of stitching is some rows of running stitch on the free corner of the piece. These were again completed with 2ply wool embroidery thread. I have then added some small square beads into each corner.
Slow stitching with indigo.
Your indigo dyed piece is now finished and I hope you are happy with the results. Whether you have bought the kit, dyed your fabrics and threads yourself, or used whatever you have in your own stash, I hope that you have enjoyed the process and are inspired to keep crafting. 🙂
Join us on Instagram www.instagram.com/DyetoCraft
Etsy Shop Now open
If you like the idea of using organic naturally dyed threads in your craft but just don’t have the time, come and have a look at our Etsy Shop where you will find an array of beautiful colours provided by nature.