
Indigo: Beautiful Natural dying with an Indigo vat system

Naturally Dyeing with Indigo can sometimes seem a little frightening. However it really is a great way to get constantly great colours.
Natural Dyeing with Indigo.
I have previously done posts on combining indigo with other colours, and experimenting with different mordants on cotton. As I have said in these posts, there are a variety of different types of vat systems you can use for indigo dyeing and I do suggest that a kit is a great way to start.
There are however a few little tips and hints that I follow that may not always be listed in kit instructions. So I thought I would do a post outlining the way I dye with indigo. Hopefully this may help to reduce any concerns you may have at giving this great dyeing substance a go.
Natural Dyeing with Indigo
Indigo dyeing requires a vat system that uses a few other agents to allow the dye to attach to the fabric. The first requirement that the vat requires is an higher pH than normal water. Indigo is much happier in an alkaline environment, so Soda Ash is used during the process.
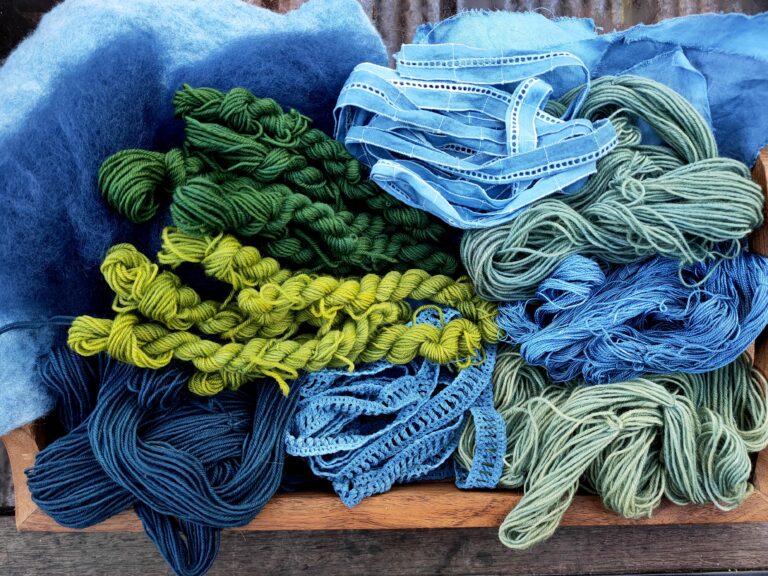
Indigo also requires an oxygen free environment. For it to dissolve correctly in the bath, the oxygen needs to be removed. This then allows the indigo to bond to the fibre. So what this means in practical terms, is if you add some indigo powder into water, the dye bath will look blue but will not dye your fibres. Once you use a deoxidizing agent, the indigo will “vat out”. It will turn lime green in colour except for the top of the bath, which will still look dark were the indigo is in contact with oxygen. When you dye your fibre, it will come out of the bath green and then slowly turn blue as the indigo reacts with the oxygen in the air. It is actually quite a beautiful, magical reaction to watch.
There are many different deoxidising agents you can use but the easiest and most straightforward method is Sodium Hydrosulphite. This is what I have always used and have never had a failed vat. It is simple and easy to do with great results. I do hope to have a go at more traditional methods in the future and will definitely keep you posted when I do.
What you will need
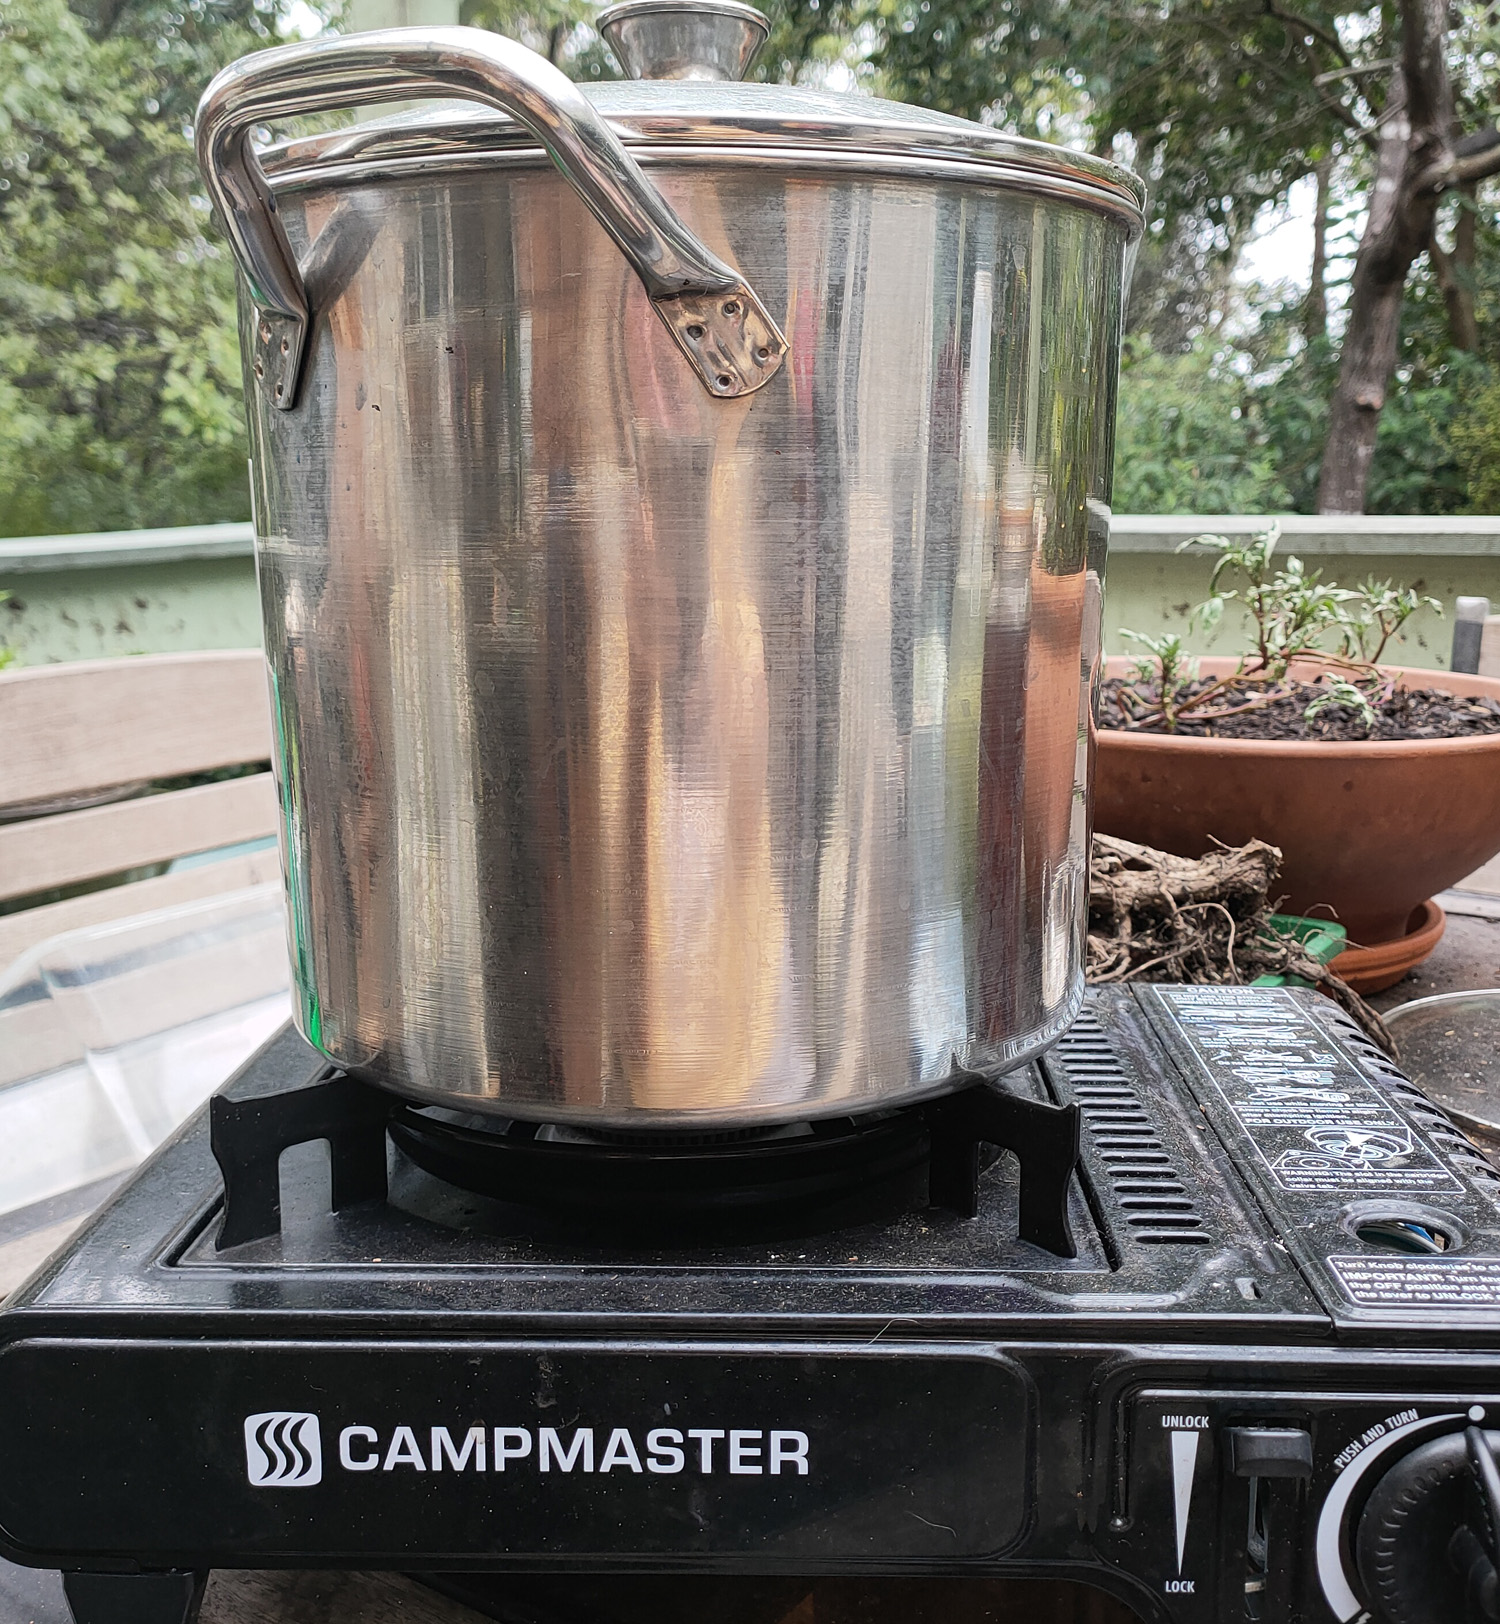
heat source and saucepan
thermometer
glass jar/bowl
water
soda ash
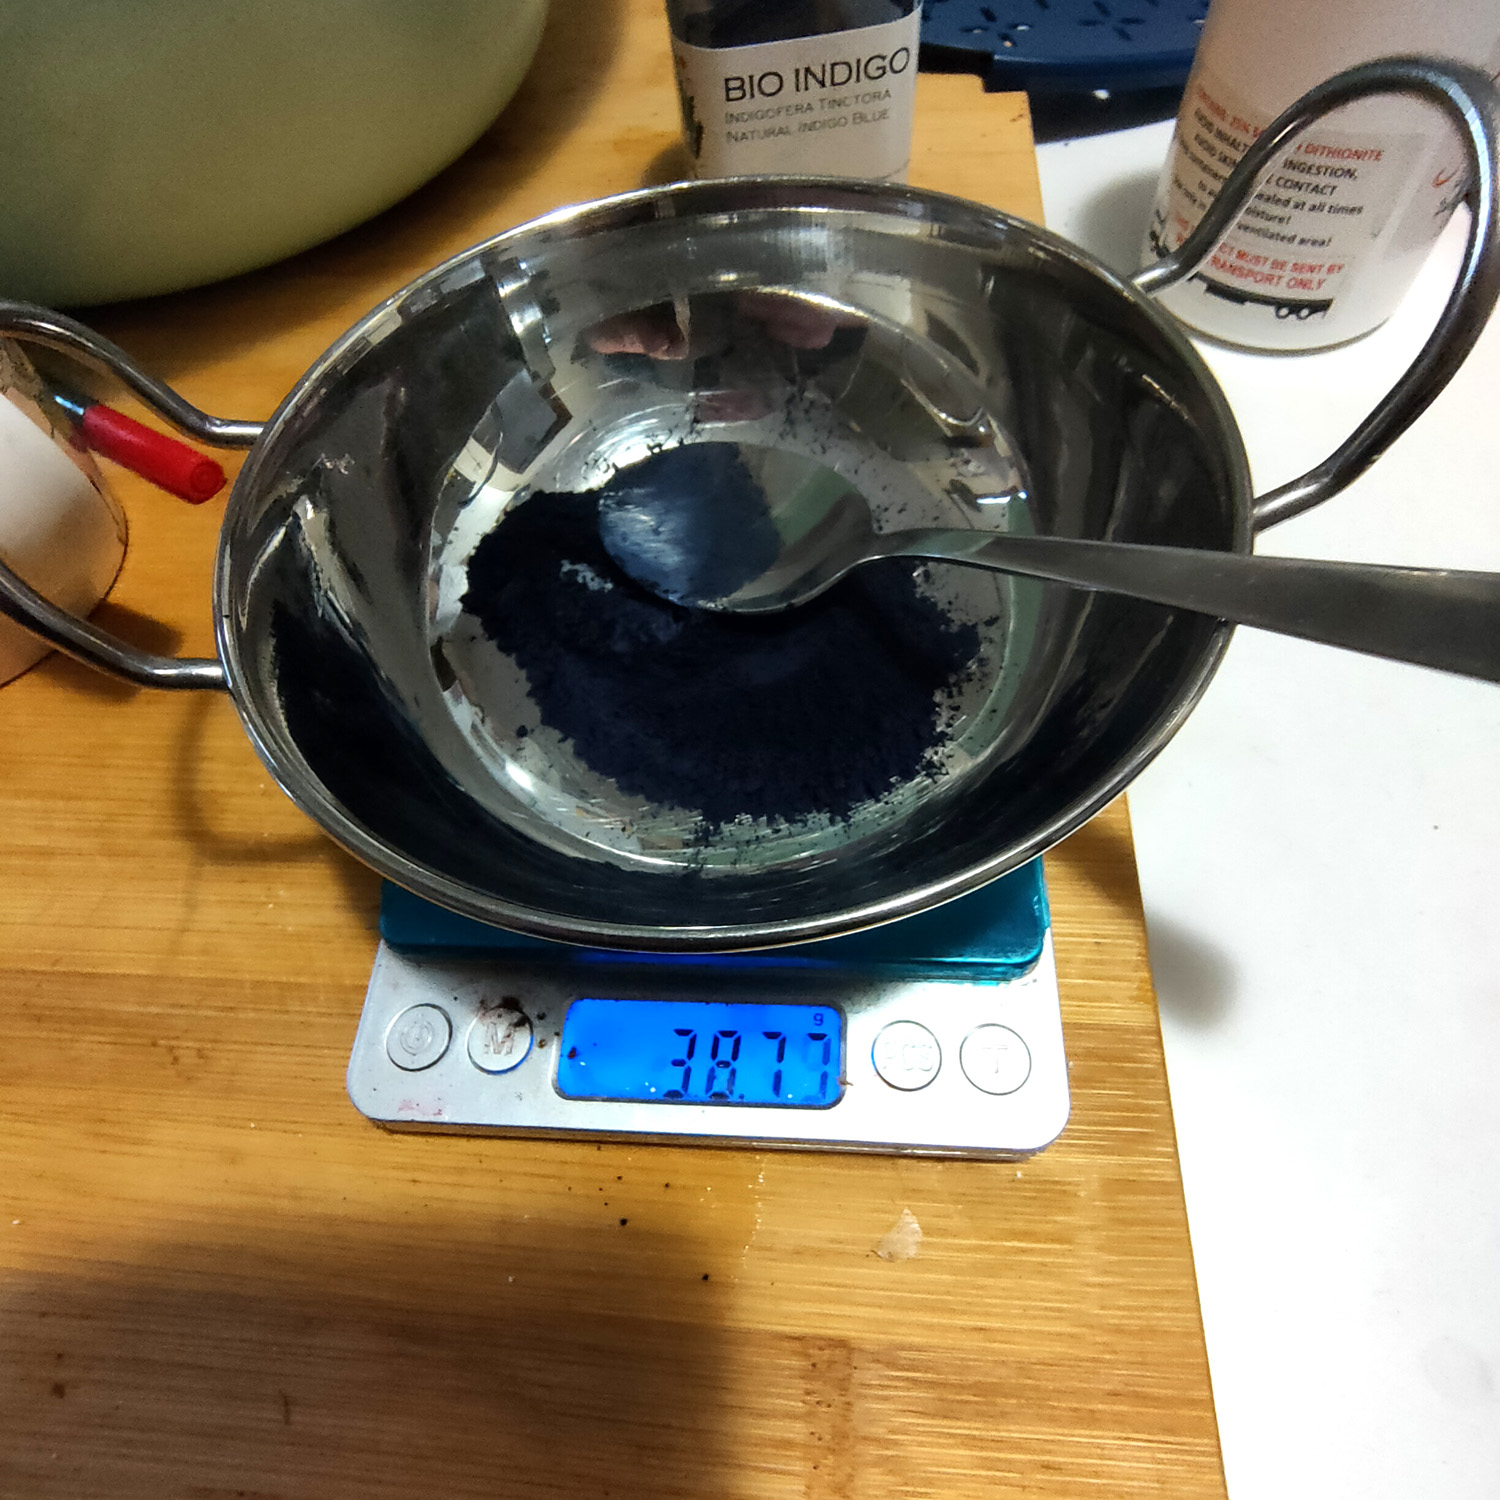
indigo powder
Sodium Hydrosulphite
Material to dye. I find the best fibres to start with are wool. Animal fibres have the strongest bond with indigo. You do not need to mordant your wool but I would suggest you give it a good wash to make sure there is no natural lanolin left in the wool. I also make sure that I dye wet fibres. If I have washed the wool days before, I will place it in a bowl of water while I make up the dye bath.
Scales
Rubber Gloves: As I said before indigo loves animal fibre, especially your skin and nails!
Measurements
The first thing we need to do is measure out our ingredients. You will first need to know how much fibre you are dyeing. Weigh your fibre (in my case 2ply wool) before you place it in a bowl of water. You want its weight while dry. This is called WOF.
For the rest of your ingredients you will need to do some maths. The grams below of each ingredient is for 100g of WOF. So if you have 200g of wool you will need to double these amounts. etc etc
Indigo Powder 4g
Soda Ash 30g
Sodium Hydrosulphite 20g
Step 1 : Getting the ph right
Dissolve you Soda Ash in boiling water. In a glass jar or bowl place some hot tap water and the indigo powder. Add your dissolved soda ash and give a good mix.
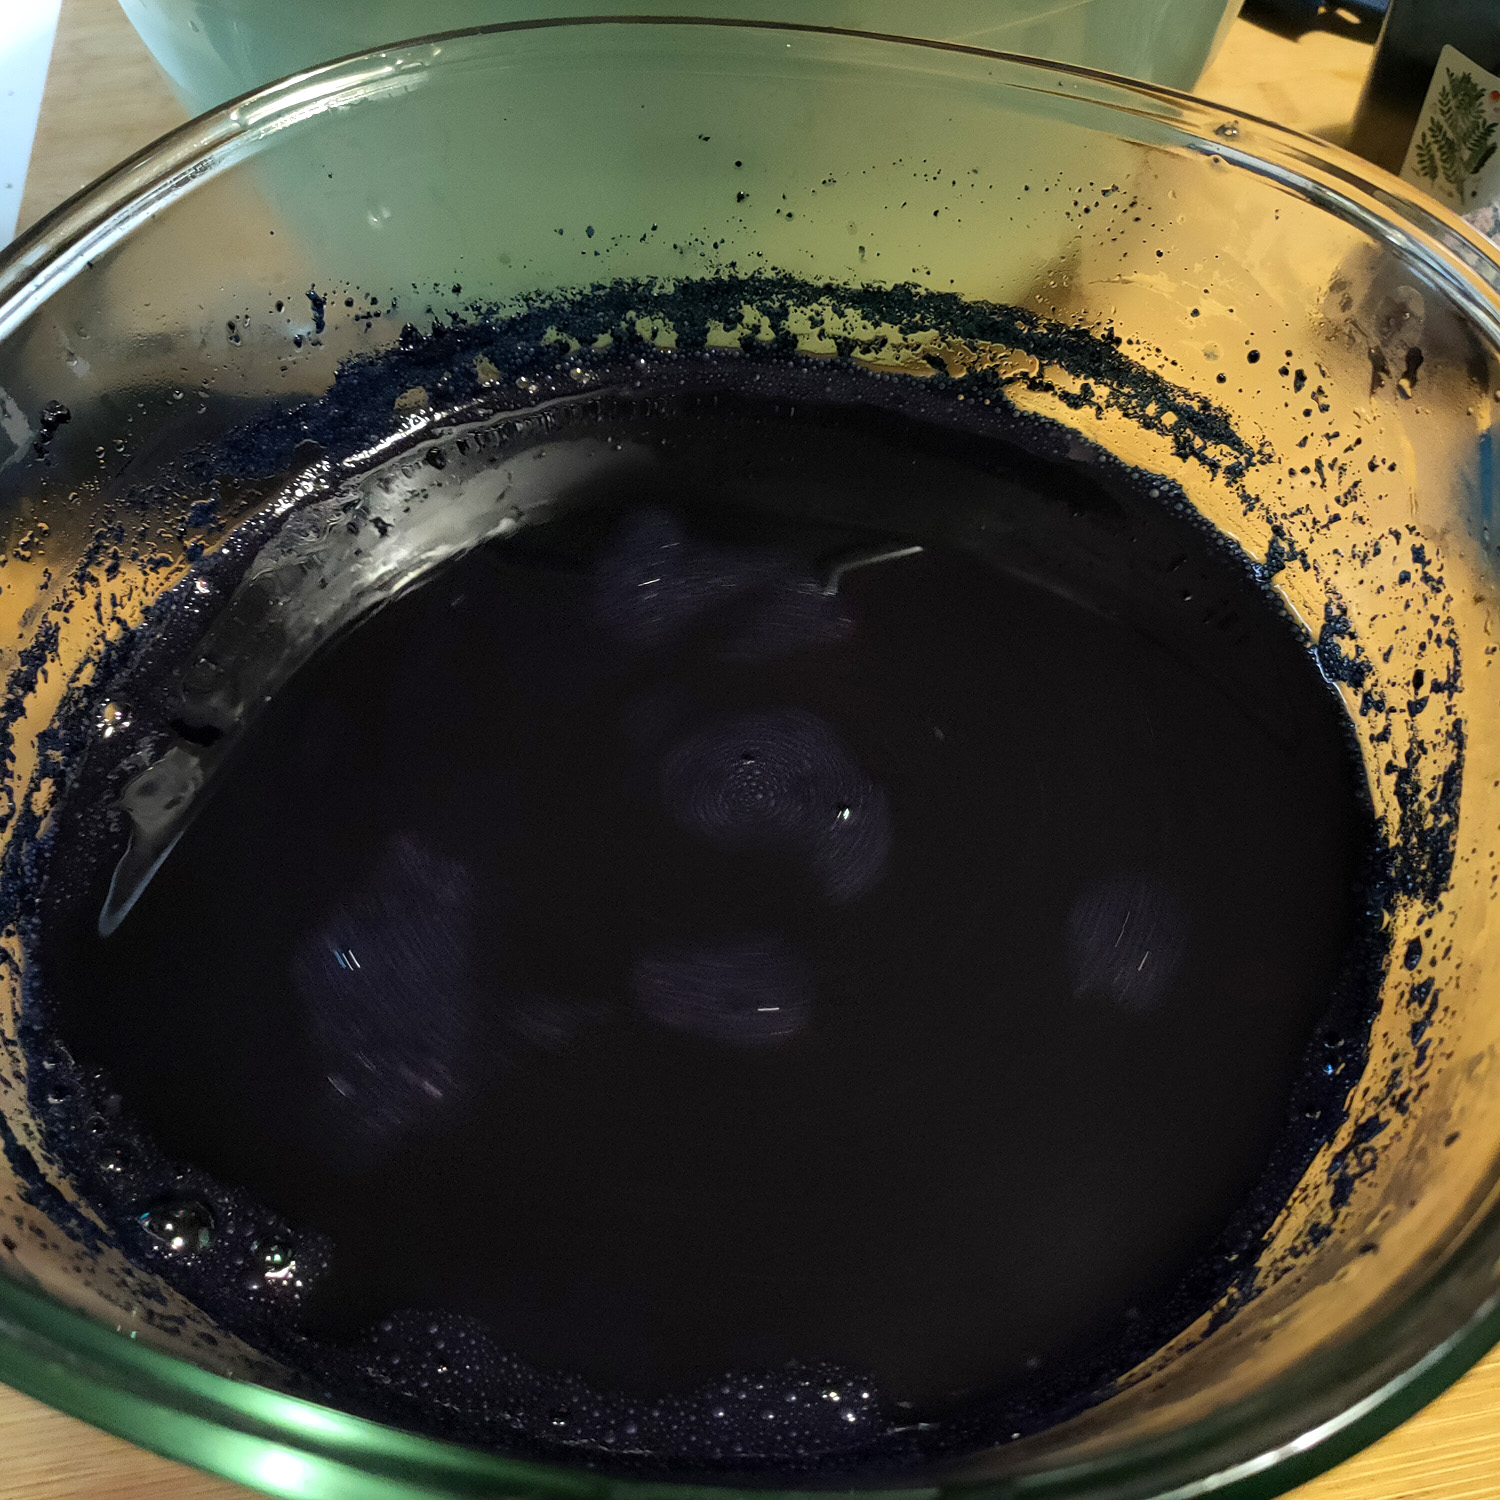
I like to give some good agitation at this point. Making sure it is thoroughly mixed and adding some oxygen in. Your mixture should be dark blue.
Leave this to sit and settle for half an hour.
Step 2 : Deoxidizing
We now want to get the dye bath ready. Add plenty of hot tap water to the saucepan, you need to make sure you have enough for your fibres to move gently around.
Gently, causing as little agitation as possible, add you indigo. This is why using a jar is sometimes best. You can place the jar under the water to gently release your solution, allowing as little oxygen as possible to get in.
Gently sprinkle your Sodium Hydrosulphite into the vat and very gently stir. Gently move you saucepan to the heat element and get the mixture up to 50 degrees Celsius. Place a lid on top and leave for 30 minutes to an hour.
Step 3 : Dyeing with Indigo
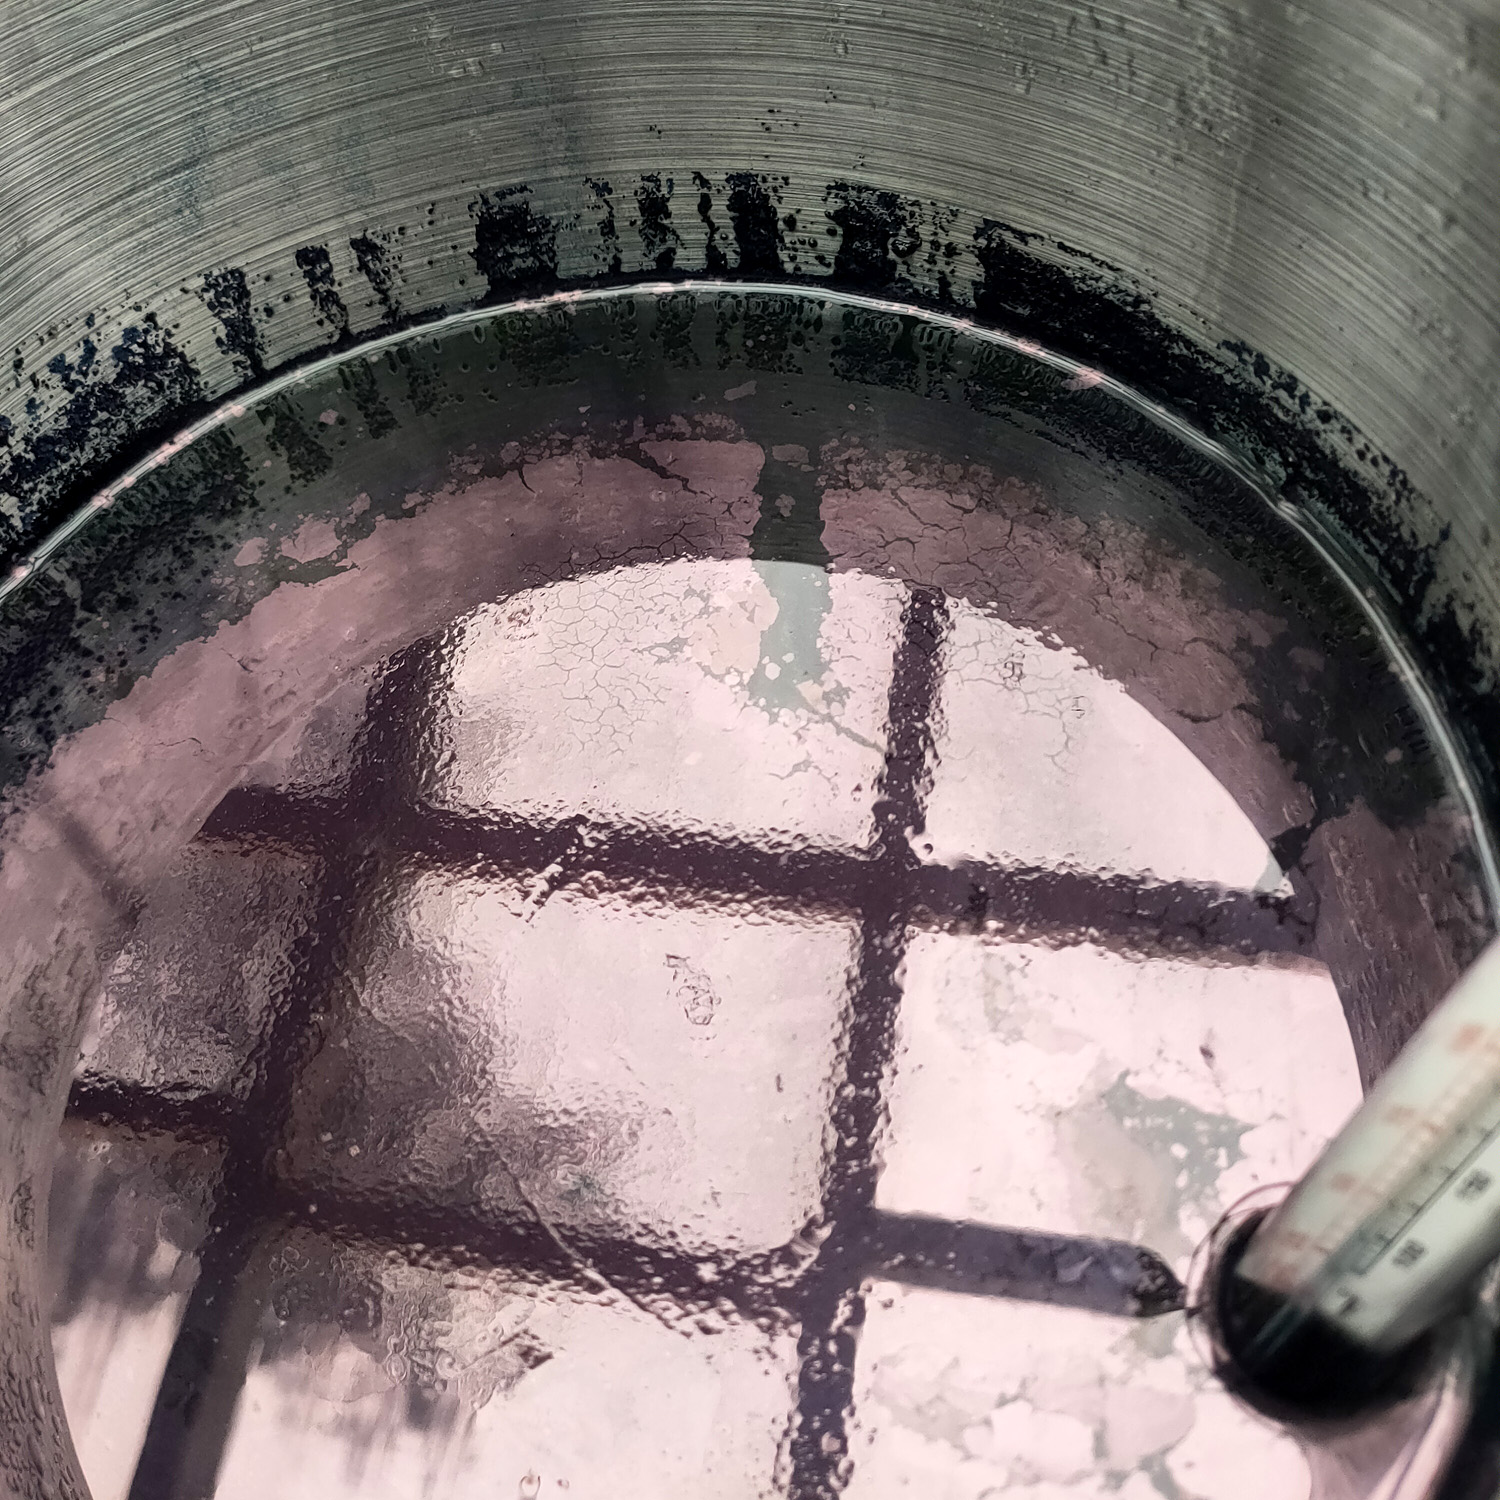
You should now be able to start dyeing with indigo. As you can see from the picture above, the top of your vat should have a bronzy, reflective surface, where the indigo is reacting to the air. What you can’t see in the photo is the colour underneath this surface. It should be a lime green. I tried taking at photo of this but the liquid turns blue as soon as it starts reacting with the air.
You may also have some flowering on top of the dyebath. This looks like frothy bubbles sitting on top of the water. It is caused by the oxygen coming up from the bath. This is a great sign that everything is ready to go.
If your dyebath does not look like this or is a darker green you may need a little more time. In this situation I will sprinkle some more Sodium Hydrosulphite on top of the water. Very very very gently stir. Make sure the temperature of the bath is about 50 degrees Celsius again and place the lid on top, leaving the vat for another half an hour.
Before I actually start dyeing I will again bring the dyebath up to 50 degrees Celsius and very gently scrap away some of the flowering and reflective surface so it does not get onto my fibres. And now to start dyeing.
When dyeing with indigo it is always best to do several shorter dips and slowly build up depth of colour, rather than leaving the wool in for long periods of time. I tend to leave my fibres in the water for about 1 min at a time. I am normally dyeing 2ply wool in small amounts and I find this works very well for that. If you are dyeing an 8ply or larger you may want to go for 3 min dips into the bath. It is about what works for you and your materials. It will also depend on how dark a blue you want. I prefer to do shorter dips more frequently so I can get different varieties in the blue shade.
So again, very very gently place your fibres into the water, trying not to add any oxygen into the mix. I normally keep a large plastic bowl beside the dyebath so that when I take my fibres out, I can drain the liquid into the bowl rather than it dripping into the dyebath and causing oxygen to go into the bath. I leave it in for 1 minute, gently take it out of the bath, and then squeeze it into the bowl. You can then hang up your wool and watch the colour change from green to blue. I still find it quite magical after all this time.
Once you see the blue you have, you can then decide if you want to continue dipping and for how long. If you want a dark rich blue I may change my dips to 3 minutes and do 3-5 dips. If however I want a very light blue it may be a 30 sec dip. It really depends on what you want. The beauty of this process is that you have control. Just one warning on the lighter blues. If you are only doing a 30 sec dip or less, you may find the colour is not as even. You can actually get some nice variegated colours by playing with a very quick dip.
So I hope this encourages you to have some fun with indigo. It may seem a little more complicated than dyeing with other natural dyes but it is worth it. In fact it can be quite addictive. Each vat is different and and has its own personality. And when you are comfortable with your blues, you will really be ready to play. You can get a whole range of different colours by pre dyeing with other natural dyes. Once you are comfortable dyeing with indigo the possibilities are endless.
I hope this helps and encourages you to try your own experimenting in the world of natural dyes. 🙂
Join us on Instagram www.instagram.com/DyetoCraft
Etsy Shop Now open
If you like the idea of using organic naturally dyed threads in your craft but just don’t have the time, come and have a look at our Etsy Shop where you will find an array of beautiful colours provided by nature.