Dyeing Wool with Hibiscus Tea using the Sun.

In this experiment we look at dying wool with Hibiscus Tea. We will also look how time can effect some natural dye material while using the solar dyeing method.
Solar Dyeing
With this experiment, as with most , I am going to use the process of solar dyeing. This is a great sustainable process to use with your natural dyes.
This is basically putting your dyestuff in a glass jar and leaving it in the sun to work its magic. The beauty of living in Australia means that I do have the benefit of hot summers. If you don’t have these conditions, it does not mean you cannot try this process. You will just need to experiment with your own environments advantages and disadvantages. Leave it in a room that gets sunlight and may have great heating or try longer dyeing periods.
In this particular experiment we will actually look at longer dyeing periods with Hibiscus Tea. Even in a hot Australian summer, some dye material needs a longer time frame than others.
The procedure that I have used below is only 1 example of how to try dyeing wool with hibiscus tea. These experiments are only to show you what has and hasn’t worked for me, so you can pick through the information to start your own experimenting journey.

Safety Note
Always ensure when dyeing of any nature, to keep all saucepans and utensils used in the process, separate from your general cooking supplies. You do not want to cook with anything that has been used to mordant or naturally dye your fibres. You should also wear gloves and a mask while handling your chemicals.
Washing your Wool
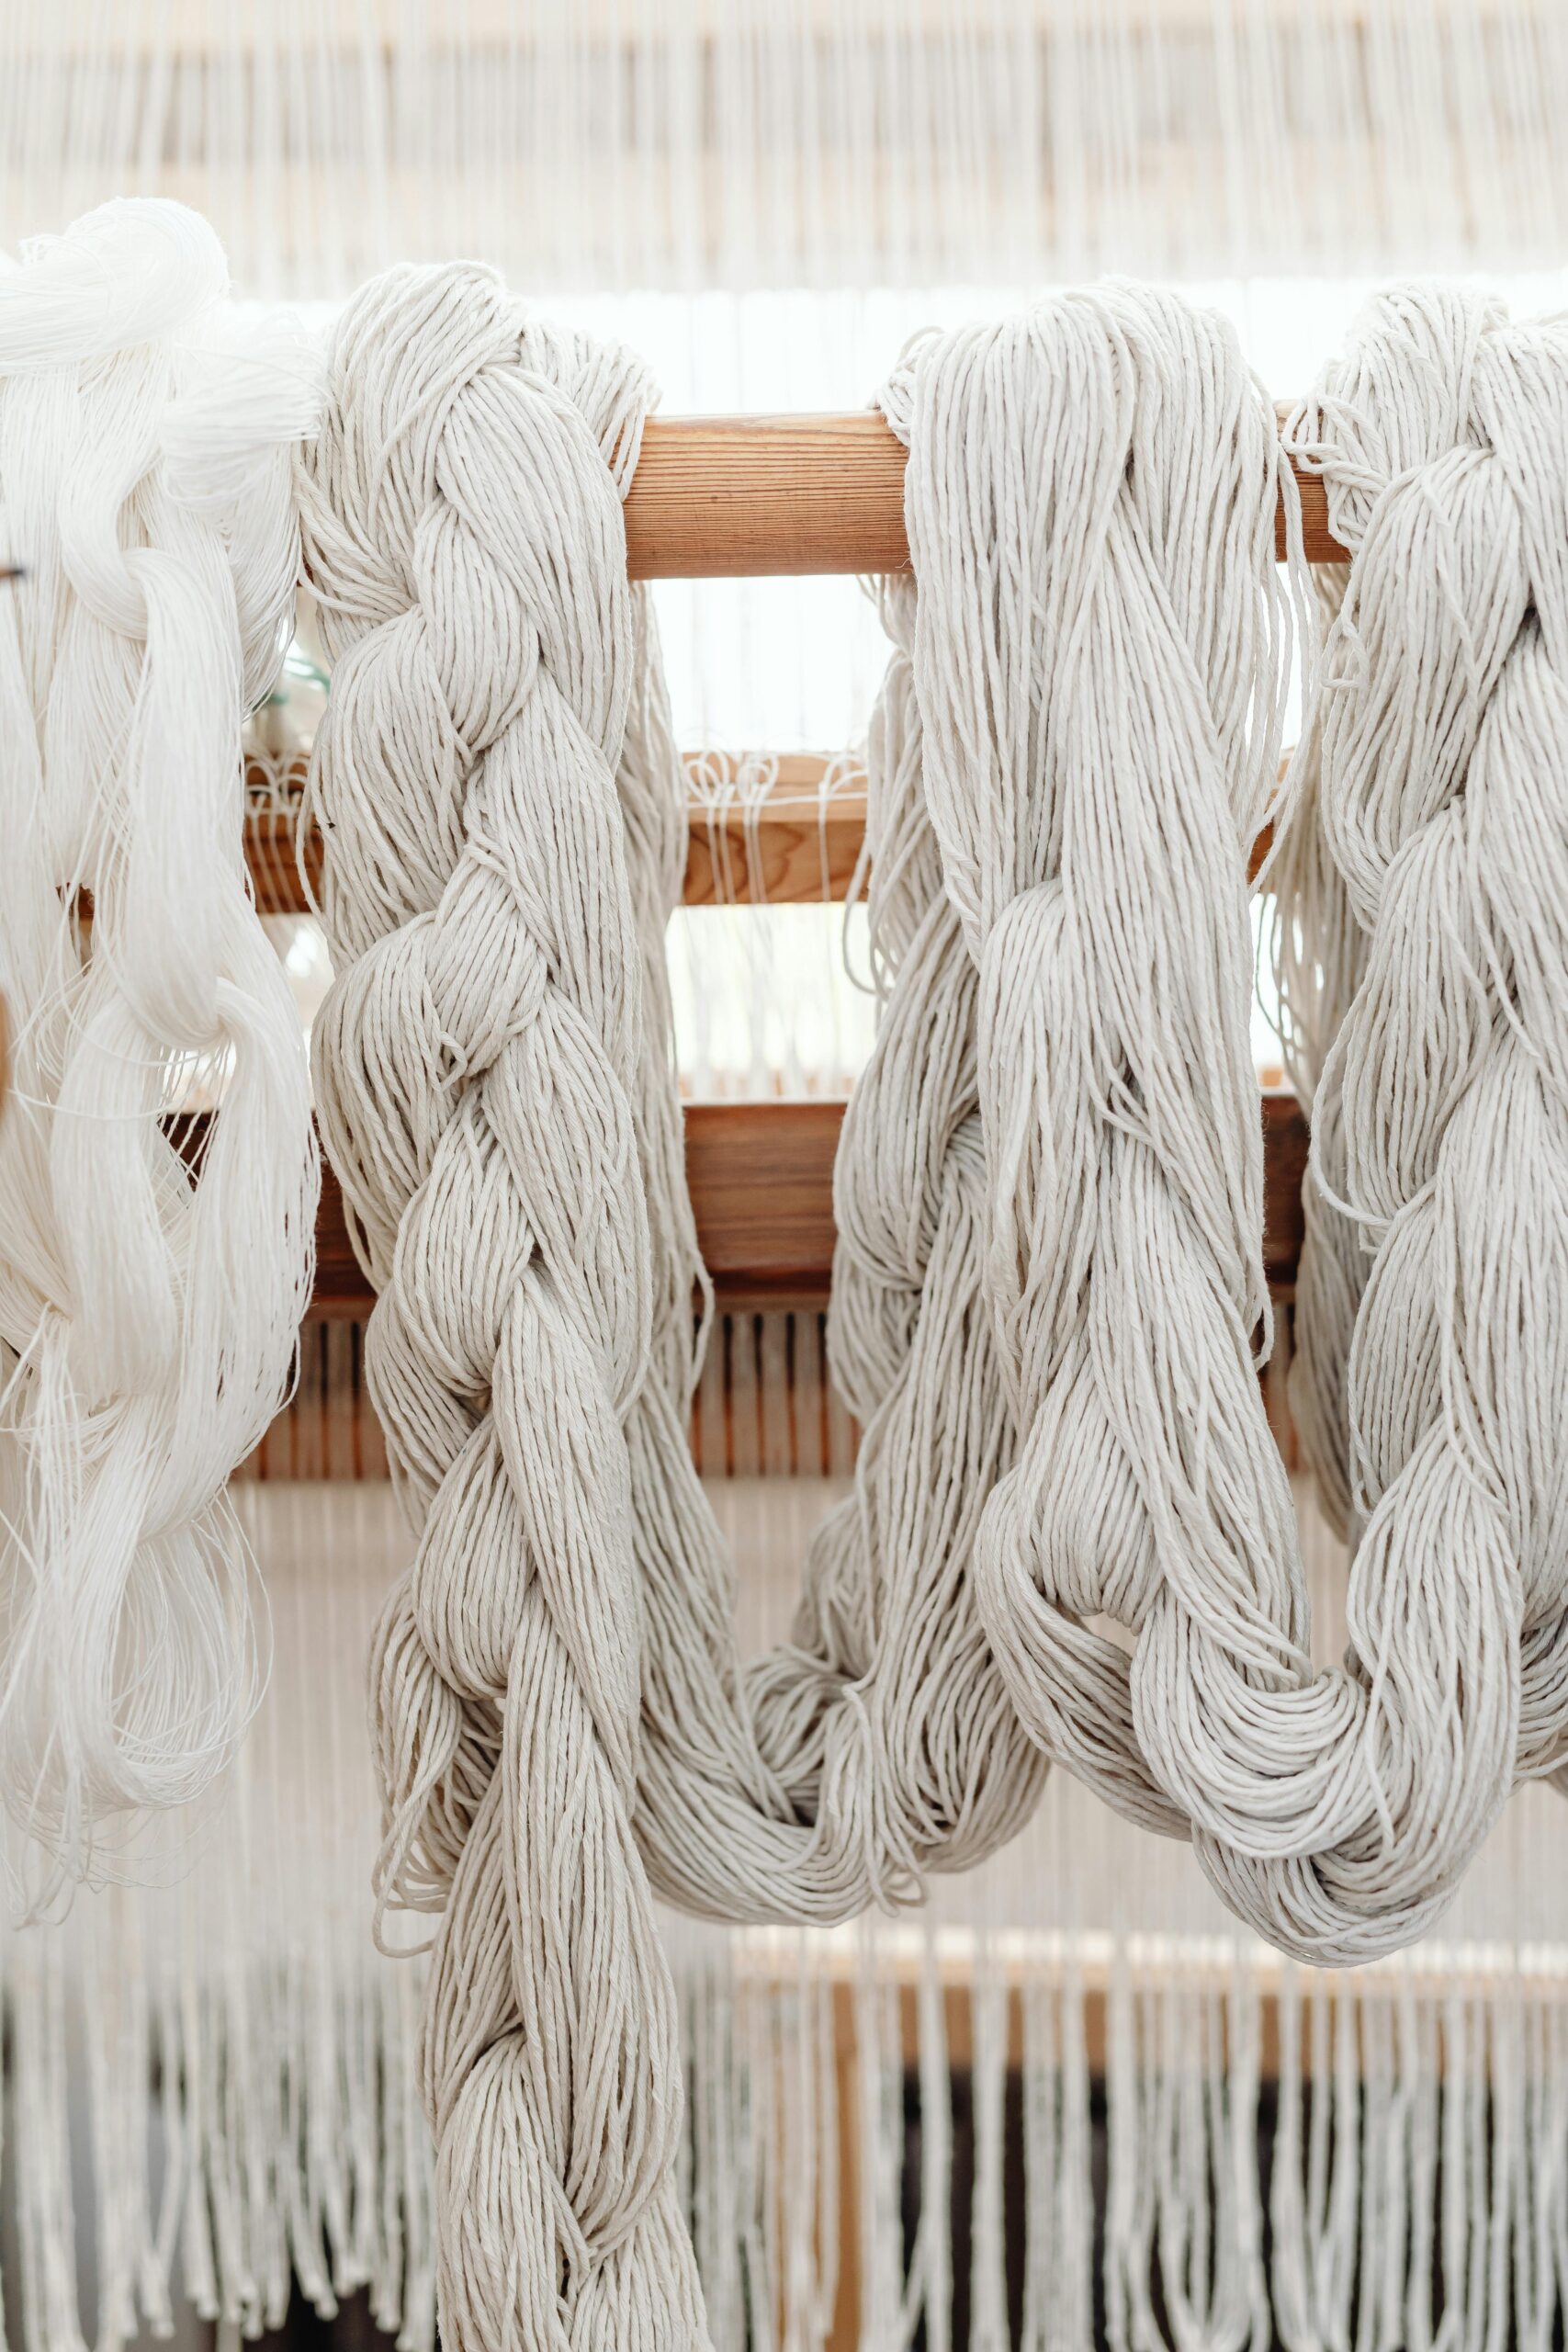
Washing Protein fibres is a little easier than cellulose fibres but still very necessary. Even if you purchase wool, clean and unprocessed, it will naturally have lanolin in it. This is what stops the sheep from getting wet. It naturally repels water and will also repel your dye bath.
The main thing to avoid while washing your fibre, is to not make any sudden temperature changes. Putting your wool in a hot tub, will start the felting process, and make your fibre shrink and clump together.
You should also take care not to agitate your fibre in the water too much. This will also start the felting process. Always make sure you use gentle squeezing motions while cleaning.
When washing your fibre both before or after the dyeing process, you should always use a gentle soap. You do not want a harsh detergent that will leave chemicals, that will later wash out your dye. Something like olive oil or goats milk soap will work effectively, while being much gentler on your fabric.
I personally don’t use heat while washing my wool or silk, and so far have had no problems with dyeing. Everybody’s wool however may be different and have different things added during processing , so if you are getting streaky results in your dyeing, try putting your fibre and detergent in a pot for half an hour. Keep the water temperature at a simmer. This will replace the second stage of the process below. Do not let the water boil.
Step 1: Soak bath
We need to soak the fibre first, before we do anything else. This will help the cells to open up and be receptive to the washing up detergent.
Fill a large bowl or saucepan with room temperature water, making sure that the fibre will not go through any sudden temperature changes. Make sure there is enough room for the fibre to move freely.
Add your fibre gently into the water. If you are washing wool, you may need to gently squeeze the air out of the fibres (while underwater) to stop it from floating on the surface.
Leave for at least 15 min.
Step 2: Wash Bath
Take your fibre out ( gently squeezing the excess water) and make another bath as above. This time add some gentle soap to the bath, before placing your fibre back in.
Leave for at least 30min though preferably longer.
Step 3: Rinse Bath
Take your fibre out ( gently squeezing the excess water out) and repeat step 1, allowing it to rest for at least 30 min. You can give the fibre a few gentle squeezes to help get the soap suds out. If your fibre still looks soapy you can give it an extra rinse bath until it looks clean and clear.
After washing your fibre you can move straight on to mordanting or leave to dry for a later date.

Mordanting your Wool with Alum
Measurements.
The first thing you will need to do is weigh your fibre. You will need to know how much fibre you have, to determine how much alum and cream of tartar to use in your solution. This measurement is called WOF (weight of fibre). You should always weigh you fibres when dry and free from debris.
In most instances I use 10% WOF of alum and 7% WOF of cream of tartar. Different recipes can use different amounts of alum. but unless otherwise stated, you can safely assume I have mordanted my fibres with 10%. I would not recommend going above 15% of alum, as it may deteriorate you fibres in the long run.
So if you have 100g of fibre, you will need 10g of alum and 7g of cream of tartar.
Weigh these out and dissolve them in hot tap water first.
Process
Step 1:
Place enough water in your saucepan so your fibres can move freely. The water needs to be able to easily move around and through your fabric/fibre to fully get the chemicals to penetrate.
Step2:
After weighing our fabric / fibre and calculating how much Alum and Cream of Tartar you need, dissolve them in a glass of hot tap water. You need to give them a good stir to get all of the granules dissolved. Add your dissolved chemicals into the water and stir.
Step3:
Gently add your wet fibres and submerge them under the water. You may need to gently squeeze your fibre to release air bubbles. Any air traps in the fibre will block the mordant from attaching to it. While doing this, be as gently as possible if you are mordanting wool. You do not want to agitate the wool too much as it may cause it to felt. Take your pot to the stove. Place a thermometer into the pan.
Step 4:
Turn your stove top on and allow the water to get to 80 degrees Celsius (176 Fahrenheit).
Step 5:
Leave your fibre for 40 min at 80 degrees. Do not allow your water to boil! If you are mordanting wool it will start felting when in boiling water.
Step 6:
Turn your heat off and leave the pan on the stove top to cool down. You want your fibre to cool down gradually.

I normally leave the fibre in the saucepan overnight for a bit of extra time in the mordant. You can however take it out as soon as it has cooled down to begin the dyeing process.
You can now move on to dyeing your fibre or let it dry before putting it away for future use. If you do let it dry for later, make sure to let it stand in some water again before dyeing. Your fibres will attract the dye much easier if they are wet.
I always try to mordant as big a batch of fibre as my saucepan will comfortably fit. You can then hang it out to dry and re wet when you are ready to dye. I find it much more economical and quicker to batch scour and mordant my fibres.
If you are re wetting your mordanted fibres for dyeing, leave them in the water for at least 15 minutes. This allows the cells in your fibre to open up and accept the natural dye much easier. This is the same if you have washed fibre that has been dried and needs to be re wetted before mordanting. As with the earlier processes, you will need to gently place the fibre in room temperature water and gently squeeze out any air bubbles. You do not want to agitate the wool too much as it may cause it to felt.
Dyeing Wool with Hibiscus Tea
For this experiment I used 2 dye baths. One that would be left for 1 week, and the other left for 4 weeks.
What You will Need
Boiling water
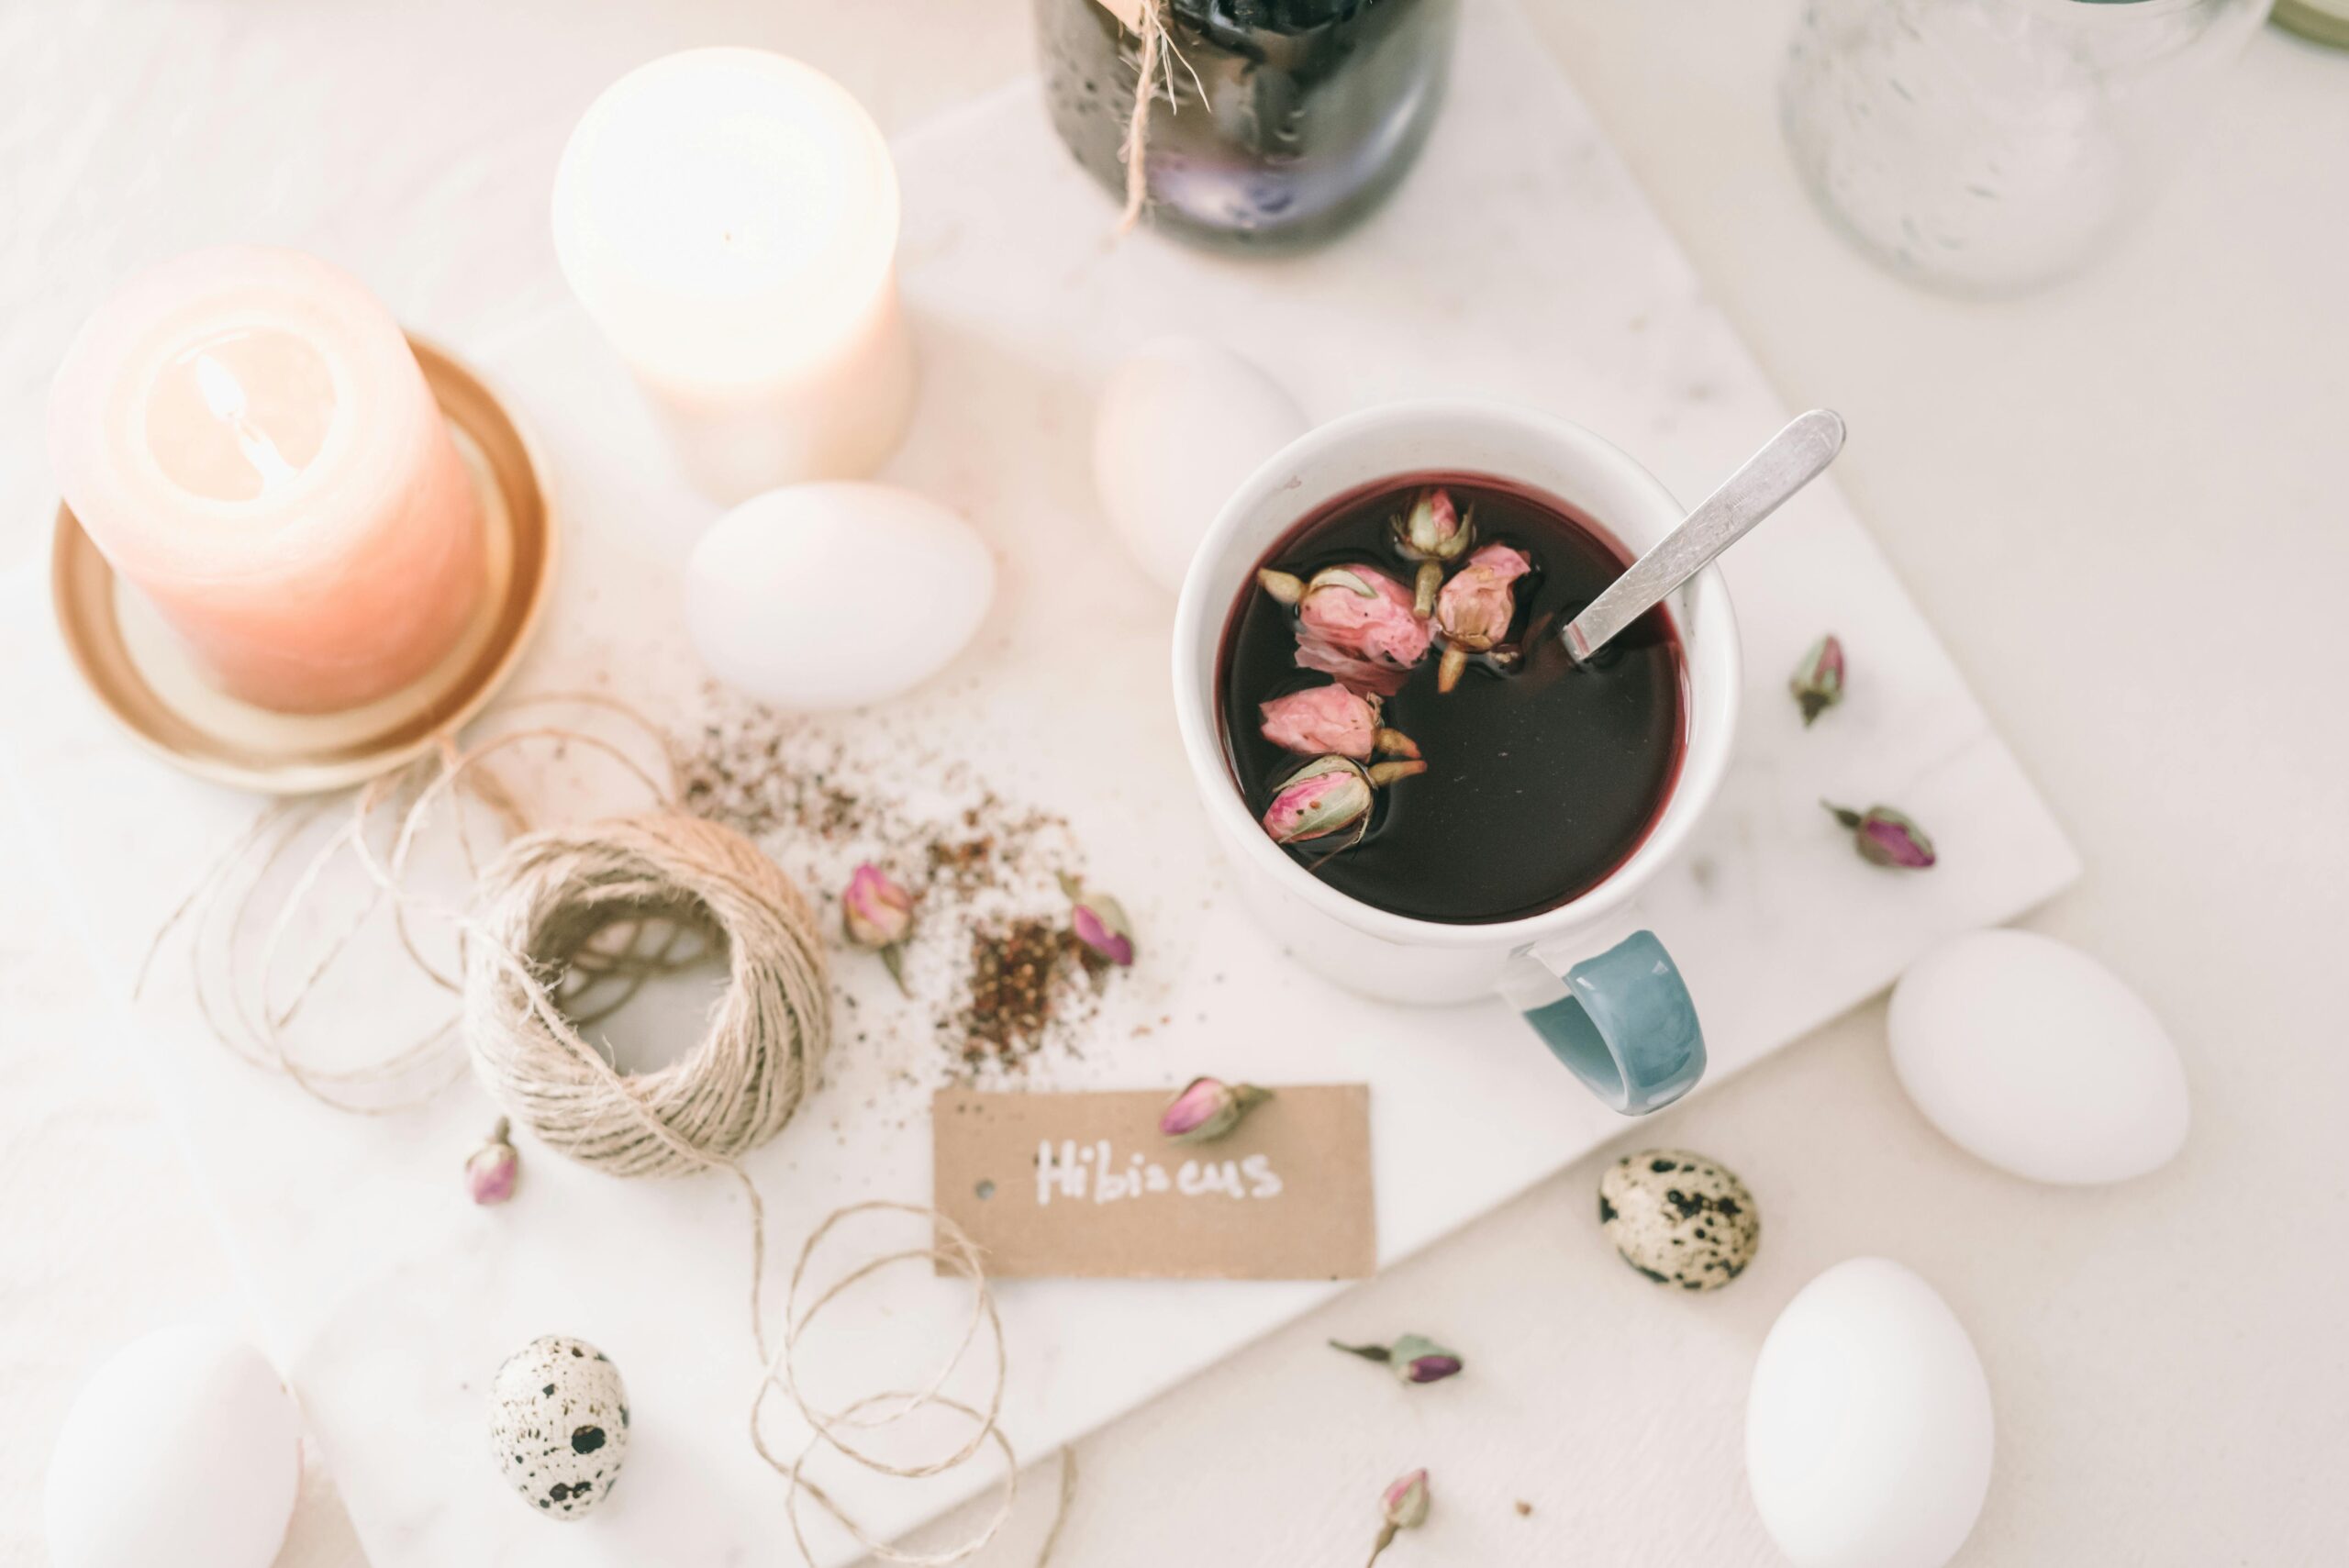
Hibiscus Tea- for this experiment I have used Hibiscus Tea bags. For both dye baths I used 9 tea bags in 1 litre of water.
The amounts used are not subject to any great formula of dye stuff to fabric. The box of tea had 18 bags in it so I divided that in half. Give whatever you have on hand a go!
Wool Fibre- In this instance I have used 10g of Merino wool roving , mordanted with alum, for each jar.
Bowl- 1 for each dyestuff.
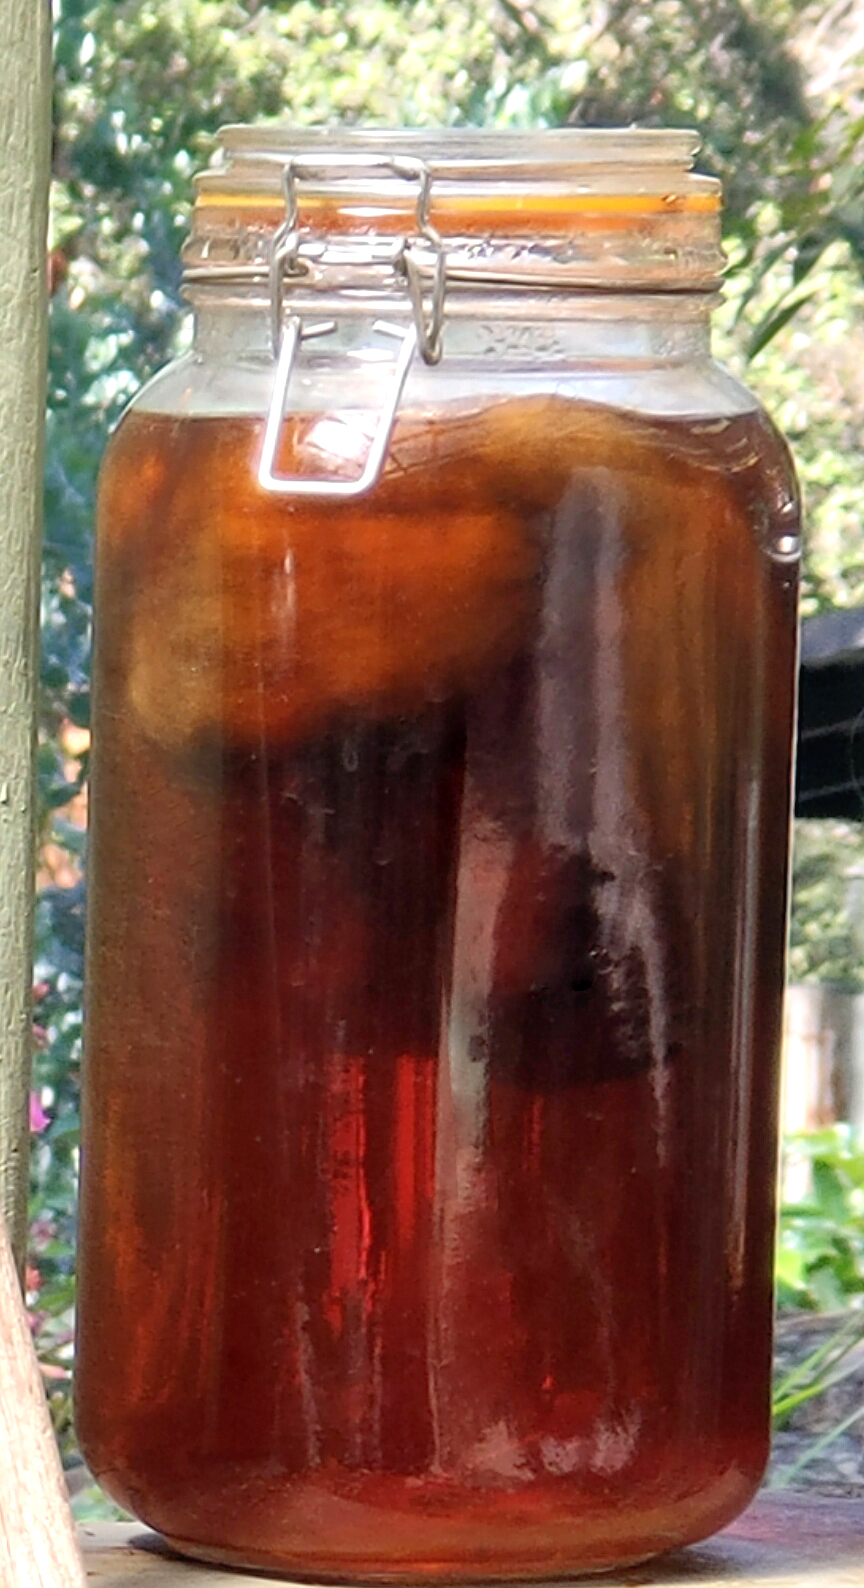
Glass Jar- I used 2 for this experiment, 1 for each dye bath. Your glass jars should be big enough for your dye bath to move around your fibre easily and gently. A 1 litre jar is about the smallest I would go for 10g of roving.
Procedure
Step 1: Place your tea bags in separate heat proof bowls and add boiling water.
Step2: when cool enough, transfer your dye bath into your glass jars and leave to stew outside for a couple of days.
Step 3: Take out the tea bags and add your fibre. 1 jar was left outside in the sun for 1 week while the other was left for 4 weeks. (It was summer in Australia, so was quite warm)
Step 4: Take your wool out of the jar and leave to dry completely without rinsing.
Step 5: Rinse in water baths until they are clear. As I was using roving I did not want to use running water to start it felting, so I used a few bowls of water. Always make sure you wool does not experience dramatic temperature changes as this can start the process of felting your wool. Make your water room temperature. For the same reason you do not want to agitate your wool too much. Use gentle movements at all times. Leave to dry
Results for dyeing wool with hibiscus tea
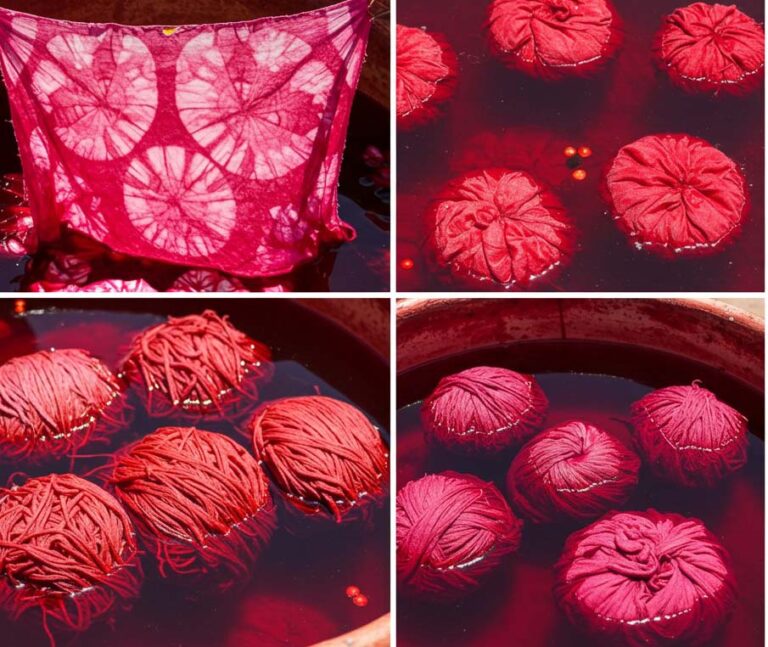
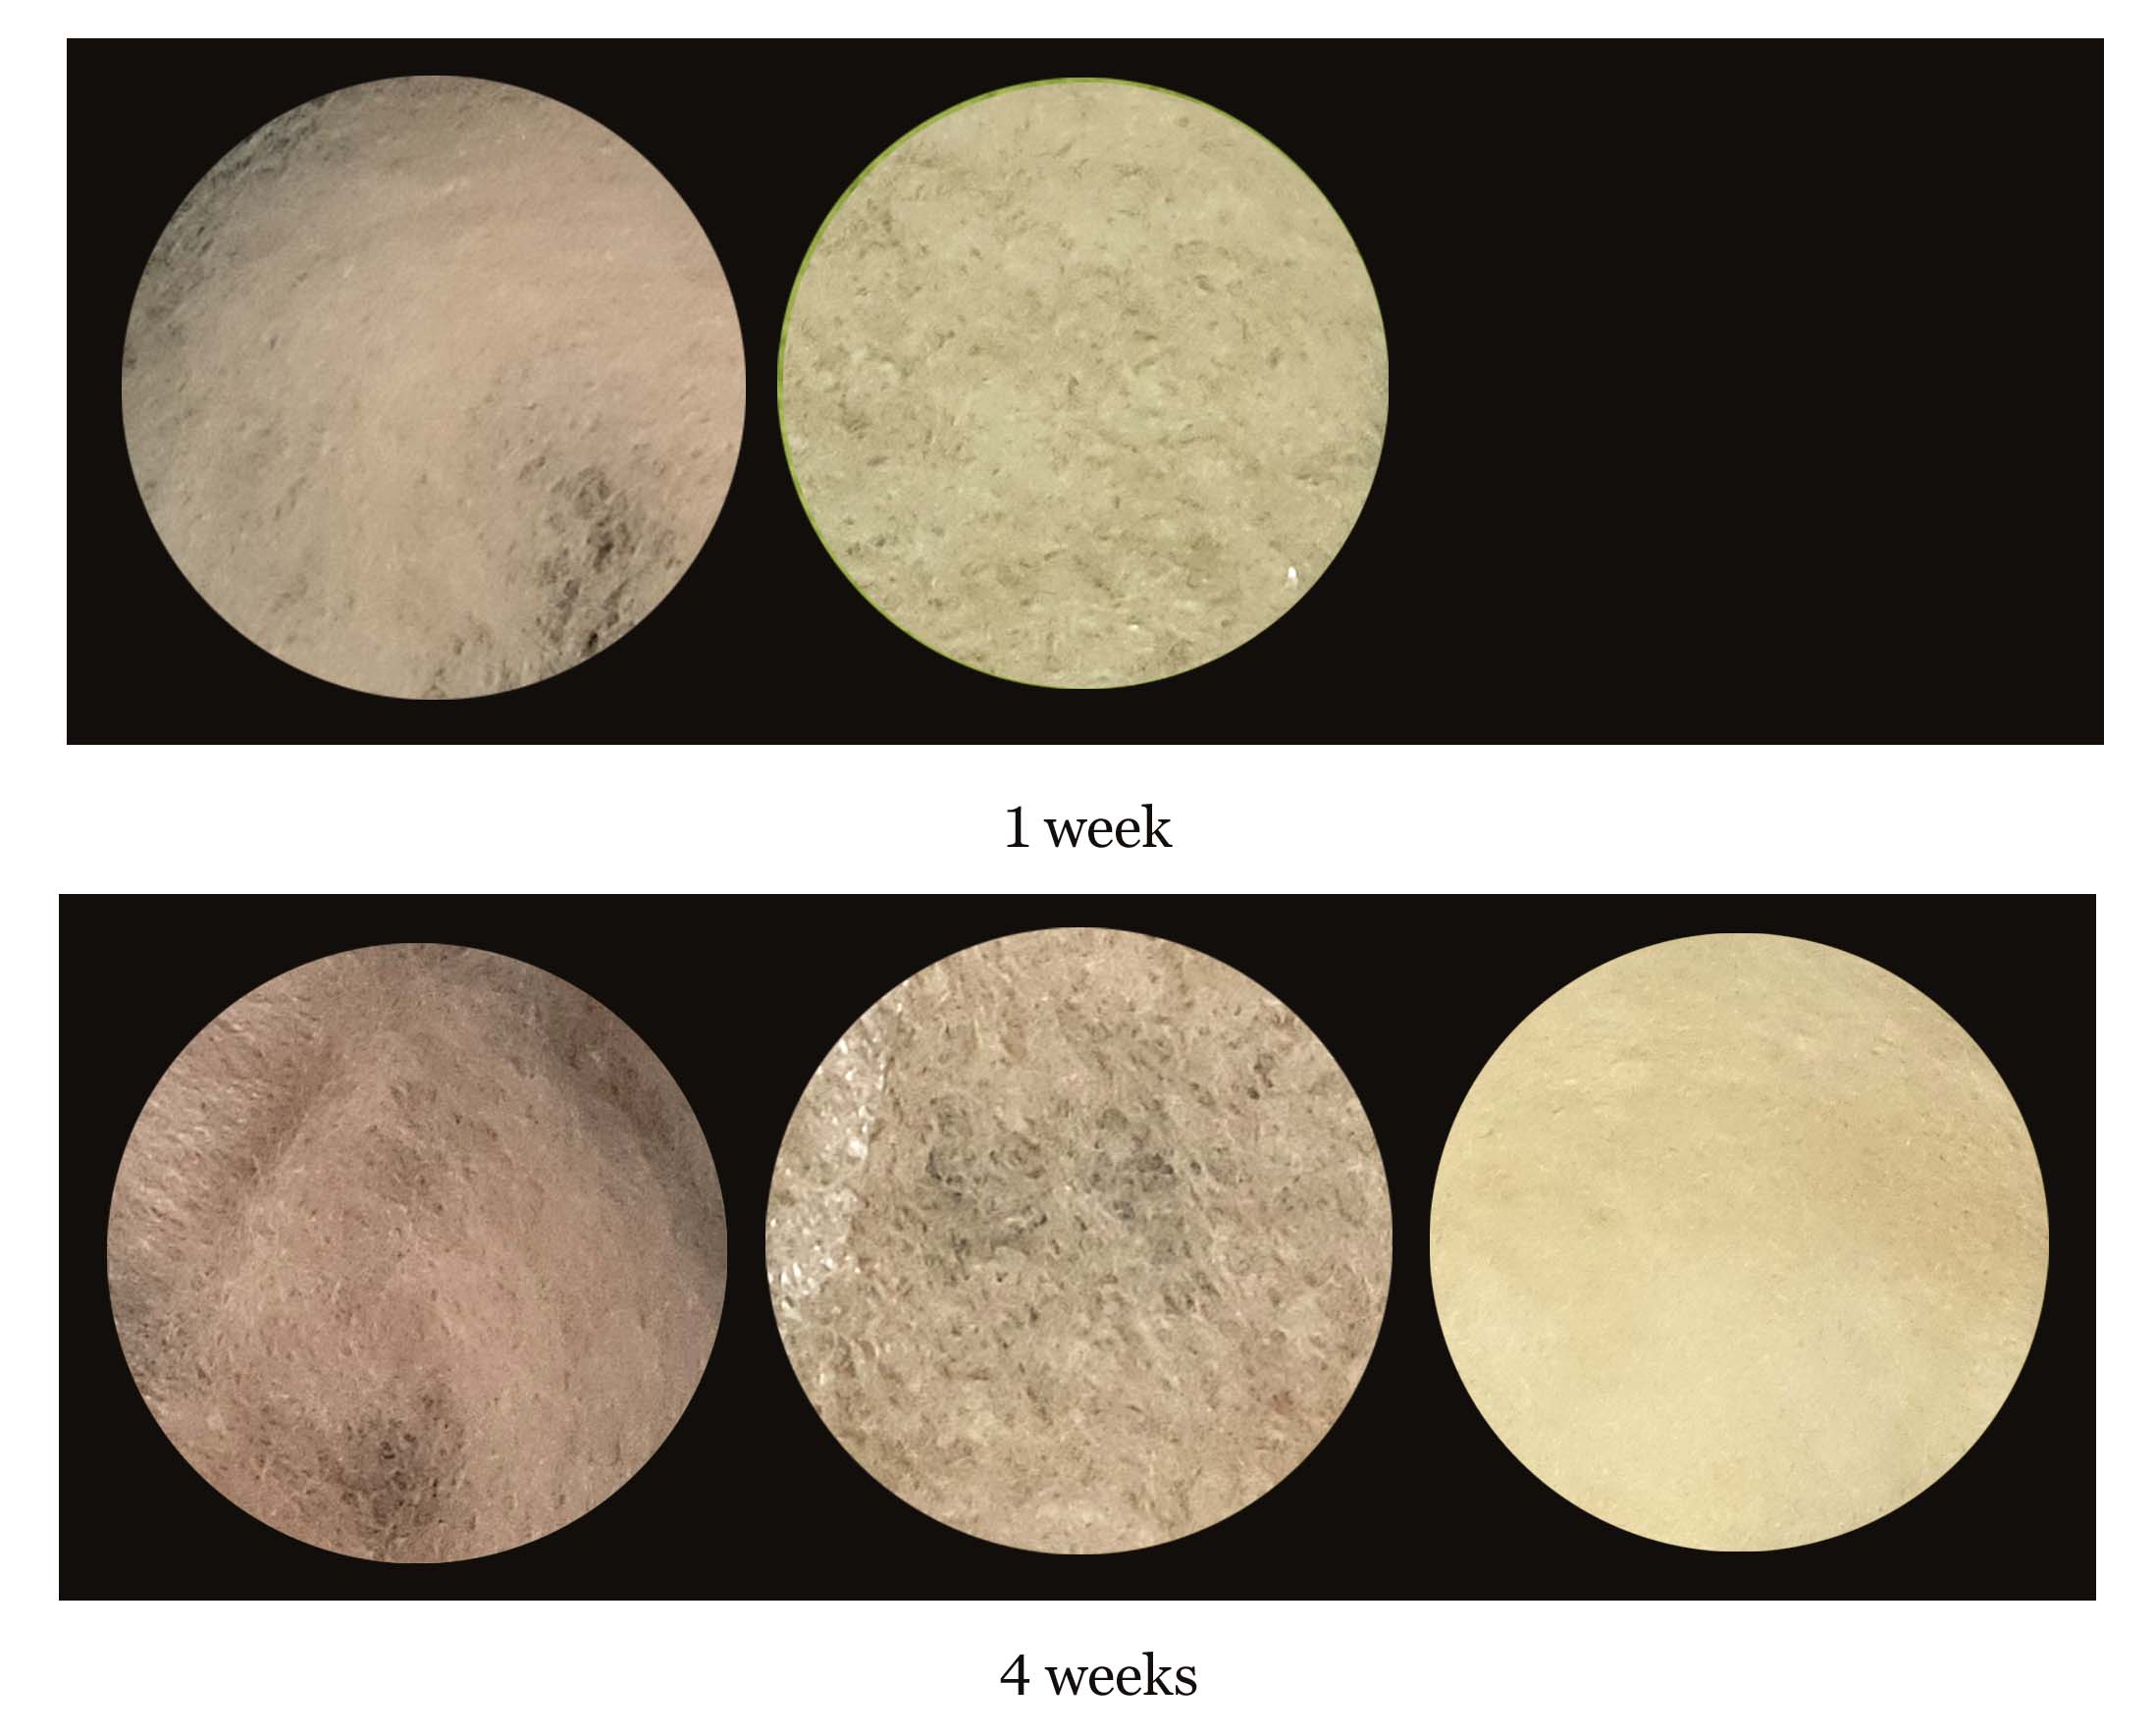
As you can see in the pictures the initial dyeing has given us some light pinks.
1 week results
The first picture is of the 1 week experiment and shows the initial dyed roving after it has been rinsed and dried. I have then turned the roving into felt using a wet felting process. I figured that the wet felting procedure would be a good indication of how well the dye stands up to washing as it gets vigorous applications of soap and hot water. As you can see the colour basically washed out although the felt is a cream/ light yellow colour. I was not sure if this was due to a pH change in the colour due to the soap used during wet felting, or if it was a wash out of colour.
4 week results
The second picture is of the 4 week test. The pink/salmon roving on the left is the initial dyed roving after rinsing. Again this was made into felting as shown next. As you can see there was definately a wash out of colour during this process. Because of this I did a sun test on the roving rather than the felt.
The roving was left on a window sill for 4 weeks in the hot Australian summer to see if it would fade. This is the roving on the left. As you can see the roving lost all colour when exposed to the sun.
So all up dyeing wool with Hibiscus tea did give some lovely pale pink results initially, but the dye really did not hold up to either washing or sun. There was however a stronger colour produced with a longer time in the dye bath.
I hope this helps and encourages you to try your own experimenting in the world of natural dyes. 🙂

Different Mordants with Coffee
Dying Wool with Coffee and Tea
Join us on Instagram www.instagram.com/DyetoCraft
Etsy Shop Now open
If you like the idea of using organic naturally dyed threads in your craft but just don’t have the time, come and have a look at our Etsy Shop where you will find an array of beautiful colours provided by nature.

