Dyeing with Yerba Mate: A fantastic tea to dye with.

Dyeing with Yerba Mate can not only give you some great results but is also great to drink!
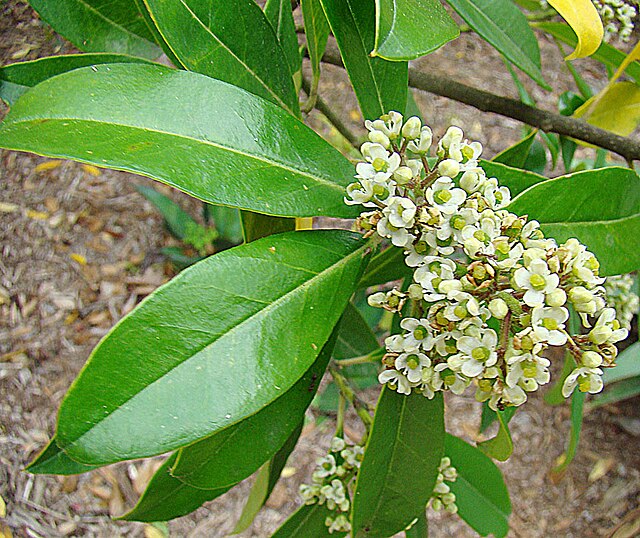
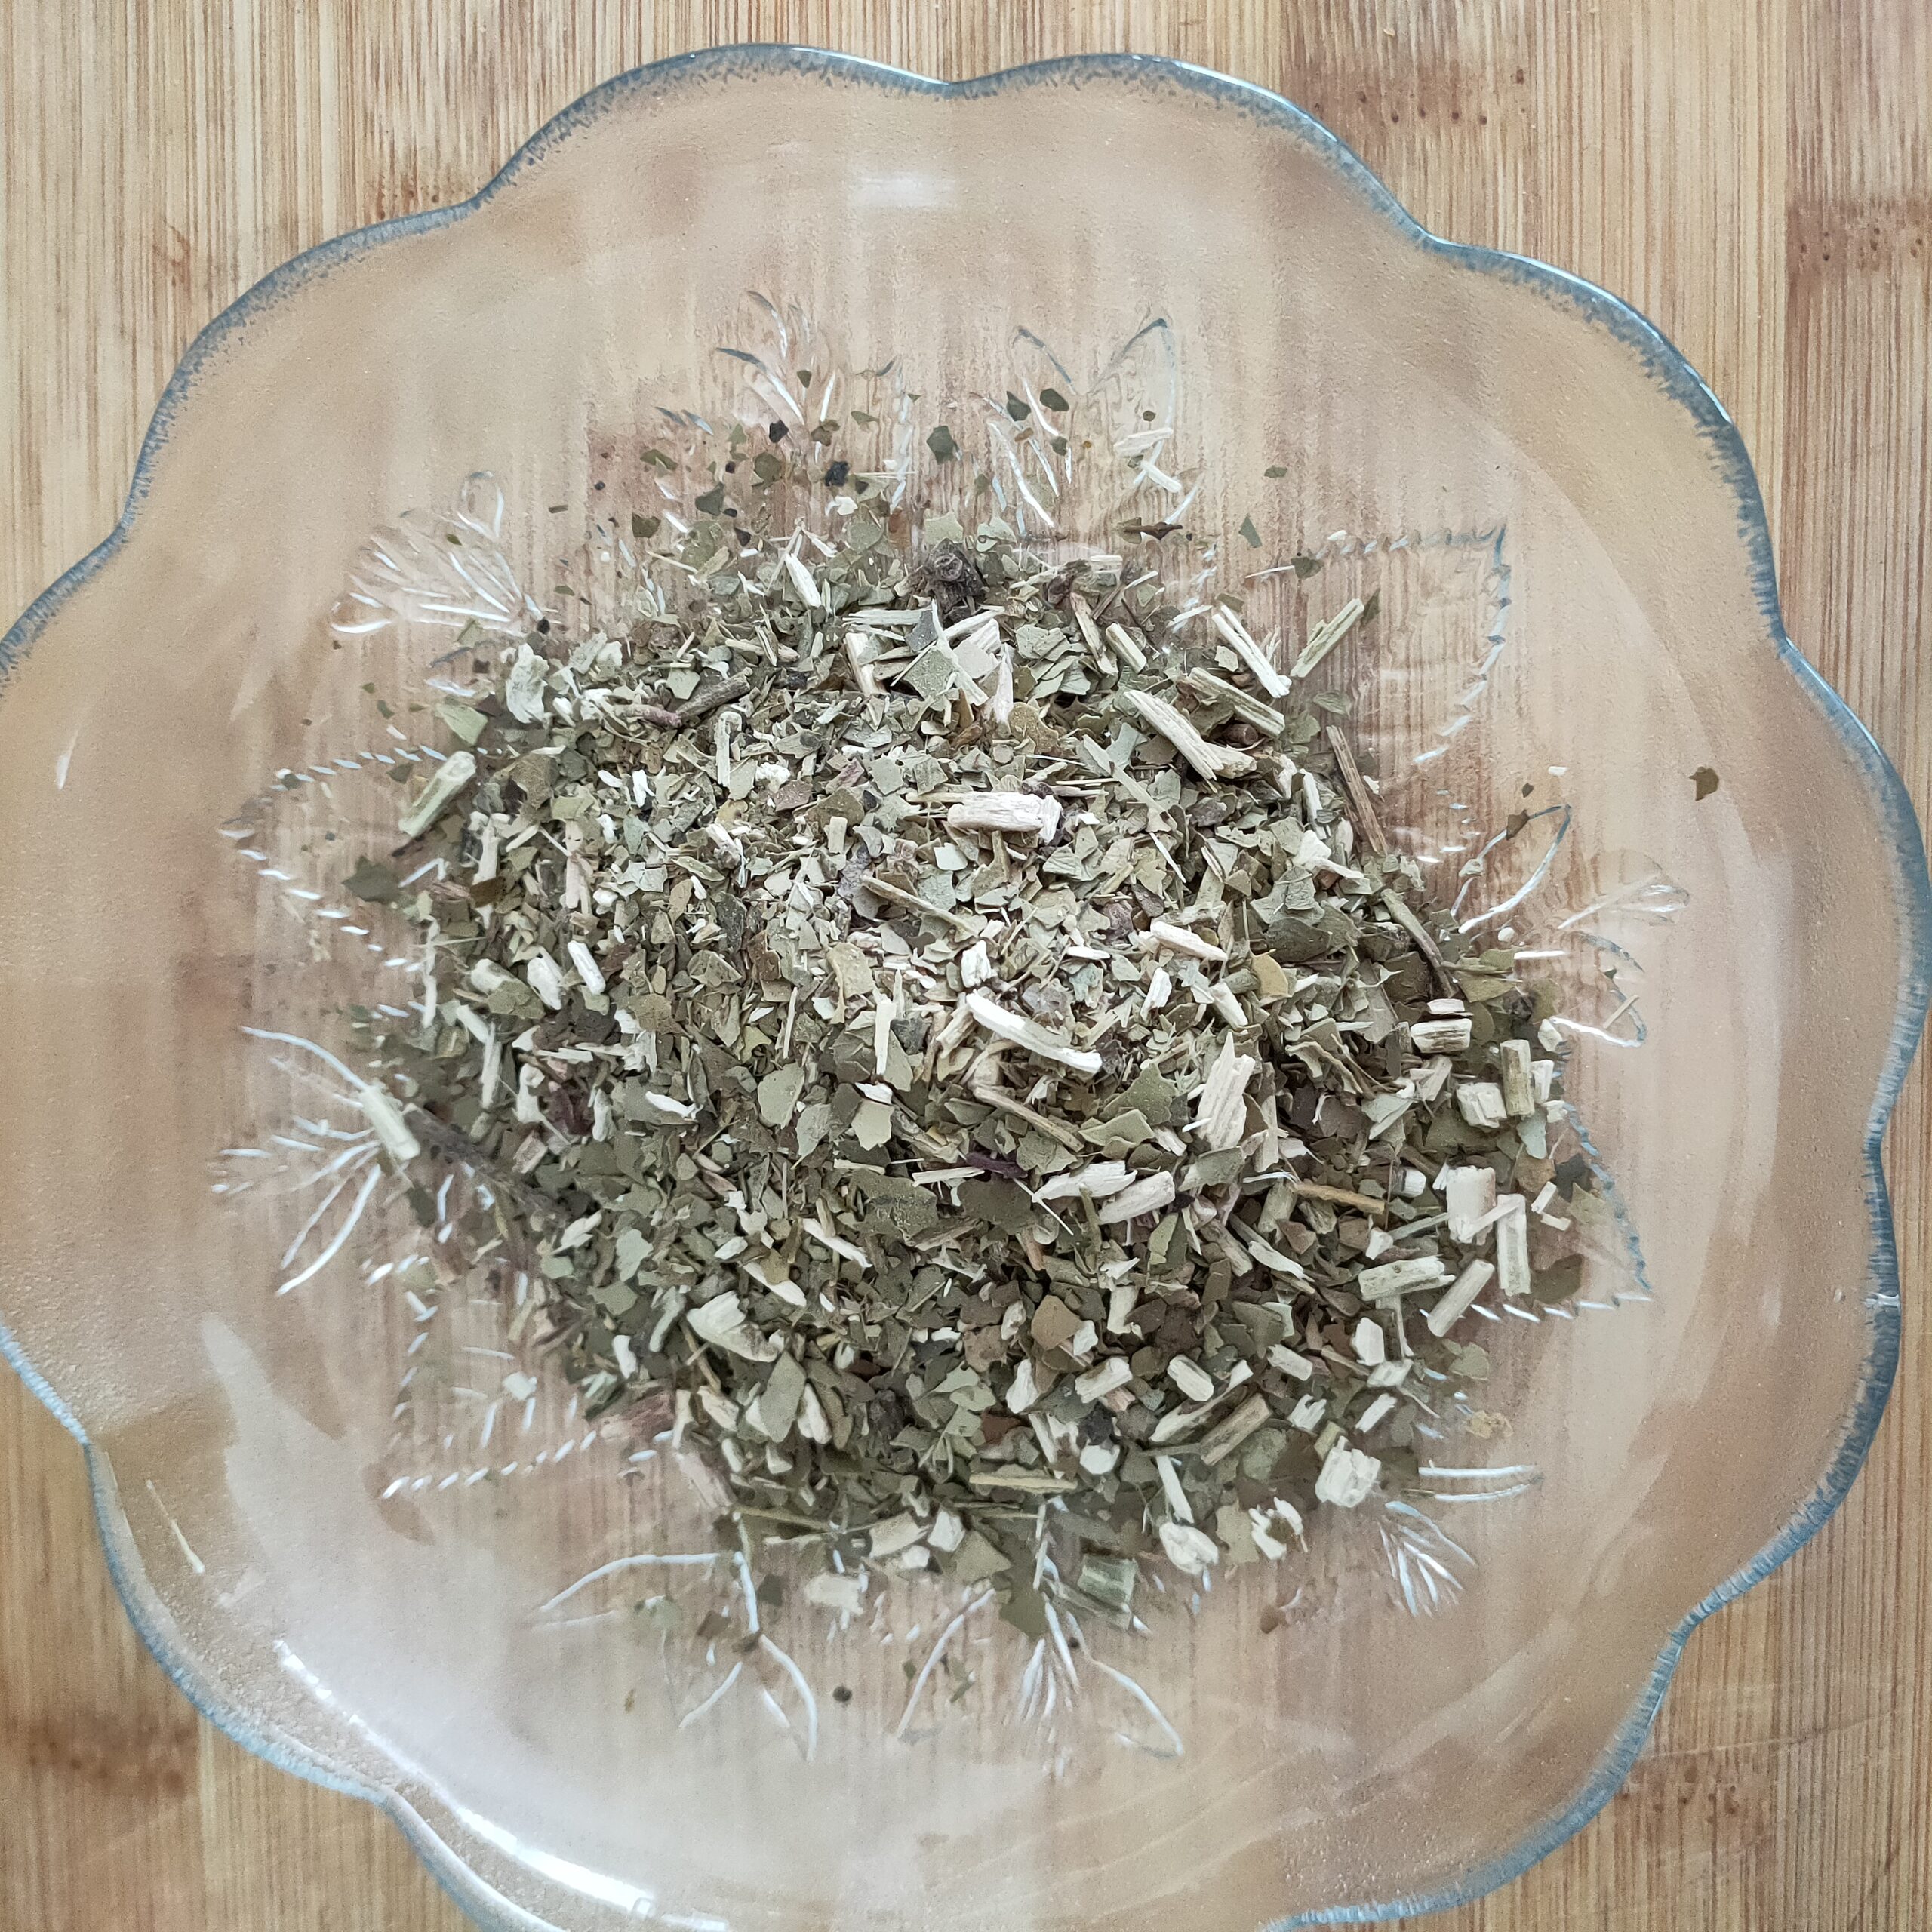
What is Yerba Mate
Yerba Mate is a South American tea that can be found in many speciality tea shops and also some health food shops.
Yerba Mate tea has been consumed for centuries in central and southern areas of South America. It is also considered by many as a health tea with many benefits attributed to it. I myself like a cup after a full meal. I do find it can help with bloating if I have over indulged a little.
There is a lot of information of the internet on its benefits and how to make it, but not a lot on dyeing with it. I decided to give it a go!
Solar Dyeing
This is basically putting your dyestuff in a glass jar and leaving it in the sun to work its magic. The beauty of living in Australia means that I do have the benefit of hot summers. If you don’t have these conditions, it does not mean you cannot try this process. You will just need to experiment with your own environments advantages and disadvantages. Leave it in a room that gets sunlight and may have great heating or try longer dyeing periods.
Safety Note
Always ensure when dyeing of any nature, to keep all saucepans and utensils used in the process, separate from your general cooking supplies. You do not want to cook with anything that has been used to mordant or naturally dye your fibres. You should also wear gloves and a mask while handling your chemicals.
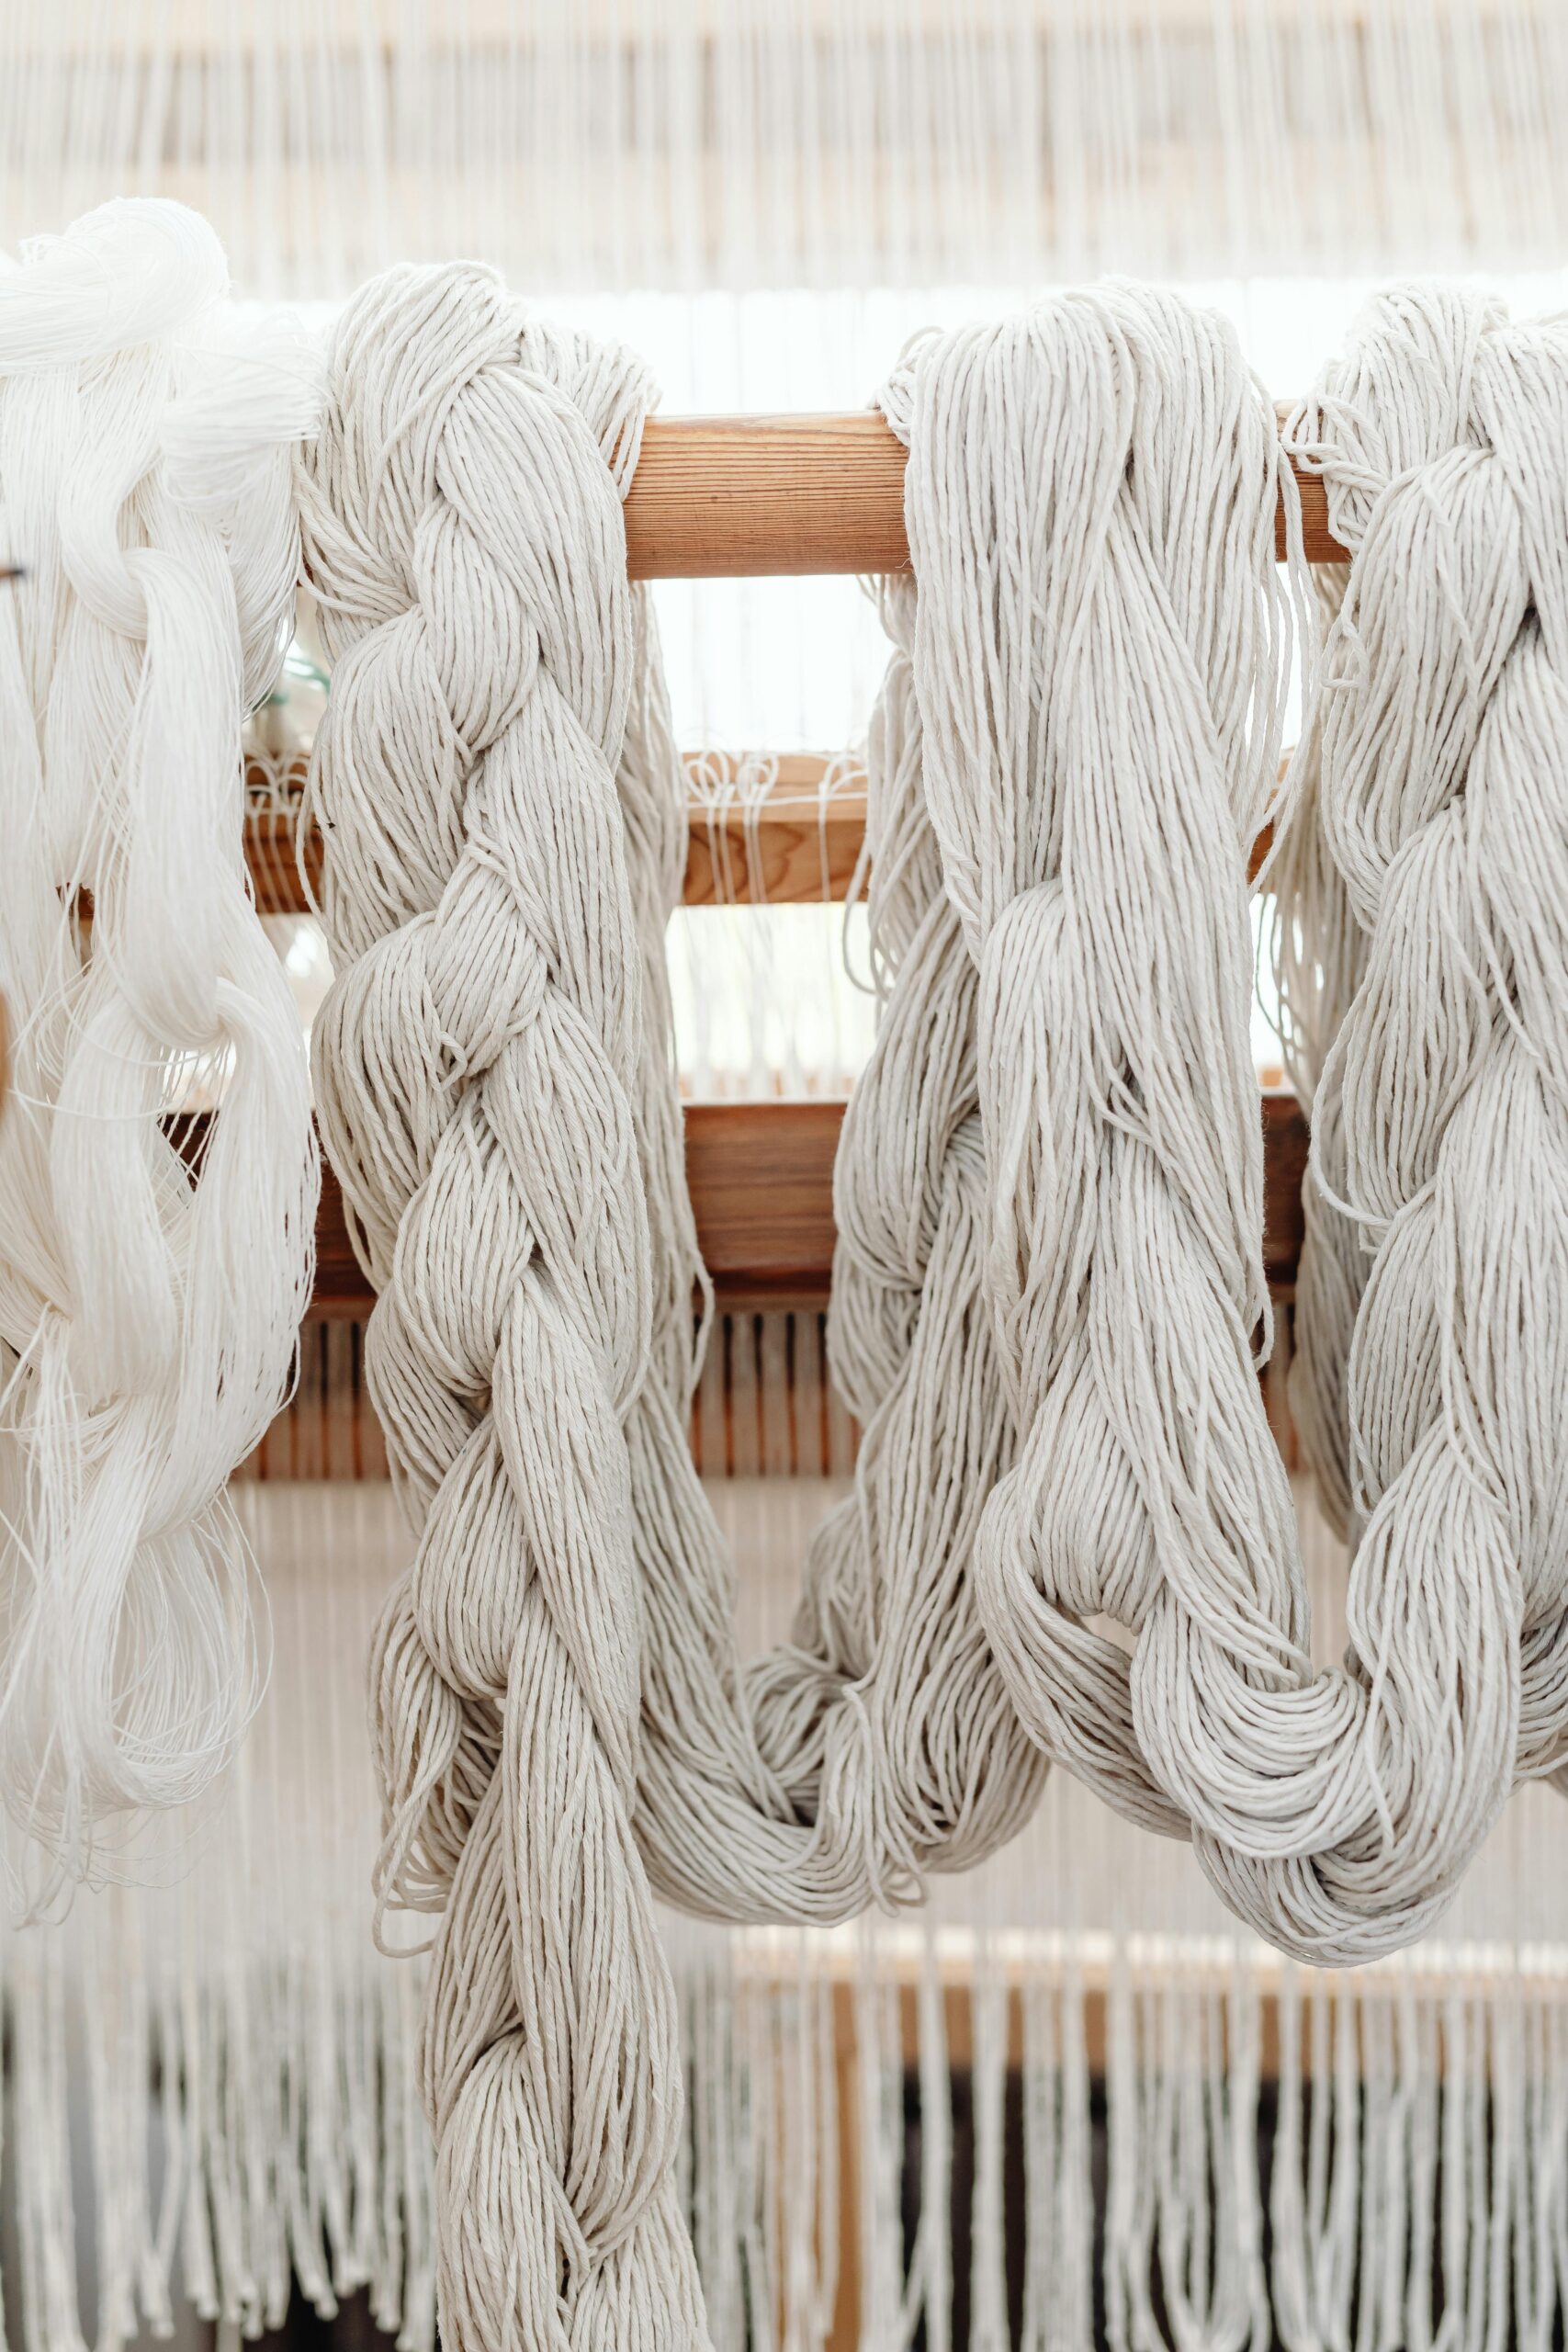
Fibre Preparation
Before dyeing you must first scour and mordant your fibre. Both scouring and washing your dye fibre is different depending on what type of fibre or material you are dying. If you would like more information about the differences between protein and cellulose fibre please click on this link.
For information on how to scour (wash) your wool click on the button below.
Mordanting
Before you begin dyeing with yerba mate you will need to mordant your fibre. Mordanting is the use of a metal to help the natural dye attach to the fibre.
In this instance I have used alum, copper and iron to mordant my fibres. Click on the links below to learn how to do this process.
Dyeing your wool with Yerba Mate
What you will Need
Boiling water
Yerba Mate – for this experiment I used 200% of the weight of the fibre being dyed.
Wool Fibre- I used 10 g merino roving pre scoured and mordanted with alum, 10g with no mordant, 10g mordanted with copper and 10g mordanted with iron
Glass Jar-You will need a glass jar for each experiment.
Procedure
I have used the same procedure for each piece of roving, keeping them separate so they do not contaminate each other.
Step1. Place your yerba mate in a heat proof bowl and pour over some boiling water. Allow to cool
Step 2. Place your mixture into a glass jar and leave out in the sun. I would leave it for at least a week and maybe 2 weeks if it has not been very hot.
Step3. Strain your dye bath and put back into the glass jar adding your fibre. Again I have left this for a week, but if the temperature has not been very warm you can leave it much longer.
Step 4. Take your fibre out of the jar and leave to dry. Once dry you can then give it a rinse in non running water. If you put wool under a running tap it may cause it to felt a little especially if you are dyeing roving. I always like to rinse my wool in several bowls of luke warm water.
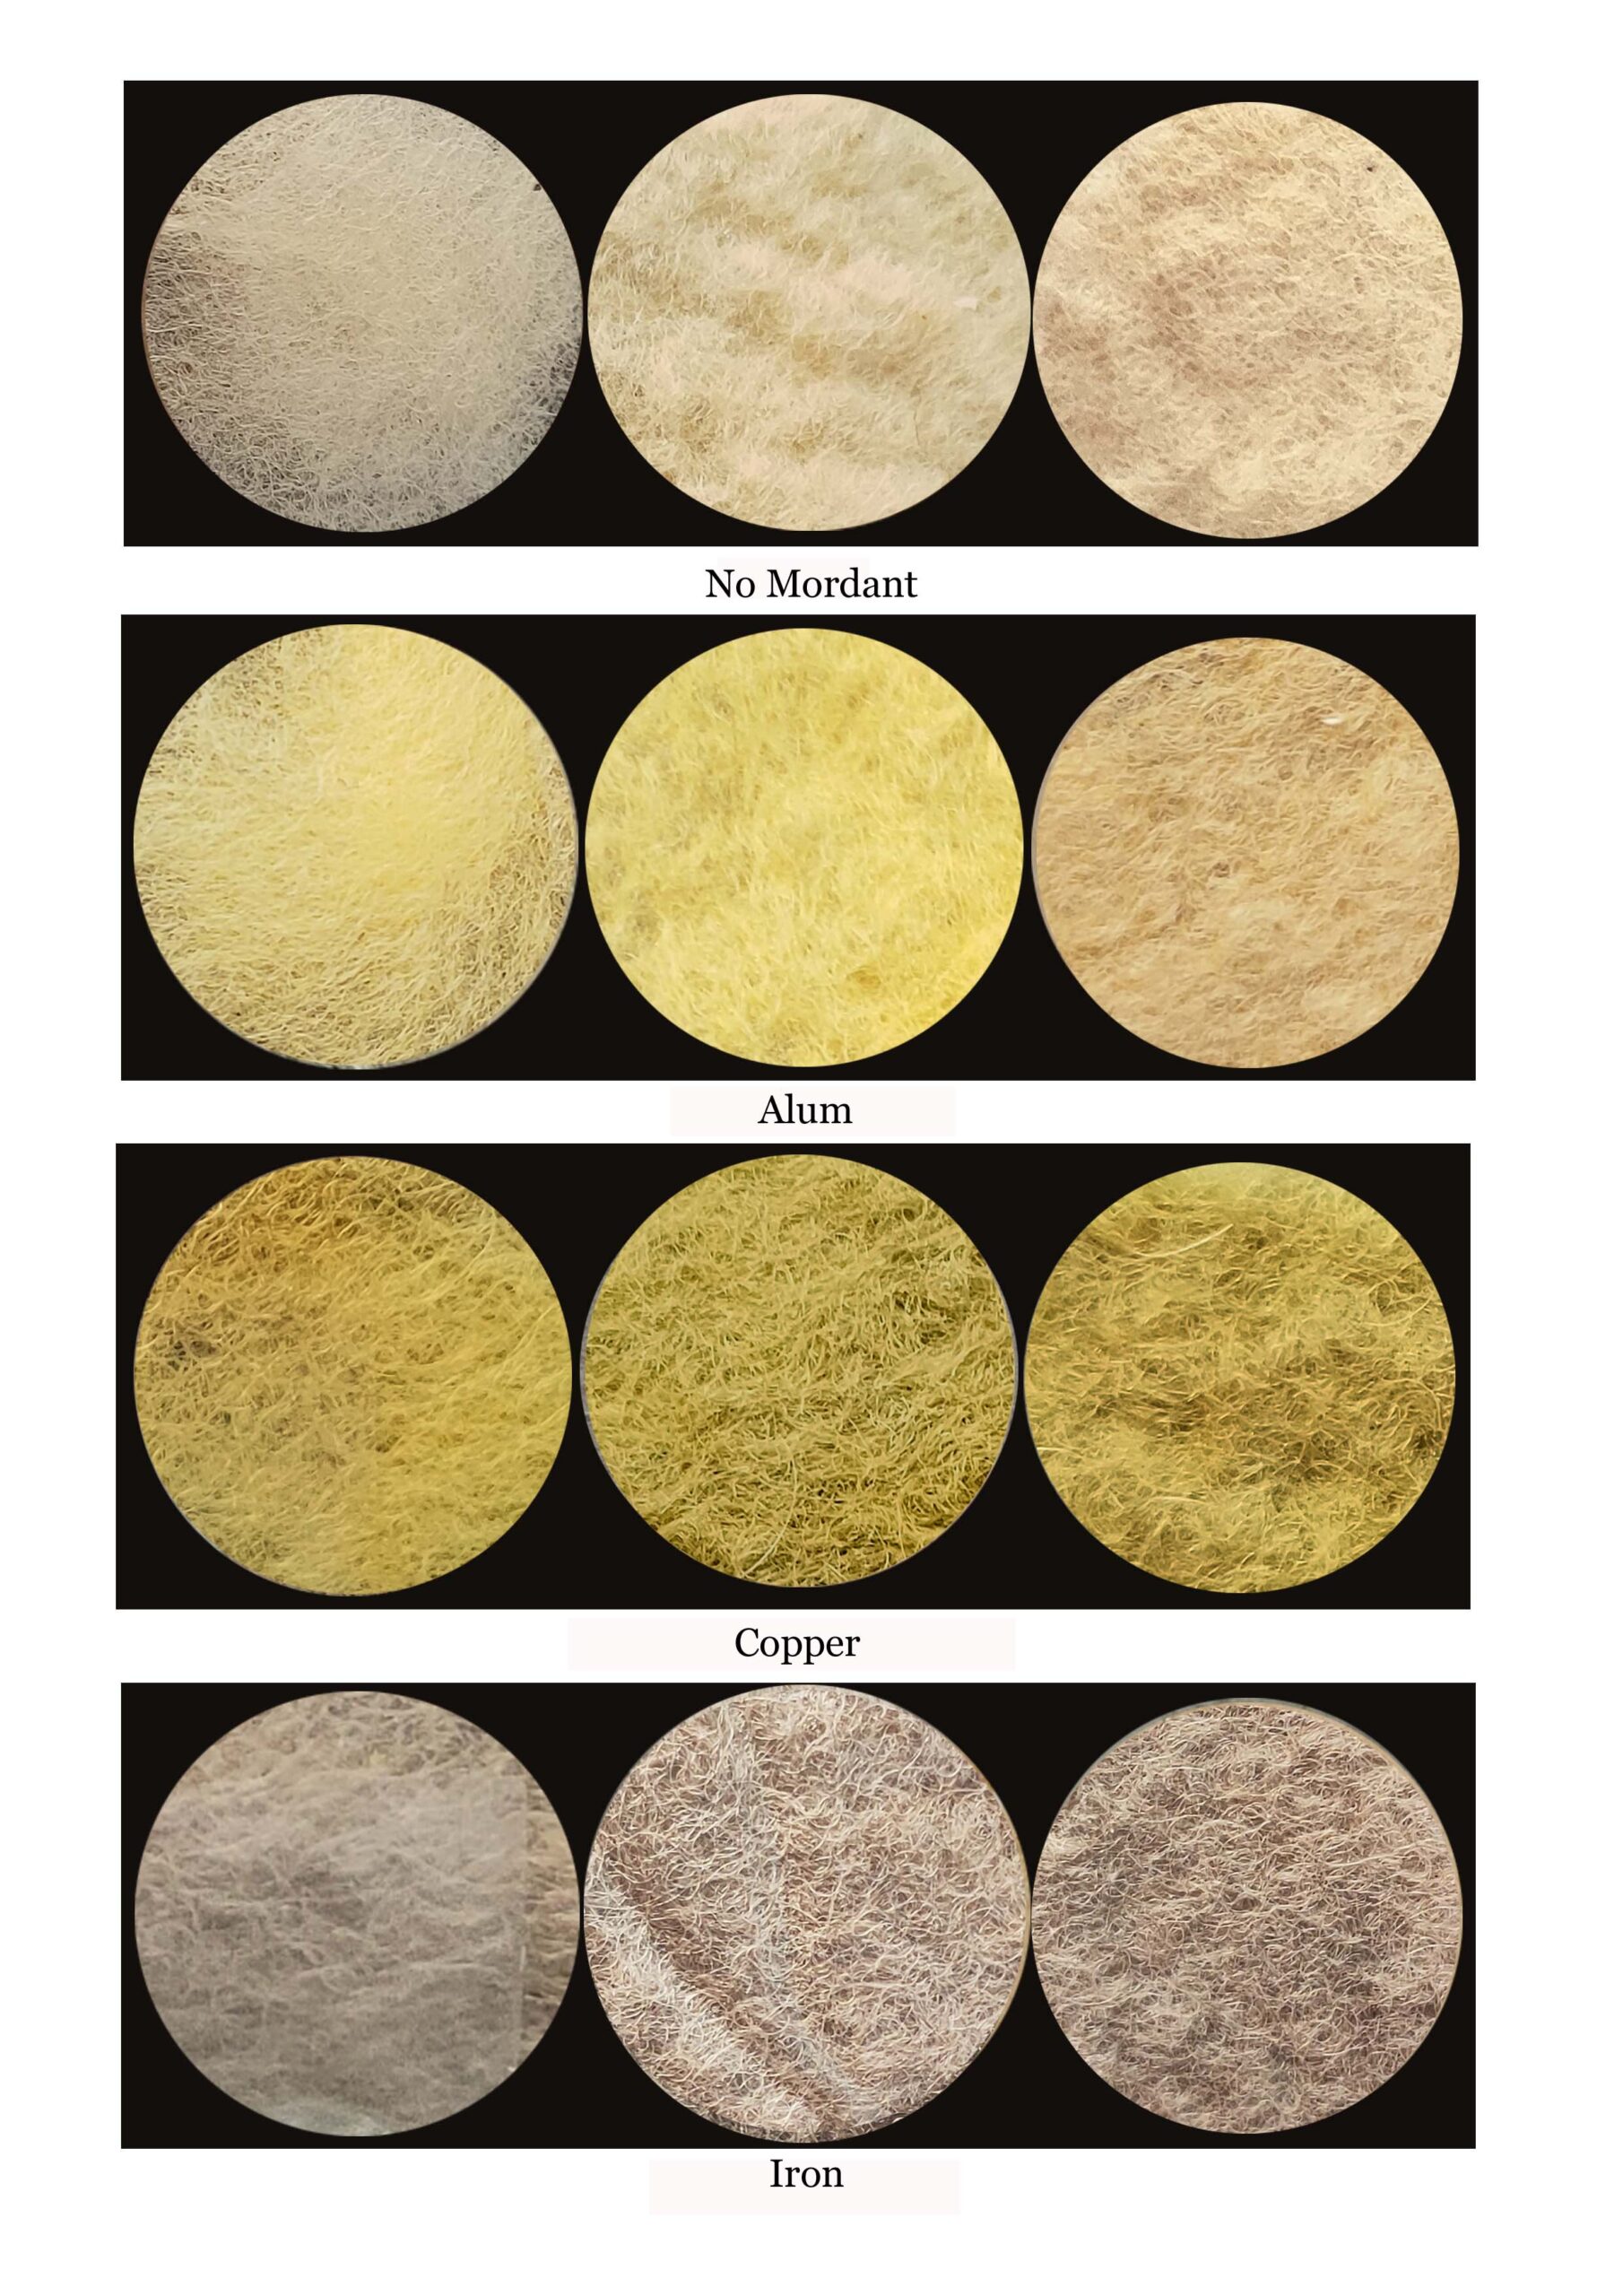
Results
I have been really happy with the results of these tests. Achieving some beautiful colours as well as some light fast ones.
The first column shows the wool roving after the dyeing process. I then felted the roving which is shown in the 2nd column. I figured that the wet felting procedure would be a good indication of how well the dye stands up to washing.
The last circle on this line is the sun test . The felt was left on a window sill for 4 weeks in the hot Australian summer, to see if it would fade.
As you can see, the no mordant experiment did not really give a lot of colour. The colour that it did give however, actually went a little darker in the sun test rather than fading.
The same happened with the alum. I go a beautiful bright yellow, however it did dull and slightly darken in the sun. It was such a beautiful yellow though, I will still use this on items that don’t get a lot of sun.
The copper result however was fantastic. I got a beautiful gold bronze colour that did not fade at all. A definite addition to my dyeing regulars.
The iron also came out with a lovely pinky brown that again did not fade at all. A new brown addition to my ever growing colour range.
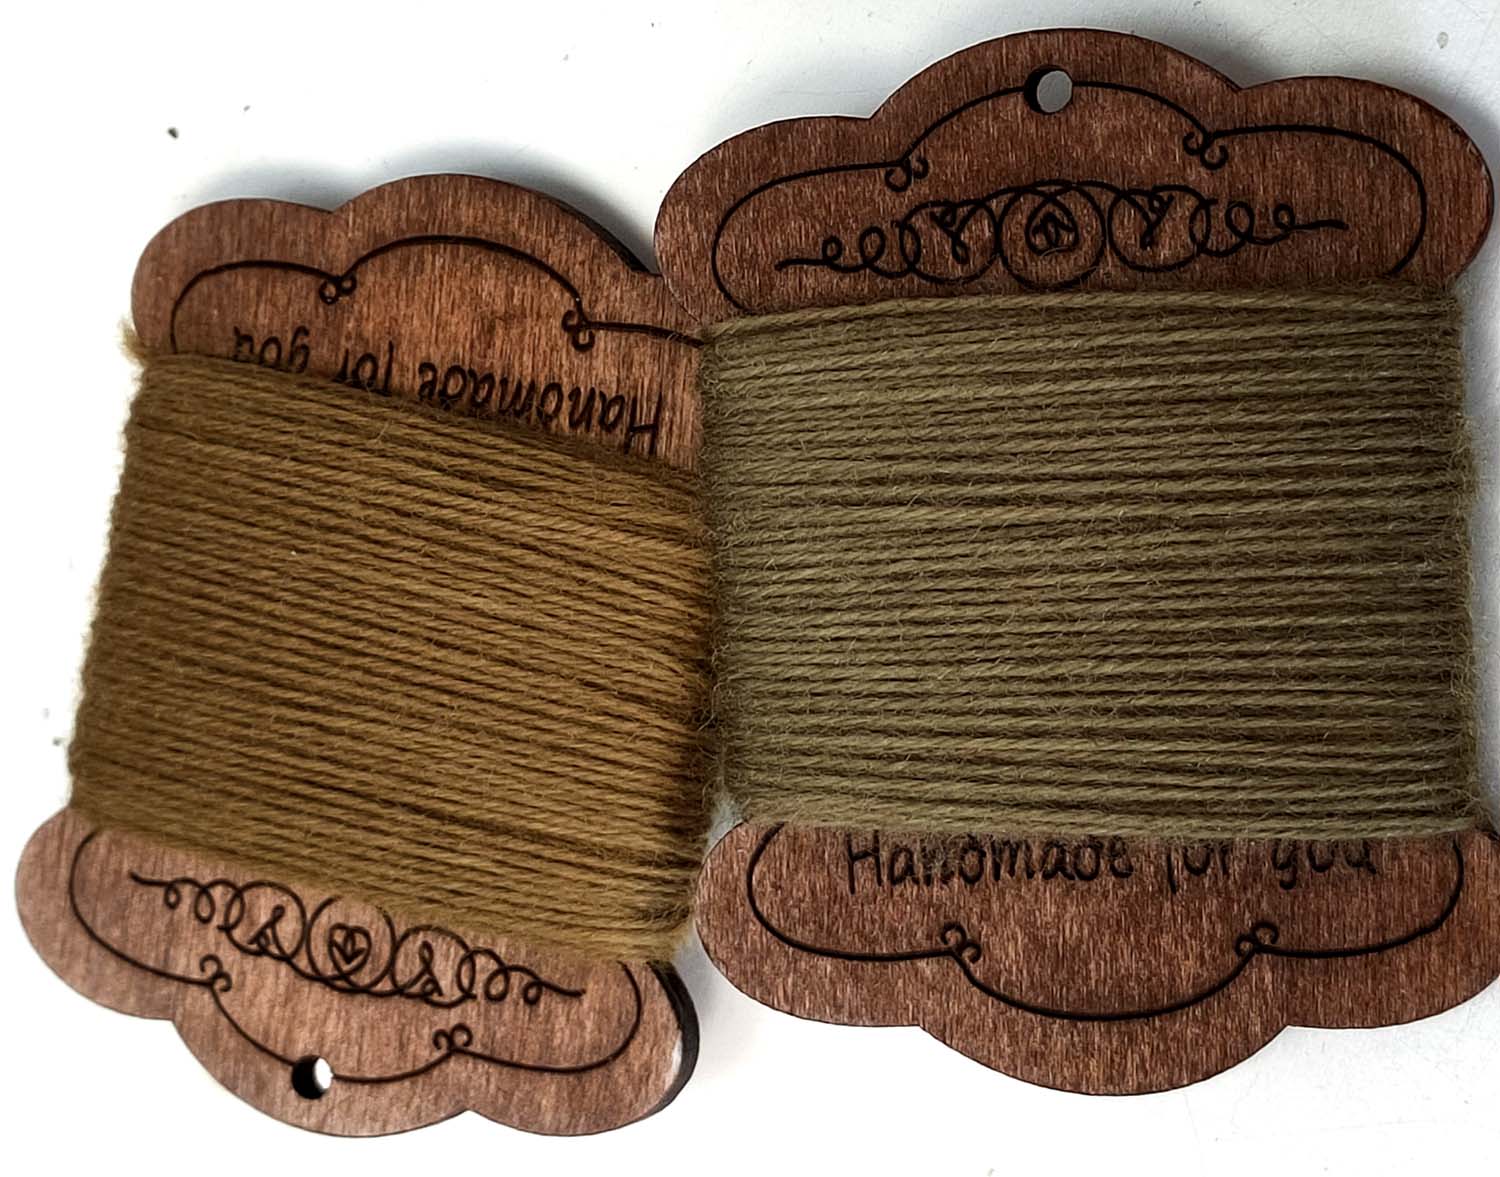
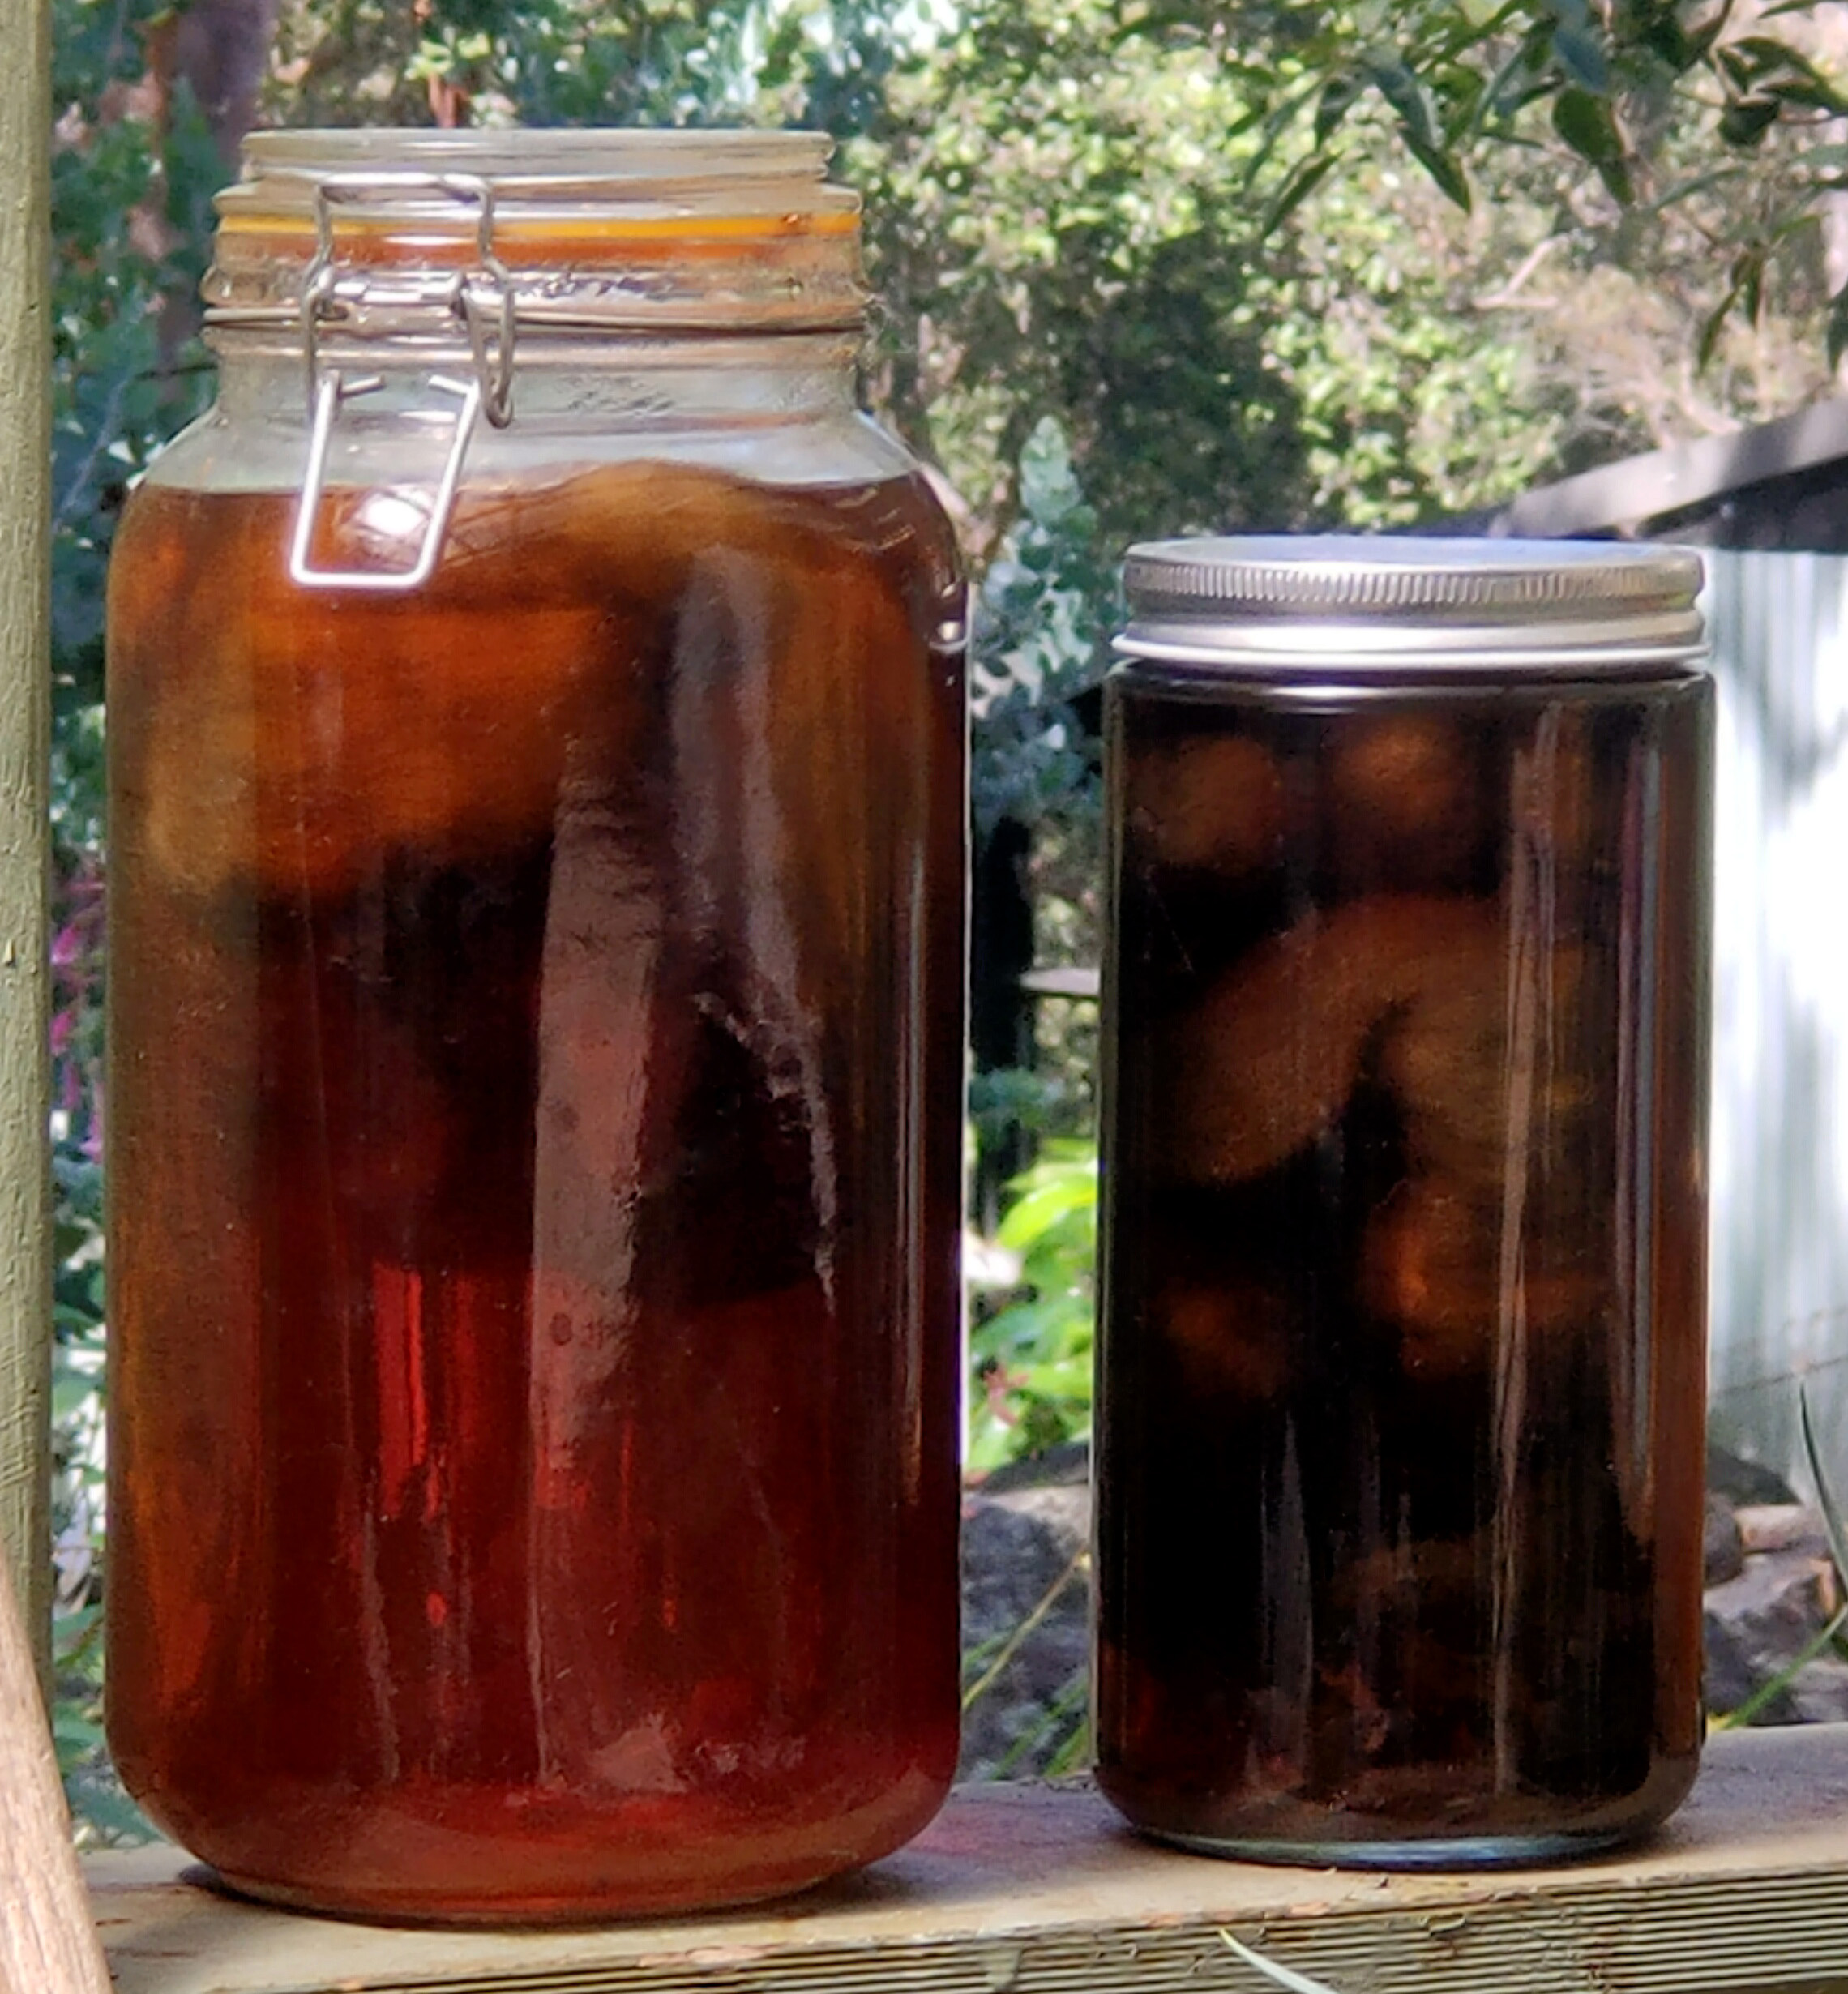
More Results
As you can see I have continued to play with my yerba mate. This picture shows both an initial solar bath (on the left) and a 2nd exhaust of the same bath (on the right) using 2ply merino wool. As you can see the initial bath gave the same golden bronze colour which then got greener with each subsequent exhaust bath. I am assuming that this happened as the ratio of yerba mate to copper changed during the exhausts baths.
Getting green from natural colours, without overdyeing is a wonderful achievement. I am so happy that I tried the yerba mate!
I hope this helps and encourages you to try your own experimenting in the world of natural dyes. 🙂
Join us on Instagram www.instagram/DyetoCraft
Etsy Shop Now open
If you like the idea of using organic naturally dyed threads in your craft but just don’t have the time, come and have a look at our Etsy Shop where you will find an array of beautiful colours provided by nature.