Dyeing with Walnut husks: The subtle shade.

Dyeing with walnut husks can add a lovely gentle colour to the craft palette.
Solar Dyeing
With this experiment, as with most , I am going to use the process of solar dyeing.
This is basically putting your dyestuff in a glass jar and leaving it in the sun to work its magic. The beauty of living in Australia means that I do have the benefit of hot summers. If you don’t have these conditions, it does not mean you cannot try this process. You will just need to experiment with your own environments advantages and disadvantages. Leave it in a room that gets sunlight and may have great heating or try longer dyeing periods.
These experiments are only to show you what has and hasn’t worked for me, so you can pick through the information to start your own experimenting journey.

Fibre Preparation
Before dyeing you must first scour and mordant your fibre. For information on these processes, try this post.
What you will need to solar dye with walnut husks
Boiling water
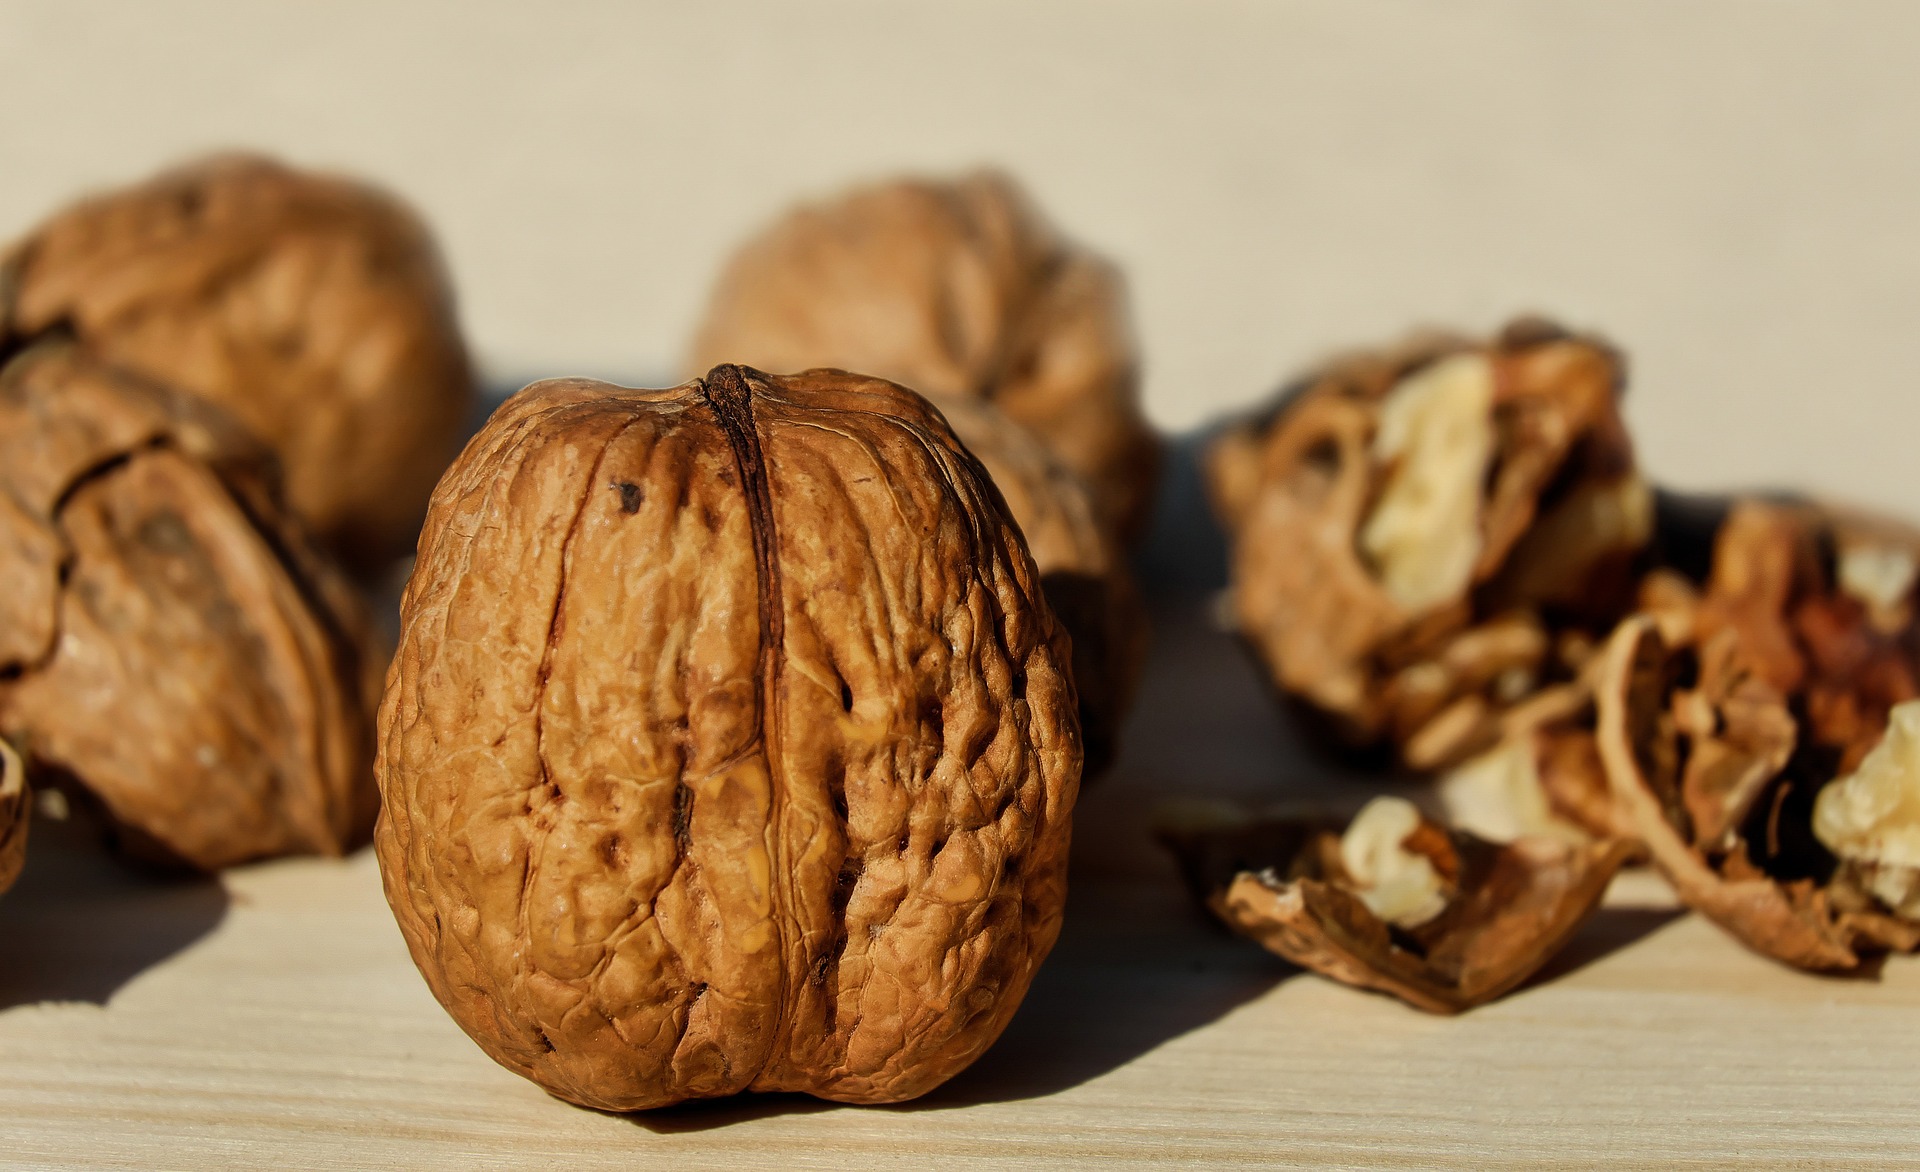
Walnut husks- for this experiment I have used the dried husks of english walnuts. Unfortunately this is all that was available to me. Black walnuts and fresh husks are meant to give much better results, so experiment with whatever you have near you.
I used 1 bag, walnuts removed (leaving husks), split between 2 jars.
Wool Fibre- In this instance, I wanted to experiment with mordanting vs non mordanting as walnuts are not meant to need mordant. I used 2 pieces of wool roving, 1 mordanted with alum and one just washed.
Bowl
Glass Jars

Procedure
Step 1: Place your dyestuff in a heat proof bowl and add boiling water
Step2: When cool enough transfer into your glass jars and leave outside. As the husks are very woody, I decided to leave them for 1 month, to extract the dye.
Step 3: Sieve your dye and add your fibre. Leave outside in the sun for 1 week. (It was summer in Australia, so was quite warm)
Unfortunately we did have a little issue at this stage. Possums seem to love coming and spending time on our balcony at night. I know it sounds rather lovely, but waking up to possum poop and destruction in the morning, can get a little tiresome. We have been lucky to be introduced to a few babies with their mothers, so there are some pluses. In this instance we lost the jar that had the mordanted wool in it, so we just had to continue with the non mordanted experiment.
Step 4: Take your wool out of the jar and leave to dry completely without rinsing.
Step 5: Rinse in water baths until they are clear. As I was using roving I did not want to use running water to start it felting, so I used a few bowls of water. Always make sure you wool does not experience dramatic temperature changes. Make your water room temperature. Leave to dry
Results when dyeing with walnut husks
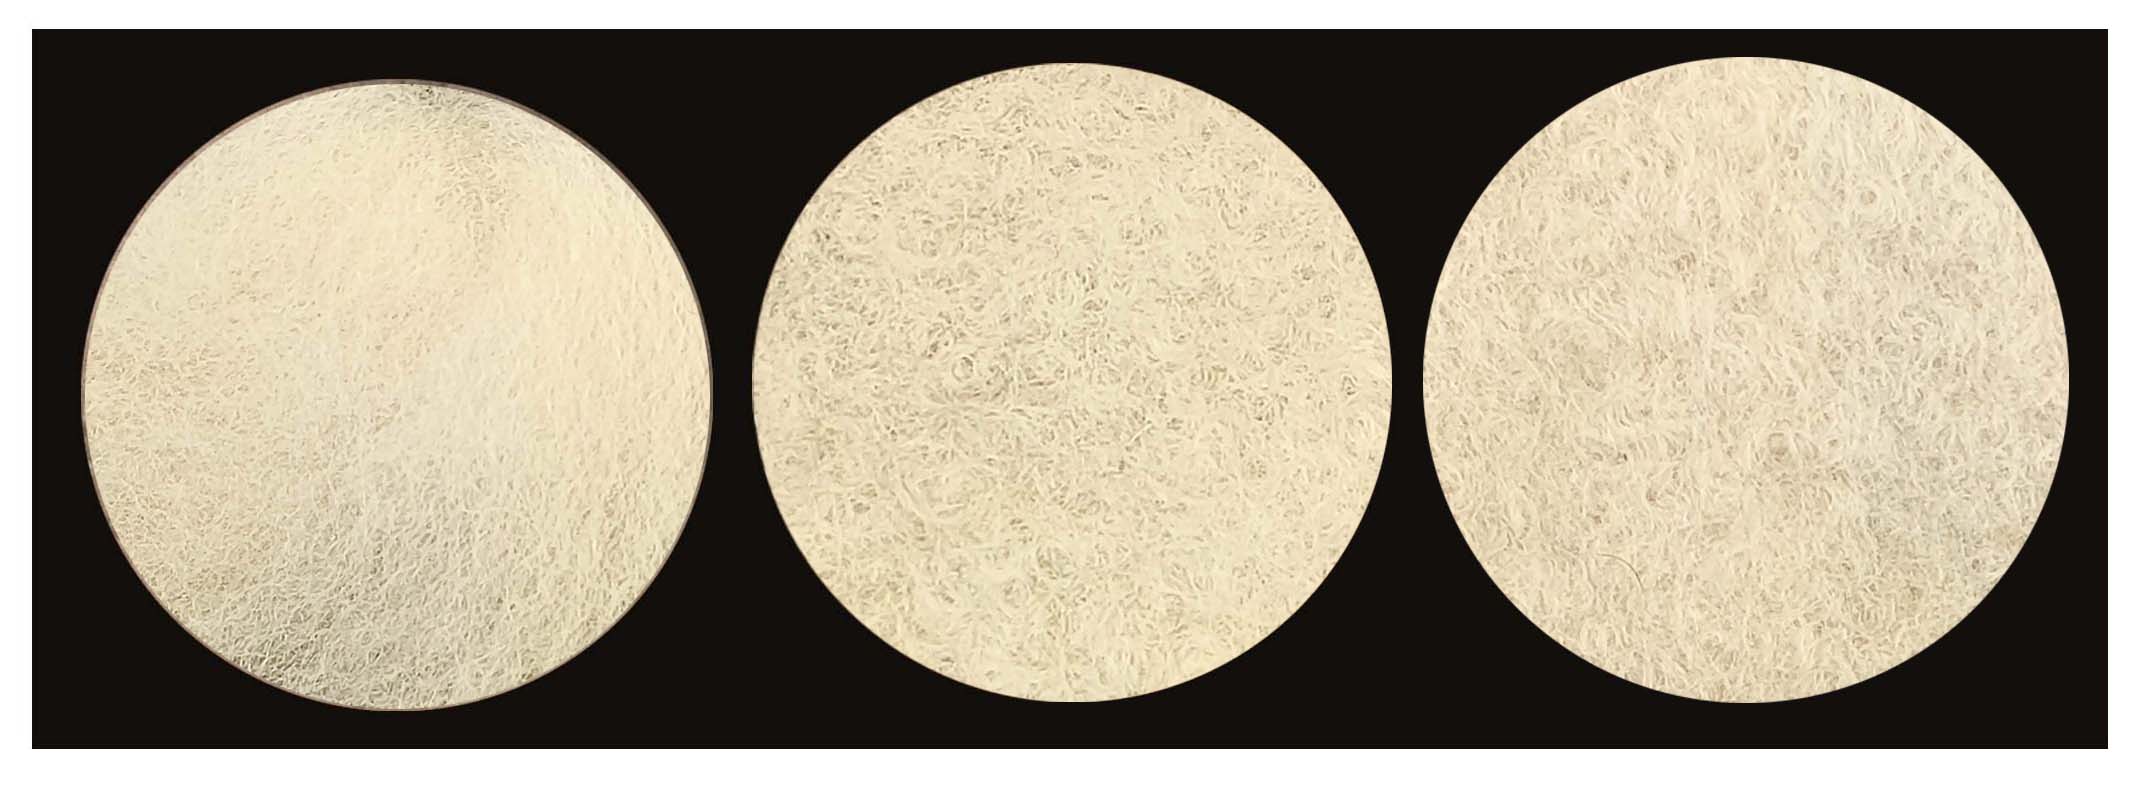
As you can see the colour as come out a beautiful soft cream/beige.
Across the page we have the roving after it was rinsed. Then comes the felt made from the roving. I figured that the wet felting procedure would be a good indication of how well the dye stands up to washing. Then comes the sun test. The felt was left on a window sill for 4 weeks in the hot Australian summer to see if it would fade.
As you can see, the dye stood up to washing and sun quite well. Even without mordant, the colour is stable, and it is hard to see in the photo, but really is a lovely soft colour.
All up I was really quite happy with the results and have already used this felt for a small bear. Unfortunately the shop where I got the walnuts from has not had any for sale since. There are some walnut farms about and hour and a half drive away, so I am looking forward to going walnut picking in March/ April when I will continue Dyeing with walnut husks.
Update 8/8/2024
I have since done some further experiments on dyeing 2 ply wool with walnut shells.
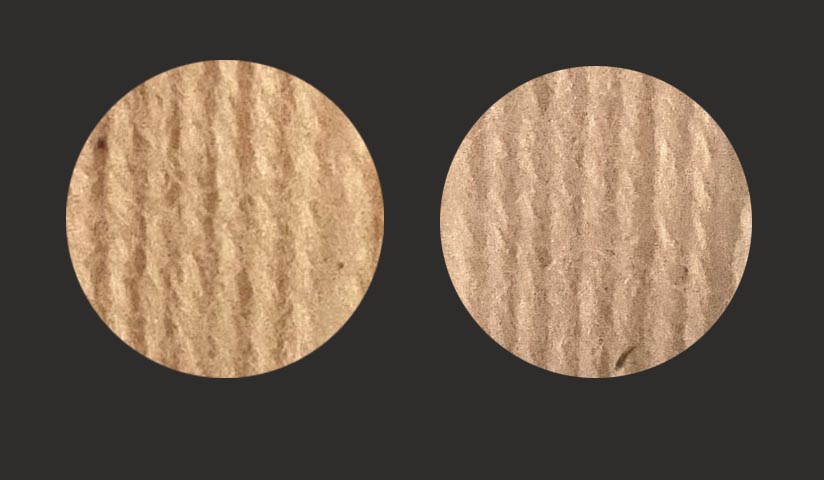
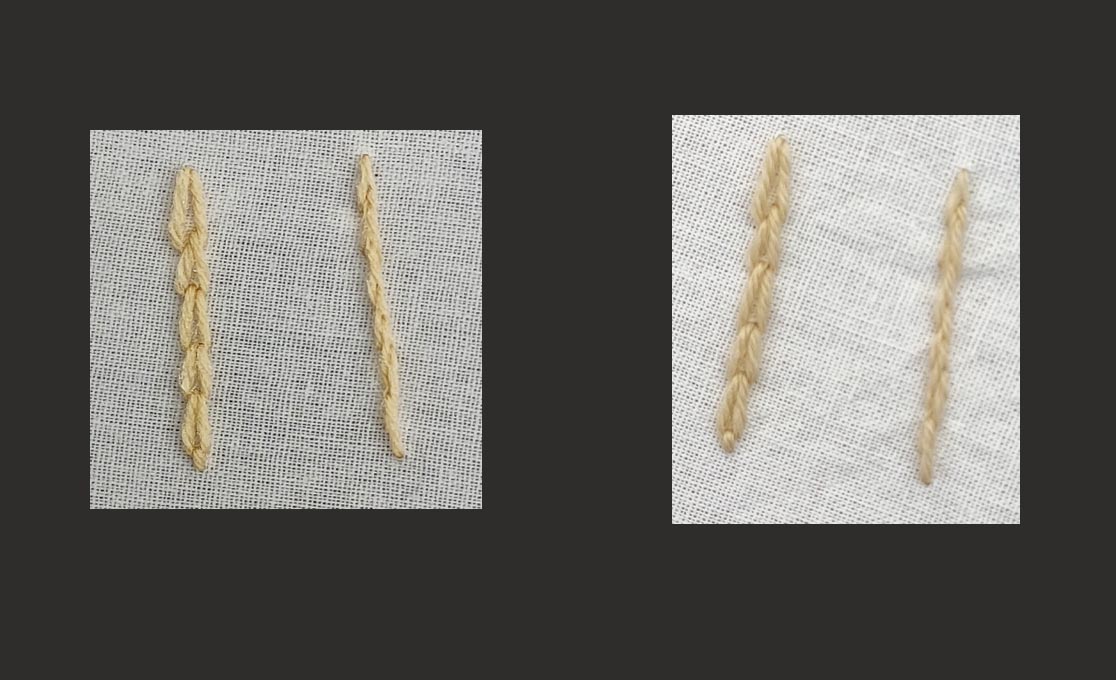
The first picture shows a sun test. For some reason the photos look a little darker than the actual threads. The threads held up to the sun very well and if anything may have actually got a little darker.
The second pictures shows a wash test on the threads. The first square in after the threads have been sprayed with water (while still wet). The second square shows after the fabric has been hand washed with a gentle soap and warm water. The results were great with no colour bleeding occurring at all.
I hope this helps and encourages you to try your own experimenting in the world of natural dyes. 🙂
Join us on Instagram www.instagram.com/DyetoCraft
Etsy Shop Now open
If you like the idea of using organic naturally dyed threads in your craft but just don’t have the time, come and have a look at our Etsy Shop where you will find an array of beautiful colours provided by nature.

