Dyeing with Tea using no mordant and iron.

We have previously looked at how using an iron mordant can effect dyeing with coffee. It is now time to try it dyeing with tea.
Dyeing with Tea and Iron mordant
Dyeing with tea is a cheap and easy way to start your naturally dyeing journey. Previously we have seen the results of dyeing with tea using an alum mordant. However tea is meant to be very high in tannins so hopefully we can exclude this stage saving time and money making it even easier to use start to your natural dyeing journey.
I also wanted to have a look at using an iron mordant with tea. This will hopefully give us an added colour to add to our natural dyed palette.
If you like to see the previous experiment on naturally dyeing with tea, press the link below.
For both of these experiments I have used the solar dyeing method, the same way as I did for the previous tea experiment.
Solar Dyeing
This is basically putting your dyestuff in a glass jar and leaving it in the sun to work its magic. The beauty of living in Australia means that I do have the benefit of hot summers. If you don’t have these conditions, it does not mean you cannot try this process. You will just need to experiment with your own environments advantages and disadvantages. Leave it in a room that gets sunlight and may have great heating or try longer dyeing periods.
With coffee and tea you really should be able to get good results just leaving your fibre in a bowl with your particular dyestuff. The procedure that I have used below is only 1 example of how to dye with coffee and tea. These experiments are only a guide as to what has and hasn’t worked for me, so you can pick through the information to start your own experimenting journey.

Safety Note
Always ensure when dyeing of any nature, to keep all saucepans and utensils used in the process, separate from your general cooking supplies. You do not want to cook with anything that has been used to mordant or naturally dye your fibres. You should also wear gloves and a mask while handling your chemicals.
Fibre Preparation
Before dyeing you must first scour and mordant your fibre. Both scouring and washing your dye fibre is different depending on what type of fibre or material you are dying. If you would like more information about the differences between protein and cellulose fibre please click on this link.
For information on how to scour (wash) your wool, you can either refer to the previous coffee post as linked above or click on the button below.
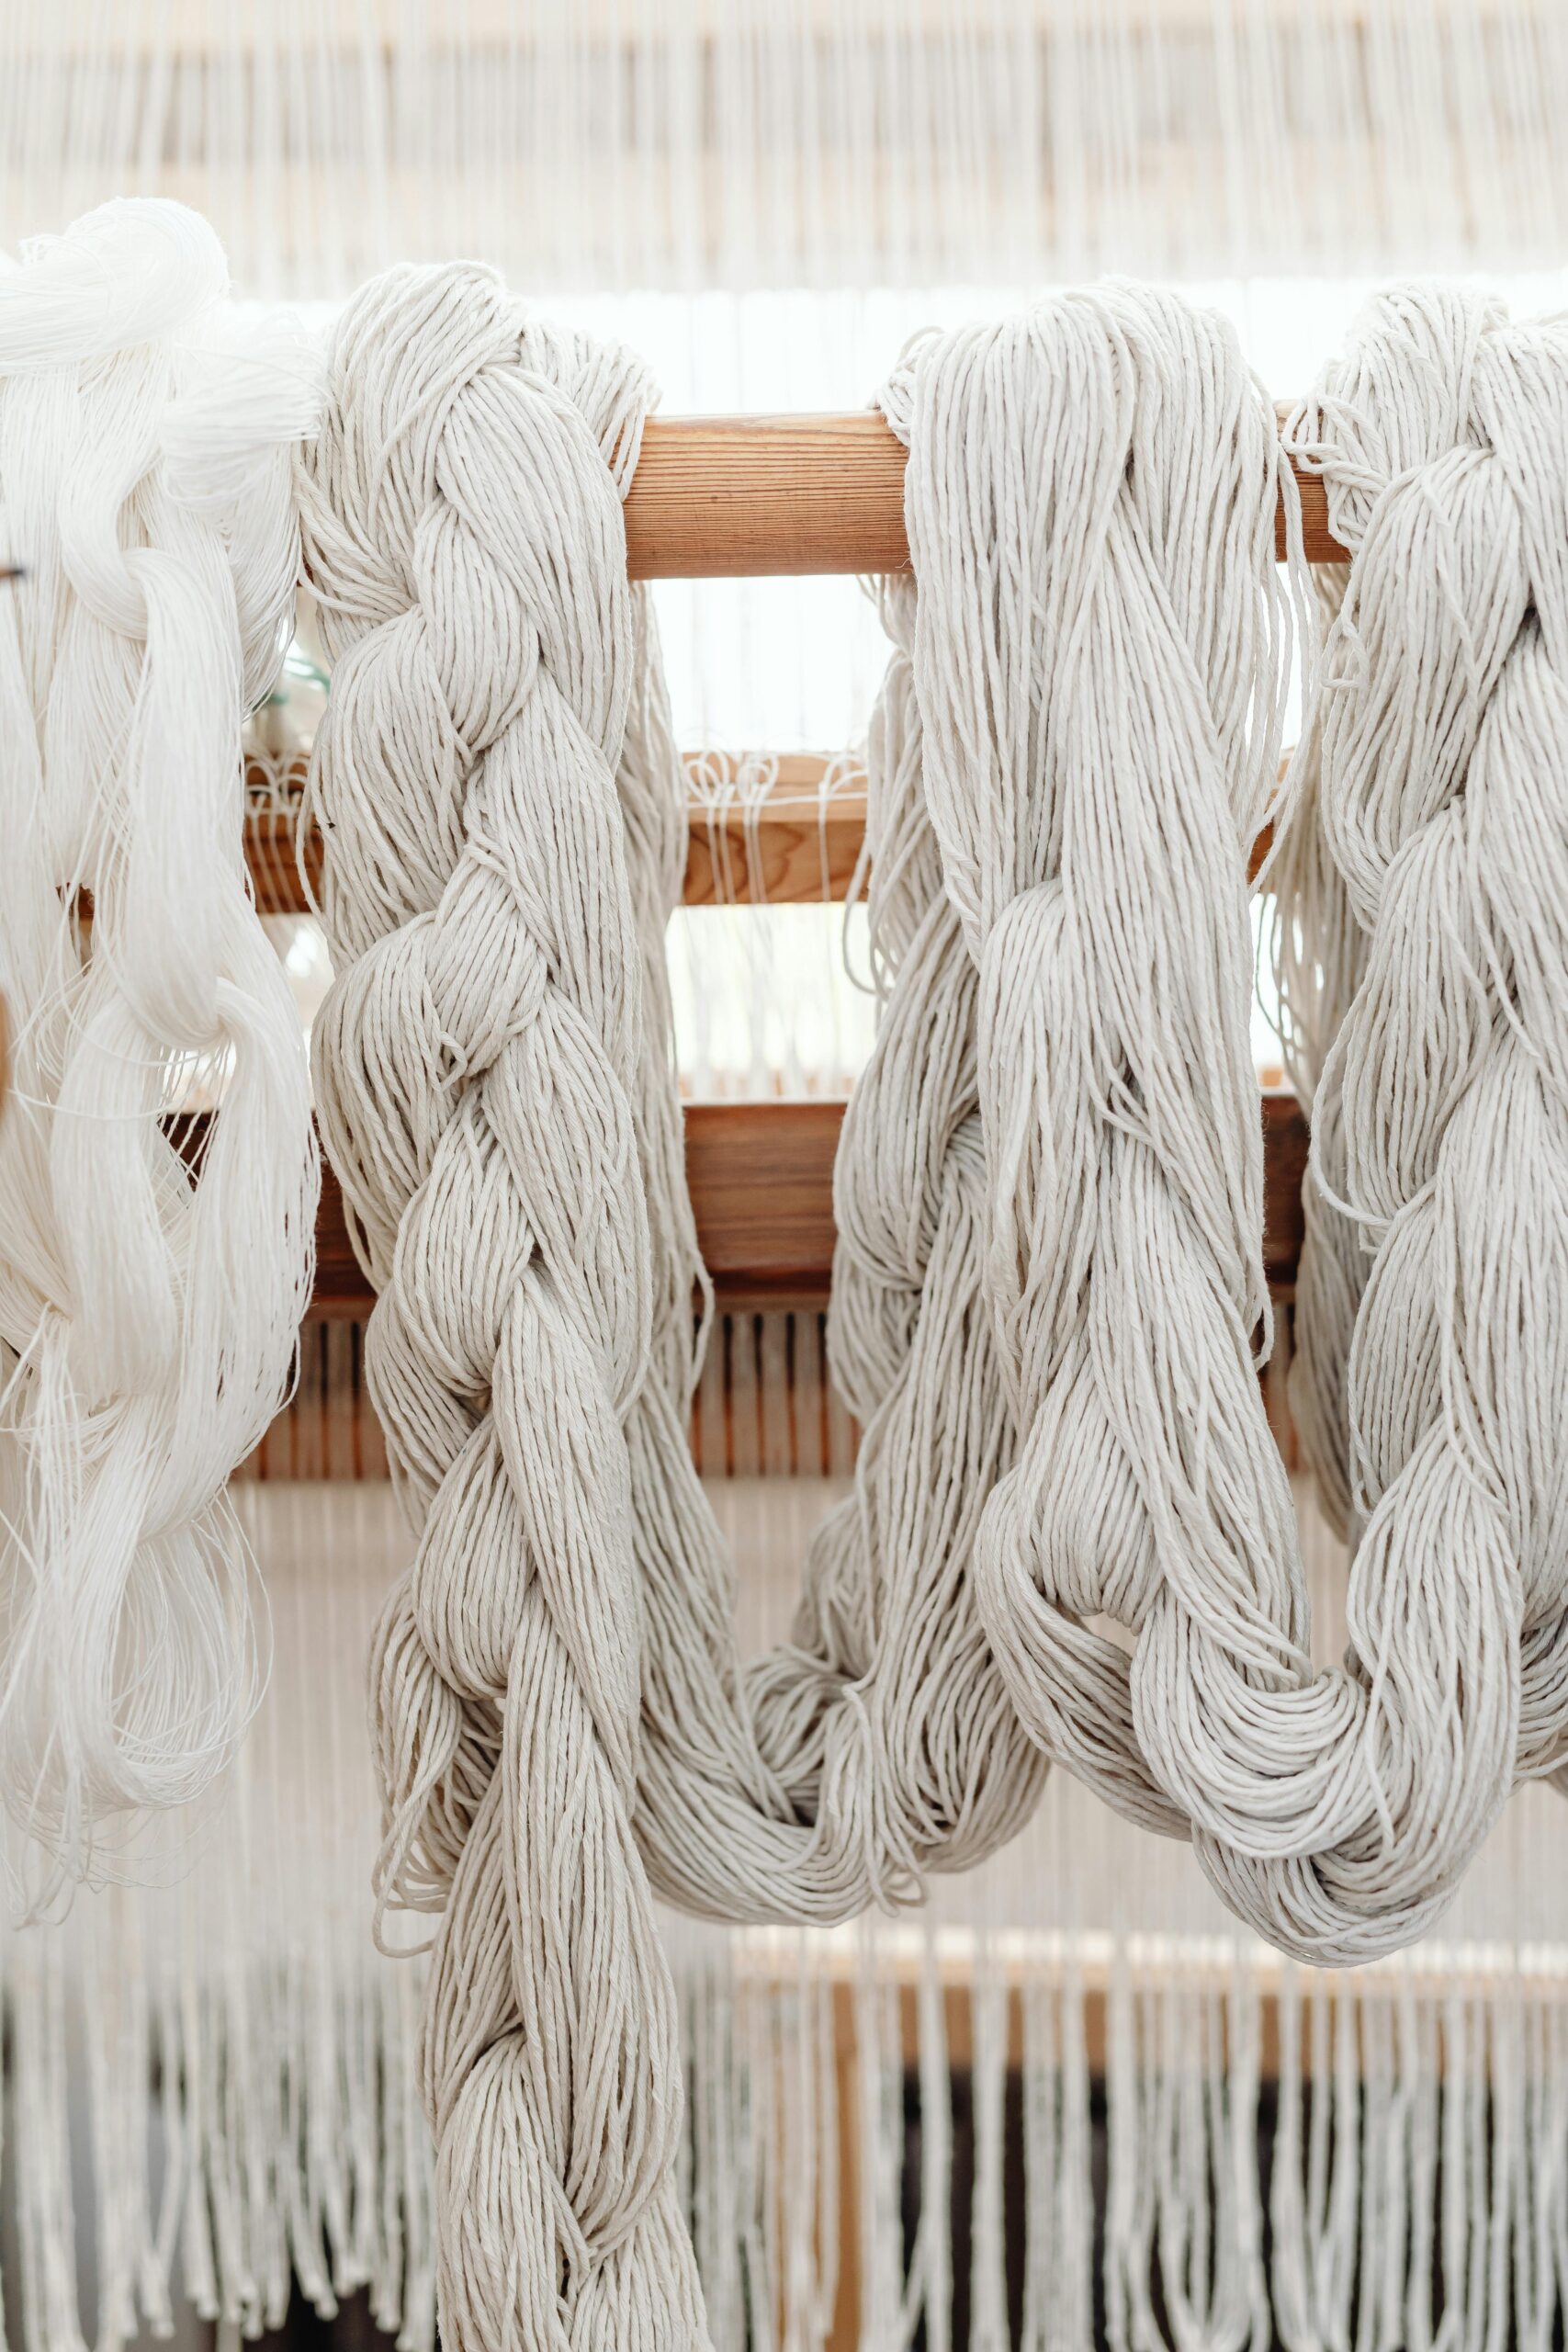
In these experiments I scoured 2, 10g pieces of wool roving. I left 1 unmordanted and used iron to mordant the other.
Mordanting–What will you need?
Saucepan- large enough that your fibres can move gently through the water
Water
Washed Fibre- Your fibre should be wet when added to the pan. You can mordant your fibre straight after washing and rinsing. If you have previously dried your fibre after washing, place it in a bowl of water for half an hour to get the cells open and ready for the mordant.
Iron water . For information on making your own iron water click the link below.
Thermometer
Measurements.
The first thing you will need to do is weigh your fibre. You will need to now how much fibre you have, to determine how much iron mordant to use. This measurement is called WOF (weight of fibre)
In most instances you will need 1 cup of iron mordant to 150g of fibre.
Process
The process is pretty much the same as with your alum mordanting.
Step 1:
Place enough water in your saucepan so your fibres can move freely
Step2:
Add your iron water and stir.
Step3:
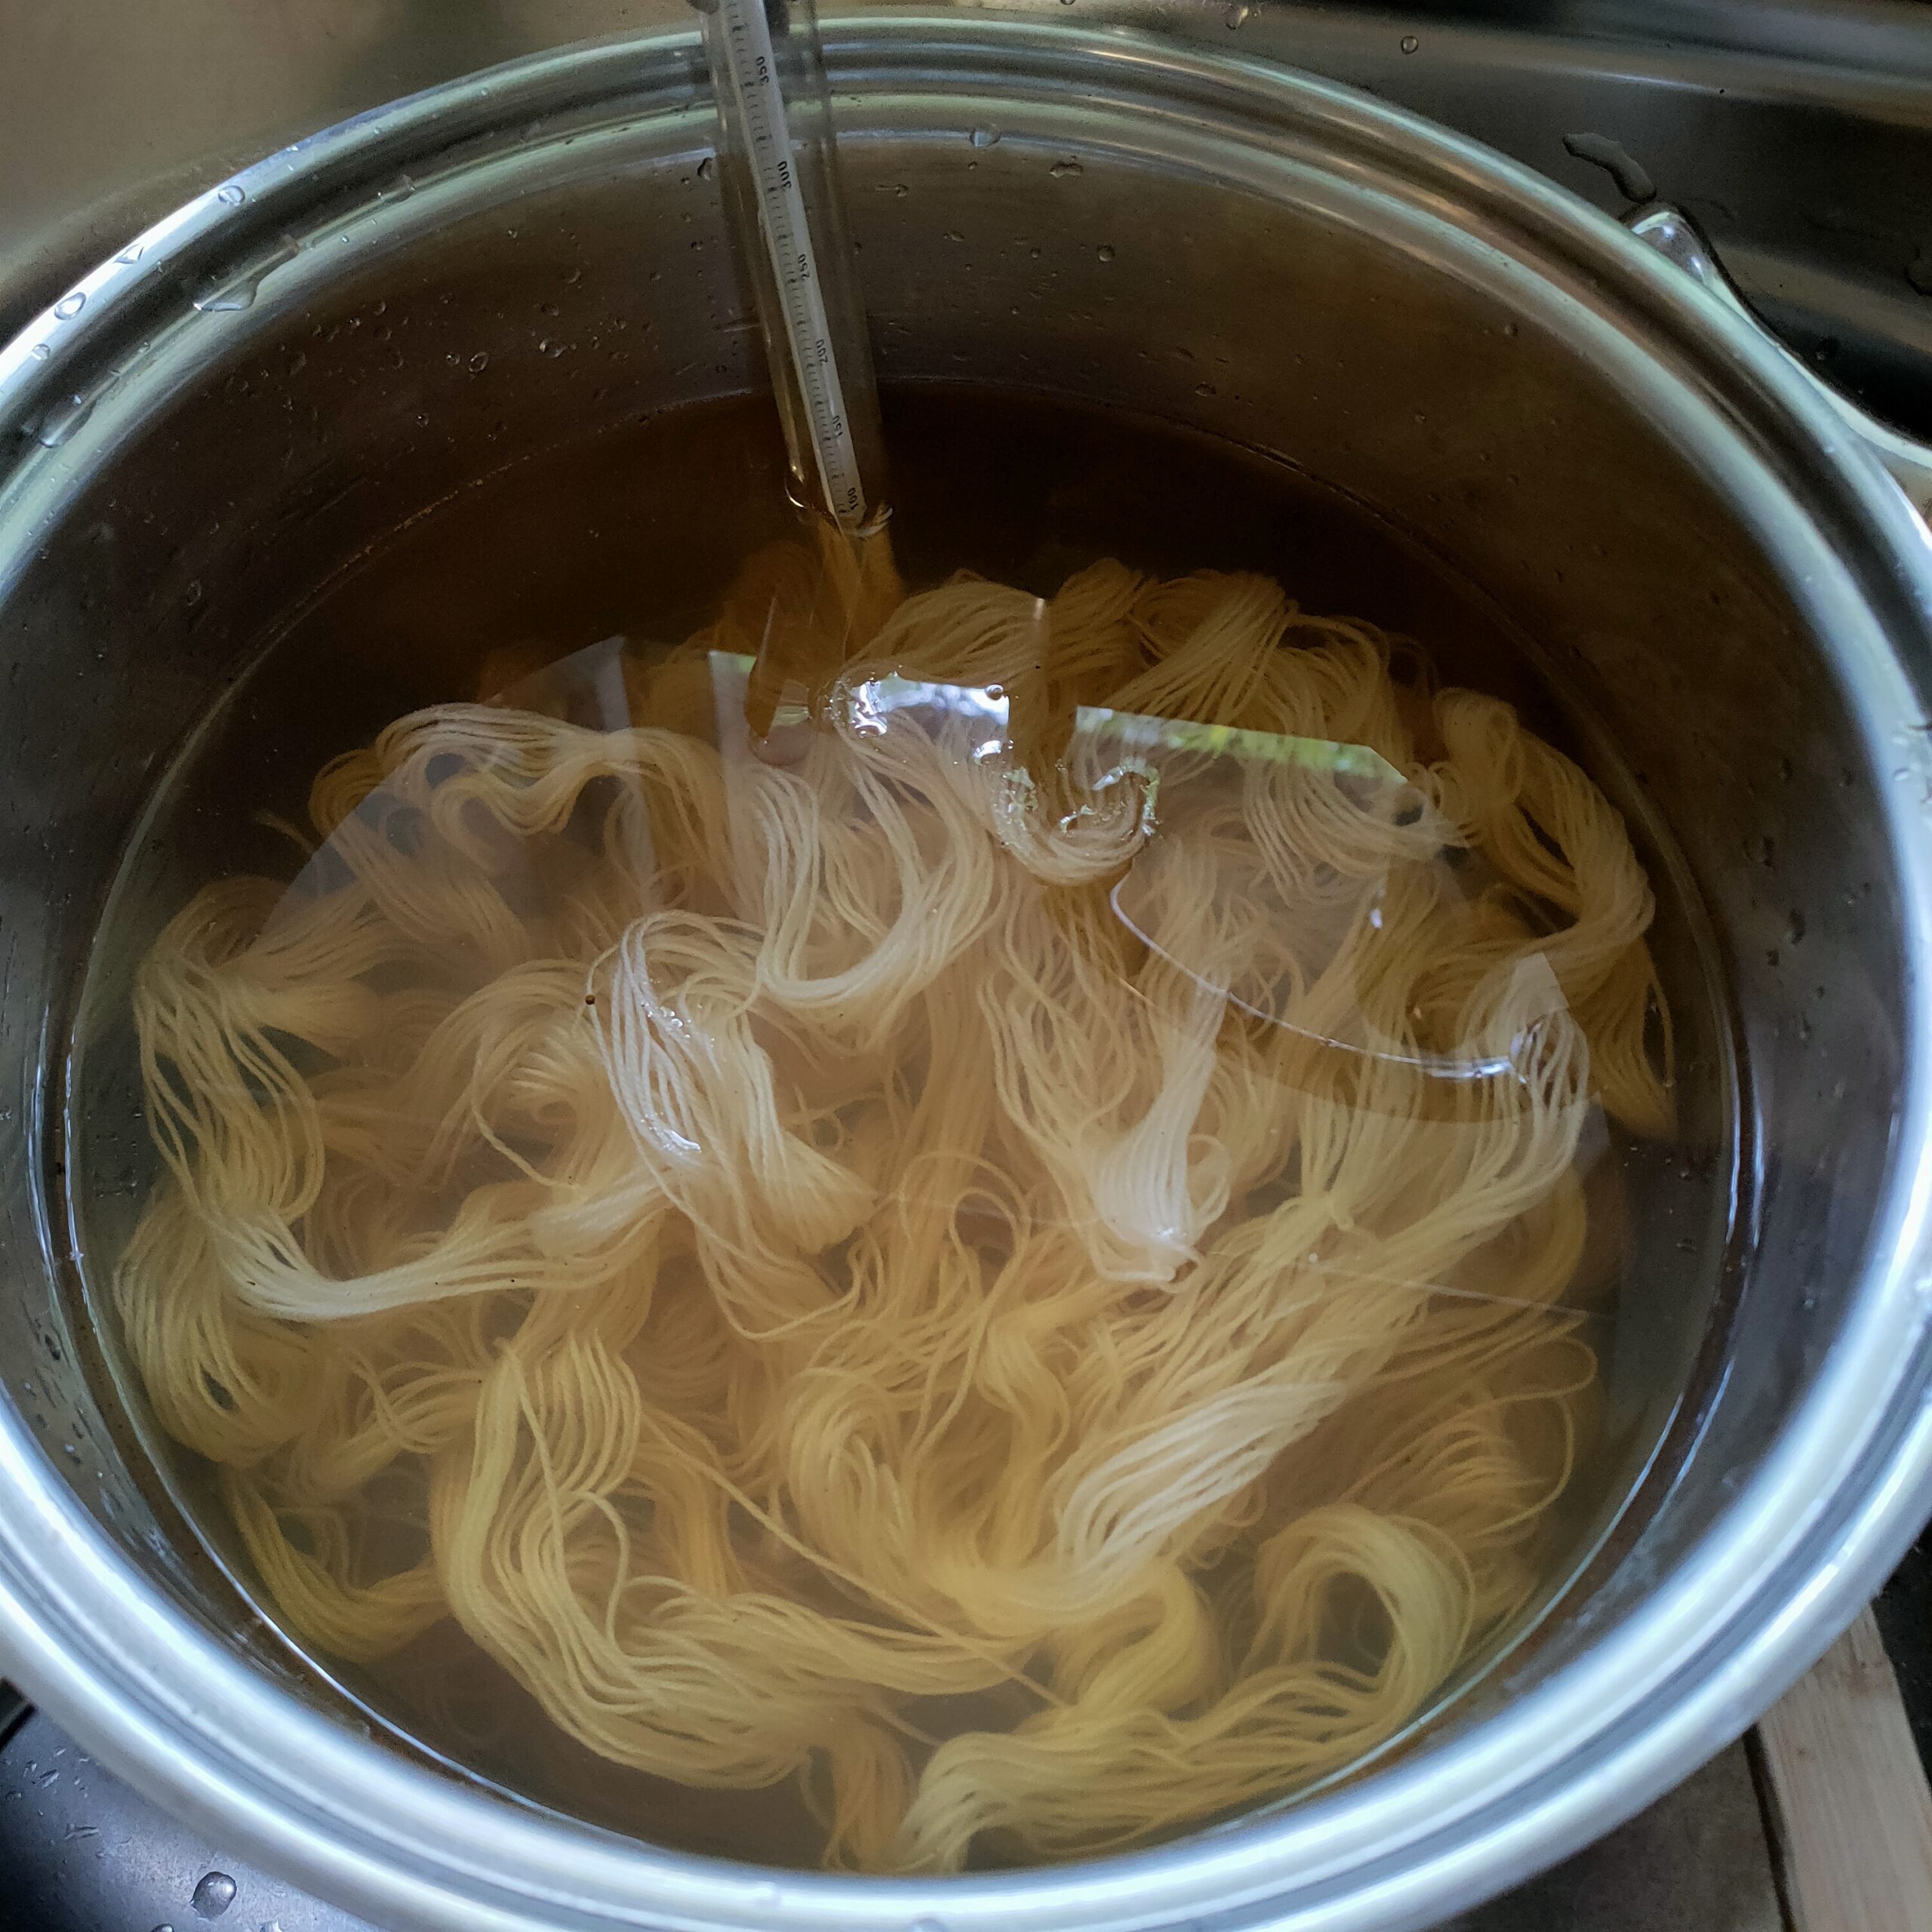
Gently add your wet fibres and take to the stove. Place a thermometer into the pan.
Step 4:
Turn your stove top on and allow the water to get to 80 degrees Celsius (176 Fahrenheit).
Step 5:
Leave your fibre for 40 min at 80 degrees. Do not allow your water to boil! If you are mordanting wool it will start felting when in boiling water.
Step 6:
Turn your heat off and leave the pan on the stove top to cool down. You want your fibre to cool down gradually.
You can leave the fibre in the saucepan overnight for a bit of extra time in the mordant. As you can see in the jar above, my iron water is quite strong. so I tend to rinse the fibre as soon as the water has come down to tap water temperature.
Rinse your fibre. You can now move on to dying your fibre or let it dry before putting it away for future use.
Dyeing your wool with coffee
What you will Need
Boiling water
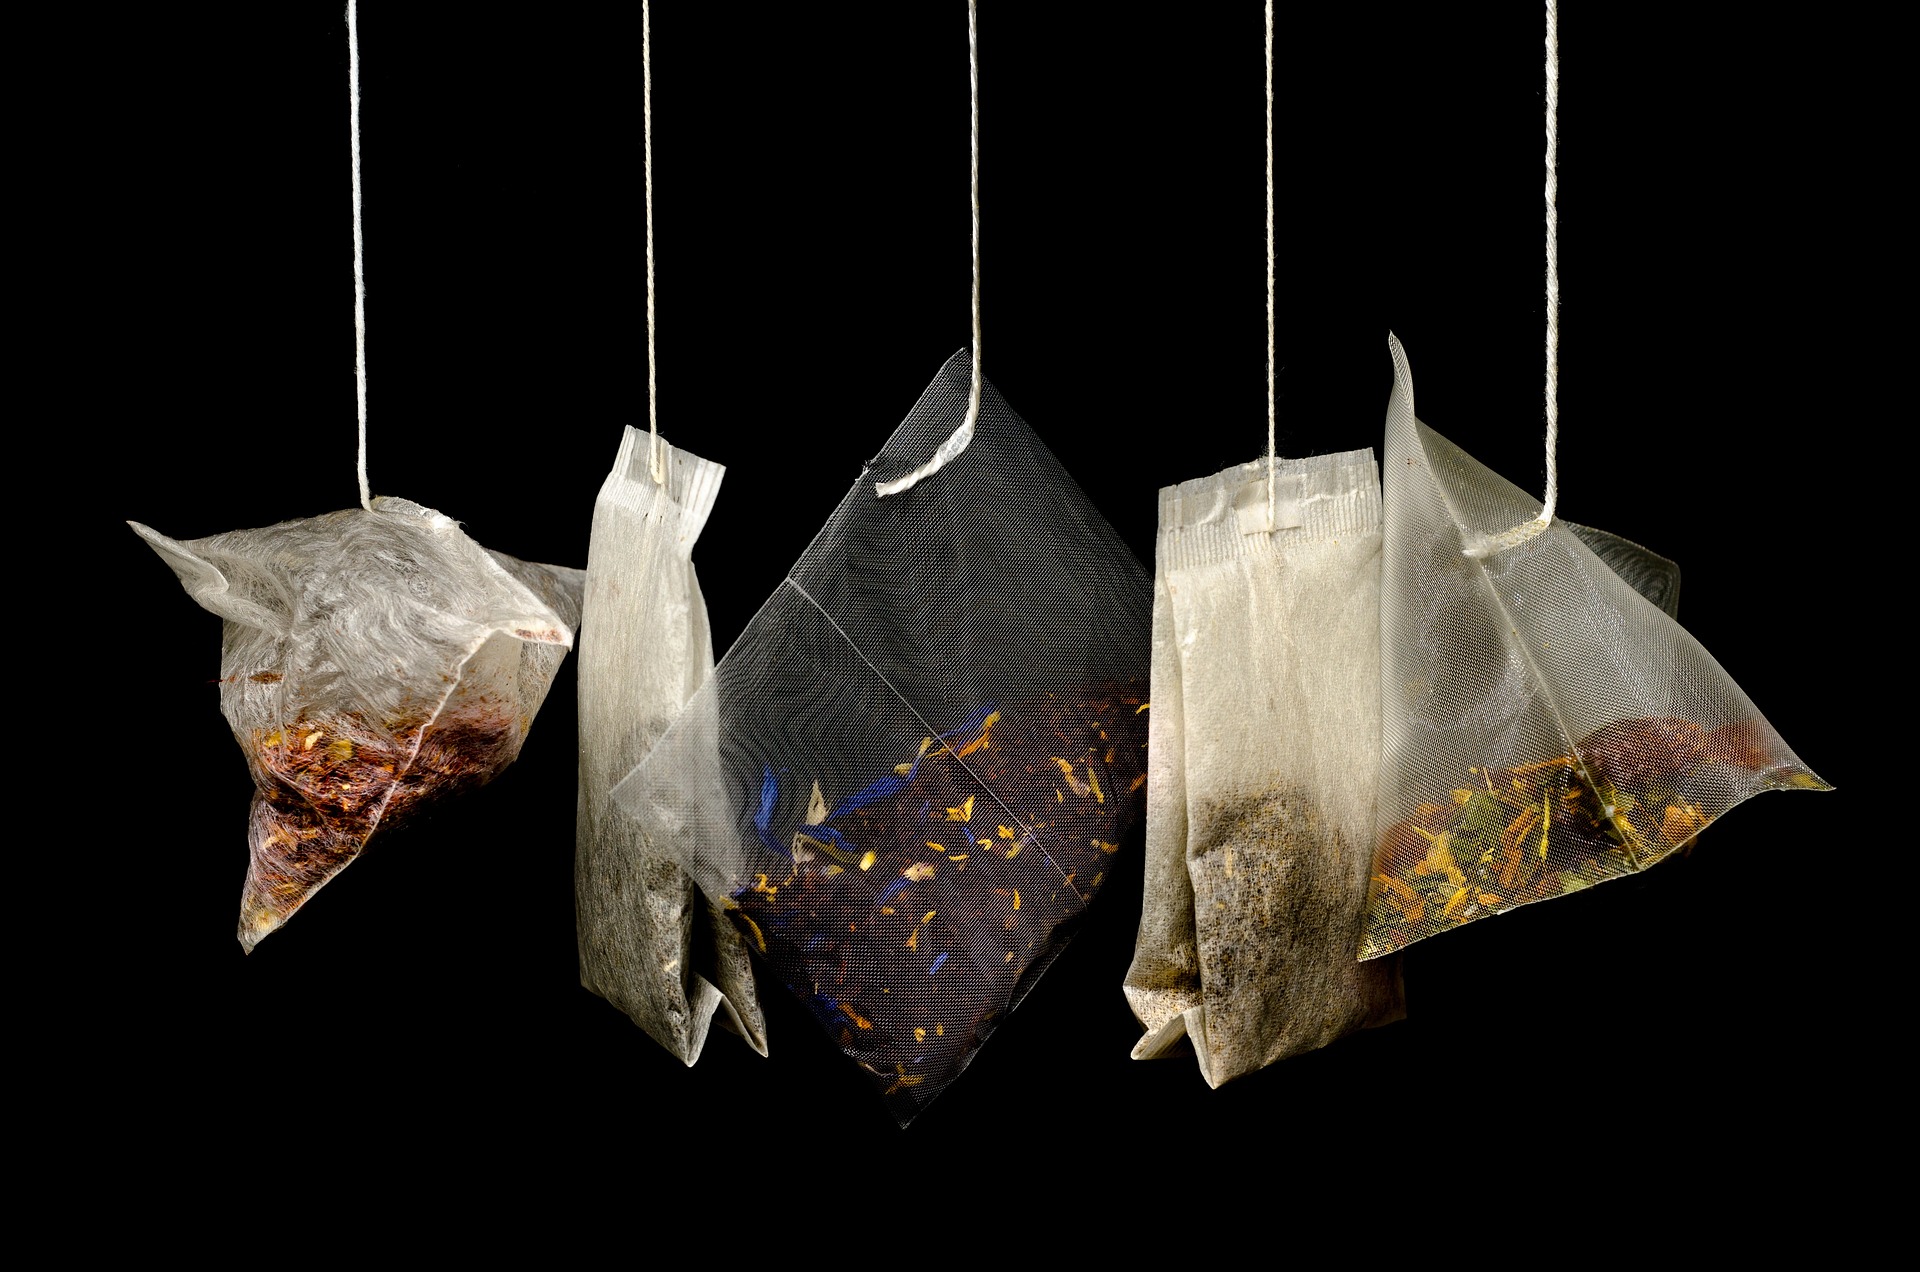
tea – for this experiment I used 10 tea bags for each experiment
Wool Fibre- Refer to Fibre preparation above.
Bowl- 1 for each experiment.
Glass Jar-1 jar for each experiment. Your glass jars should be big enough for your dye bath to move around your fibre easily and gently. A 1 litre jar is about the smallest I would go for 10g of roving.
Procedure for dyeing with tea
Step 1: Place your dyestuff in a heat proof bowl and add boiling water
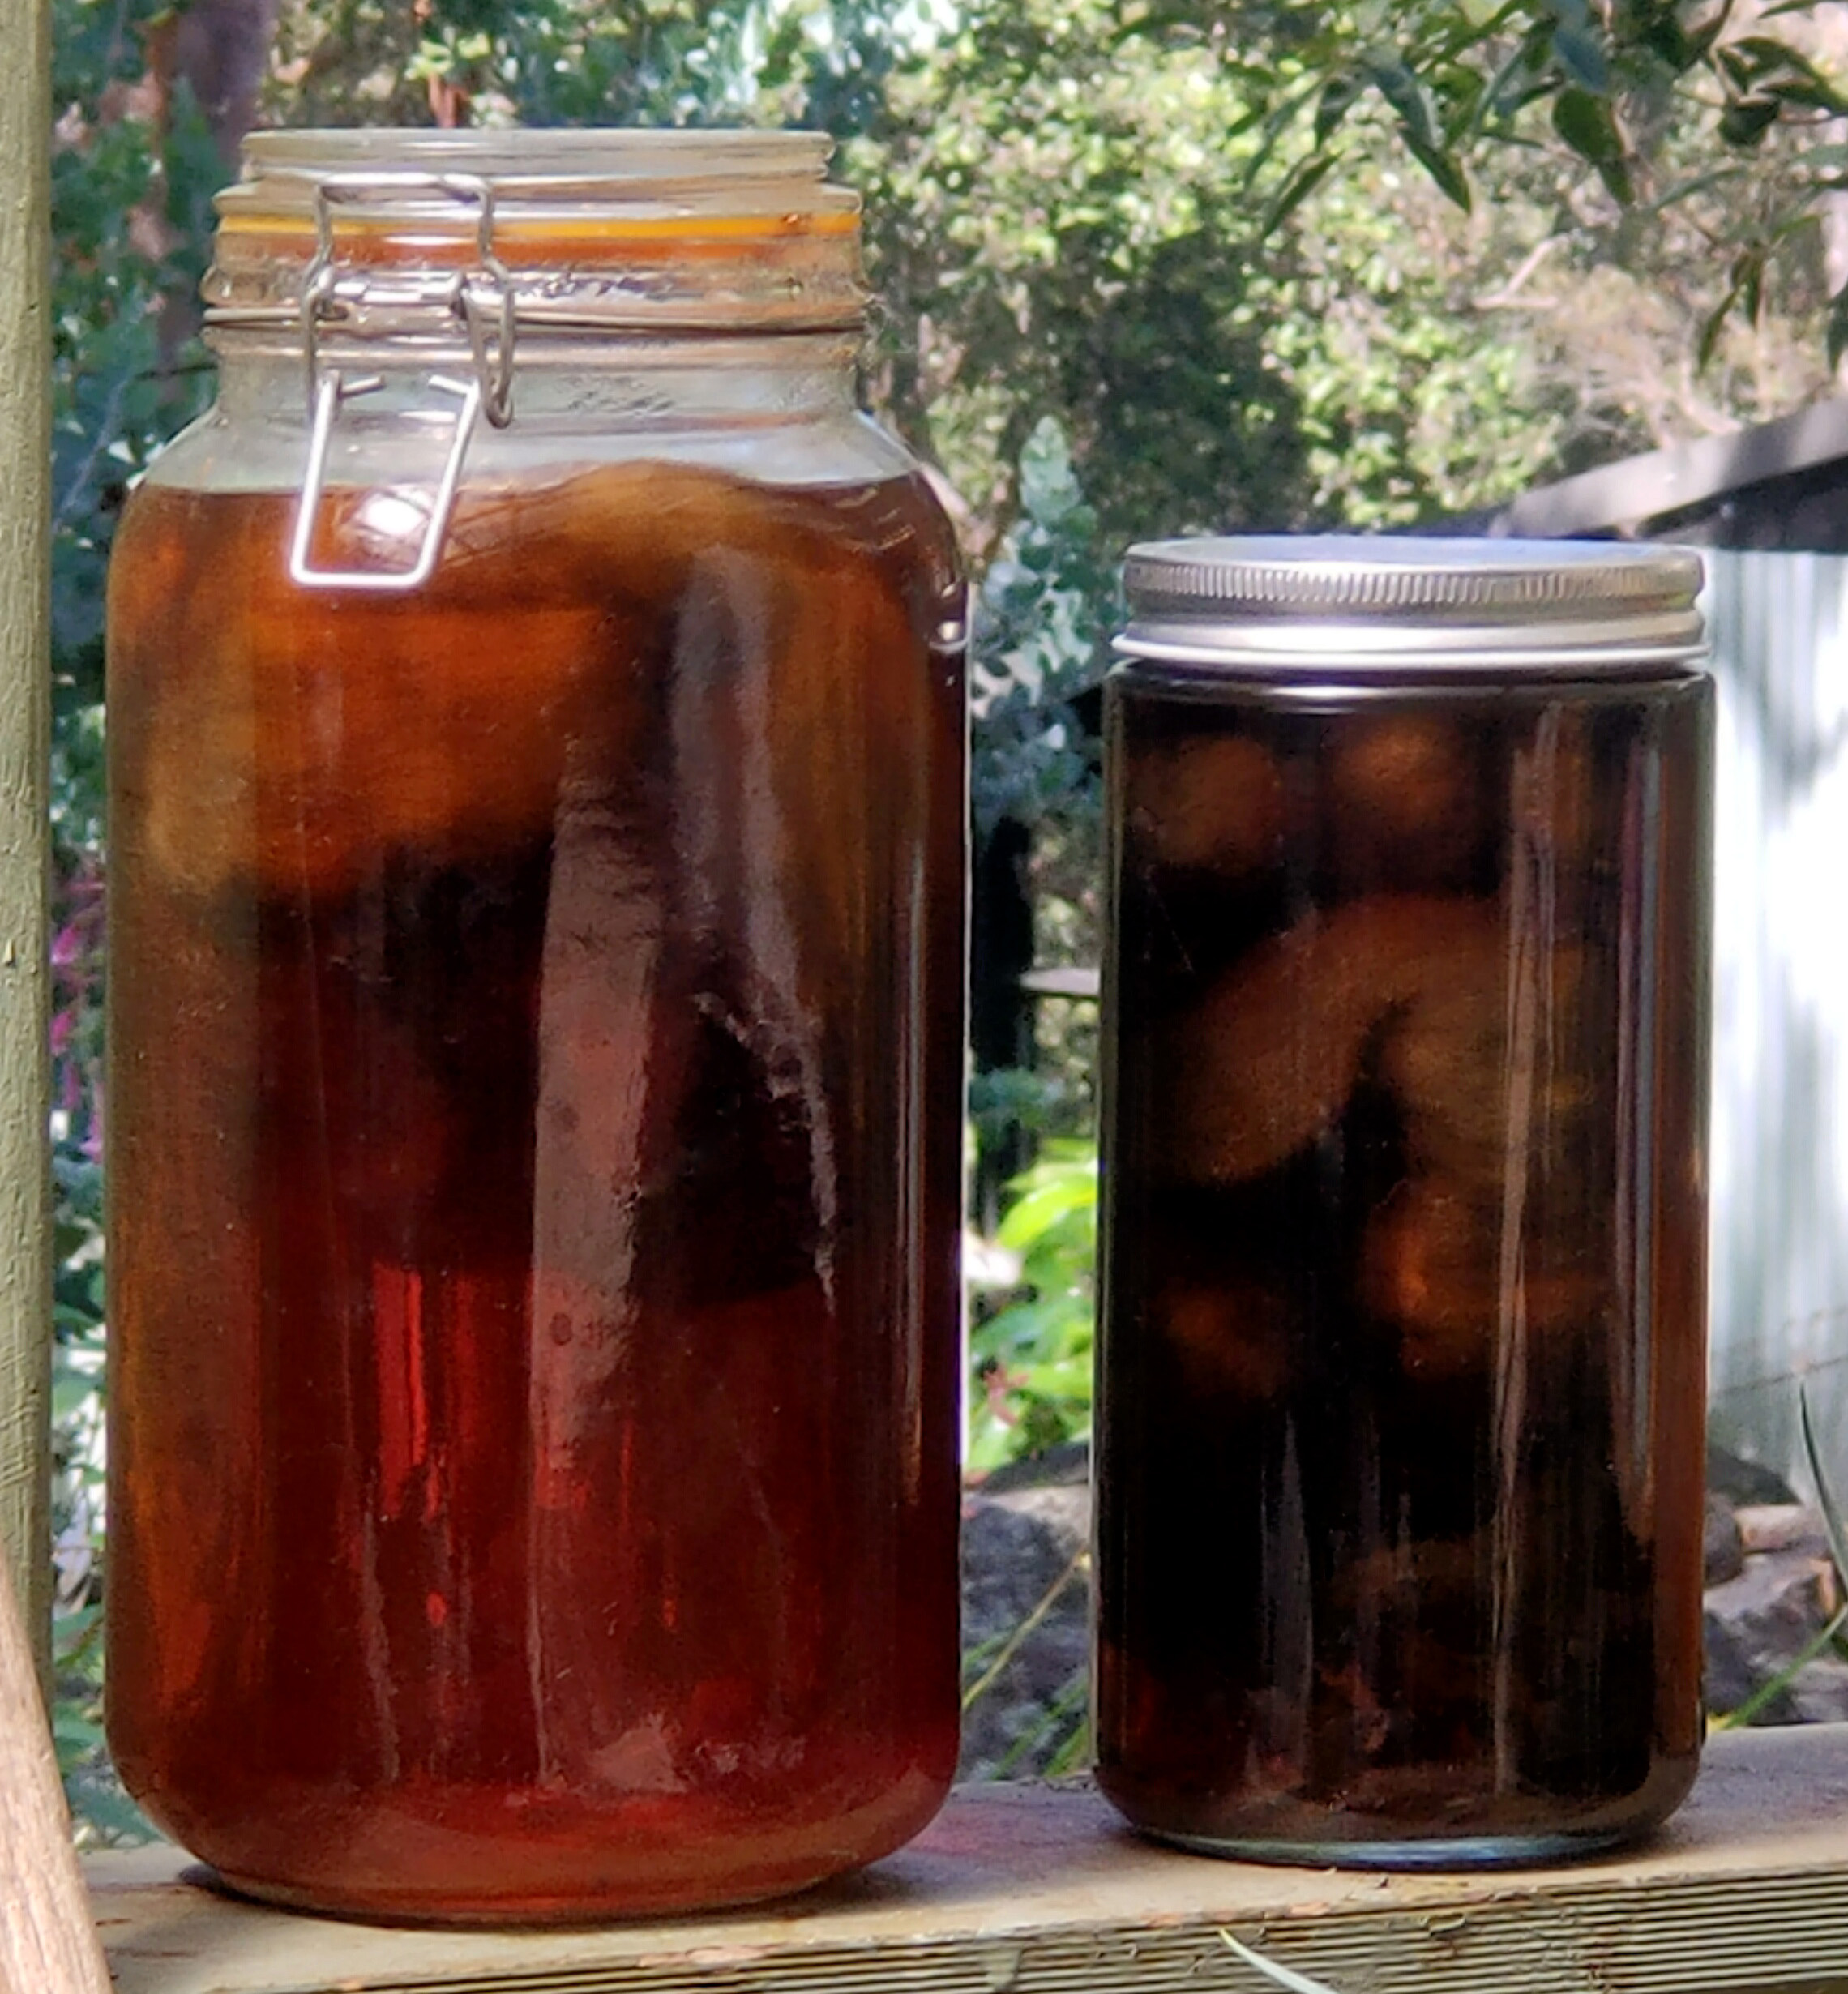
Step2: when cool enough transfer your dye bath into your glass jar and leave outside for one day.
Step 3: Sieve your dye and add your fibre. The jar on the left had non mordanted roving in it, while the one on the right had iron mordanted roving. Leave outside in the sun for 1 week. (It was summer in Australia, so was quite warm) If you don’t sieve the liquid, you will end up with little granules of coffee over your fibre. When dealing with roving this can be very painful to remove later, however if you are dyeing a fabric it may not pose as much of a problem.
Step 4: Take your wool out of the jar and leave to dry completely without rinsing.
Step 5: Rinse in water baths until they are clear. As I was using roving I did not want to use running water to start it felting, so I used a few bowls of water. Always make sure you wool does not experience dramatic temperature changes. Make your water room temperature. Leave to dry
Results
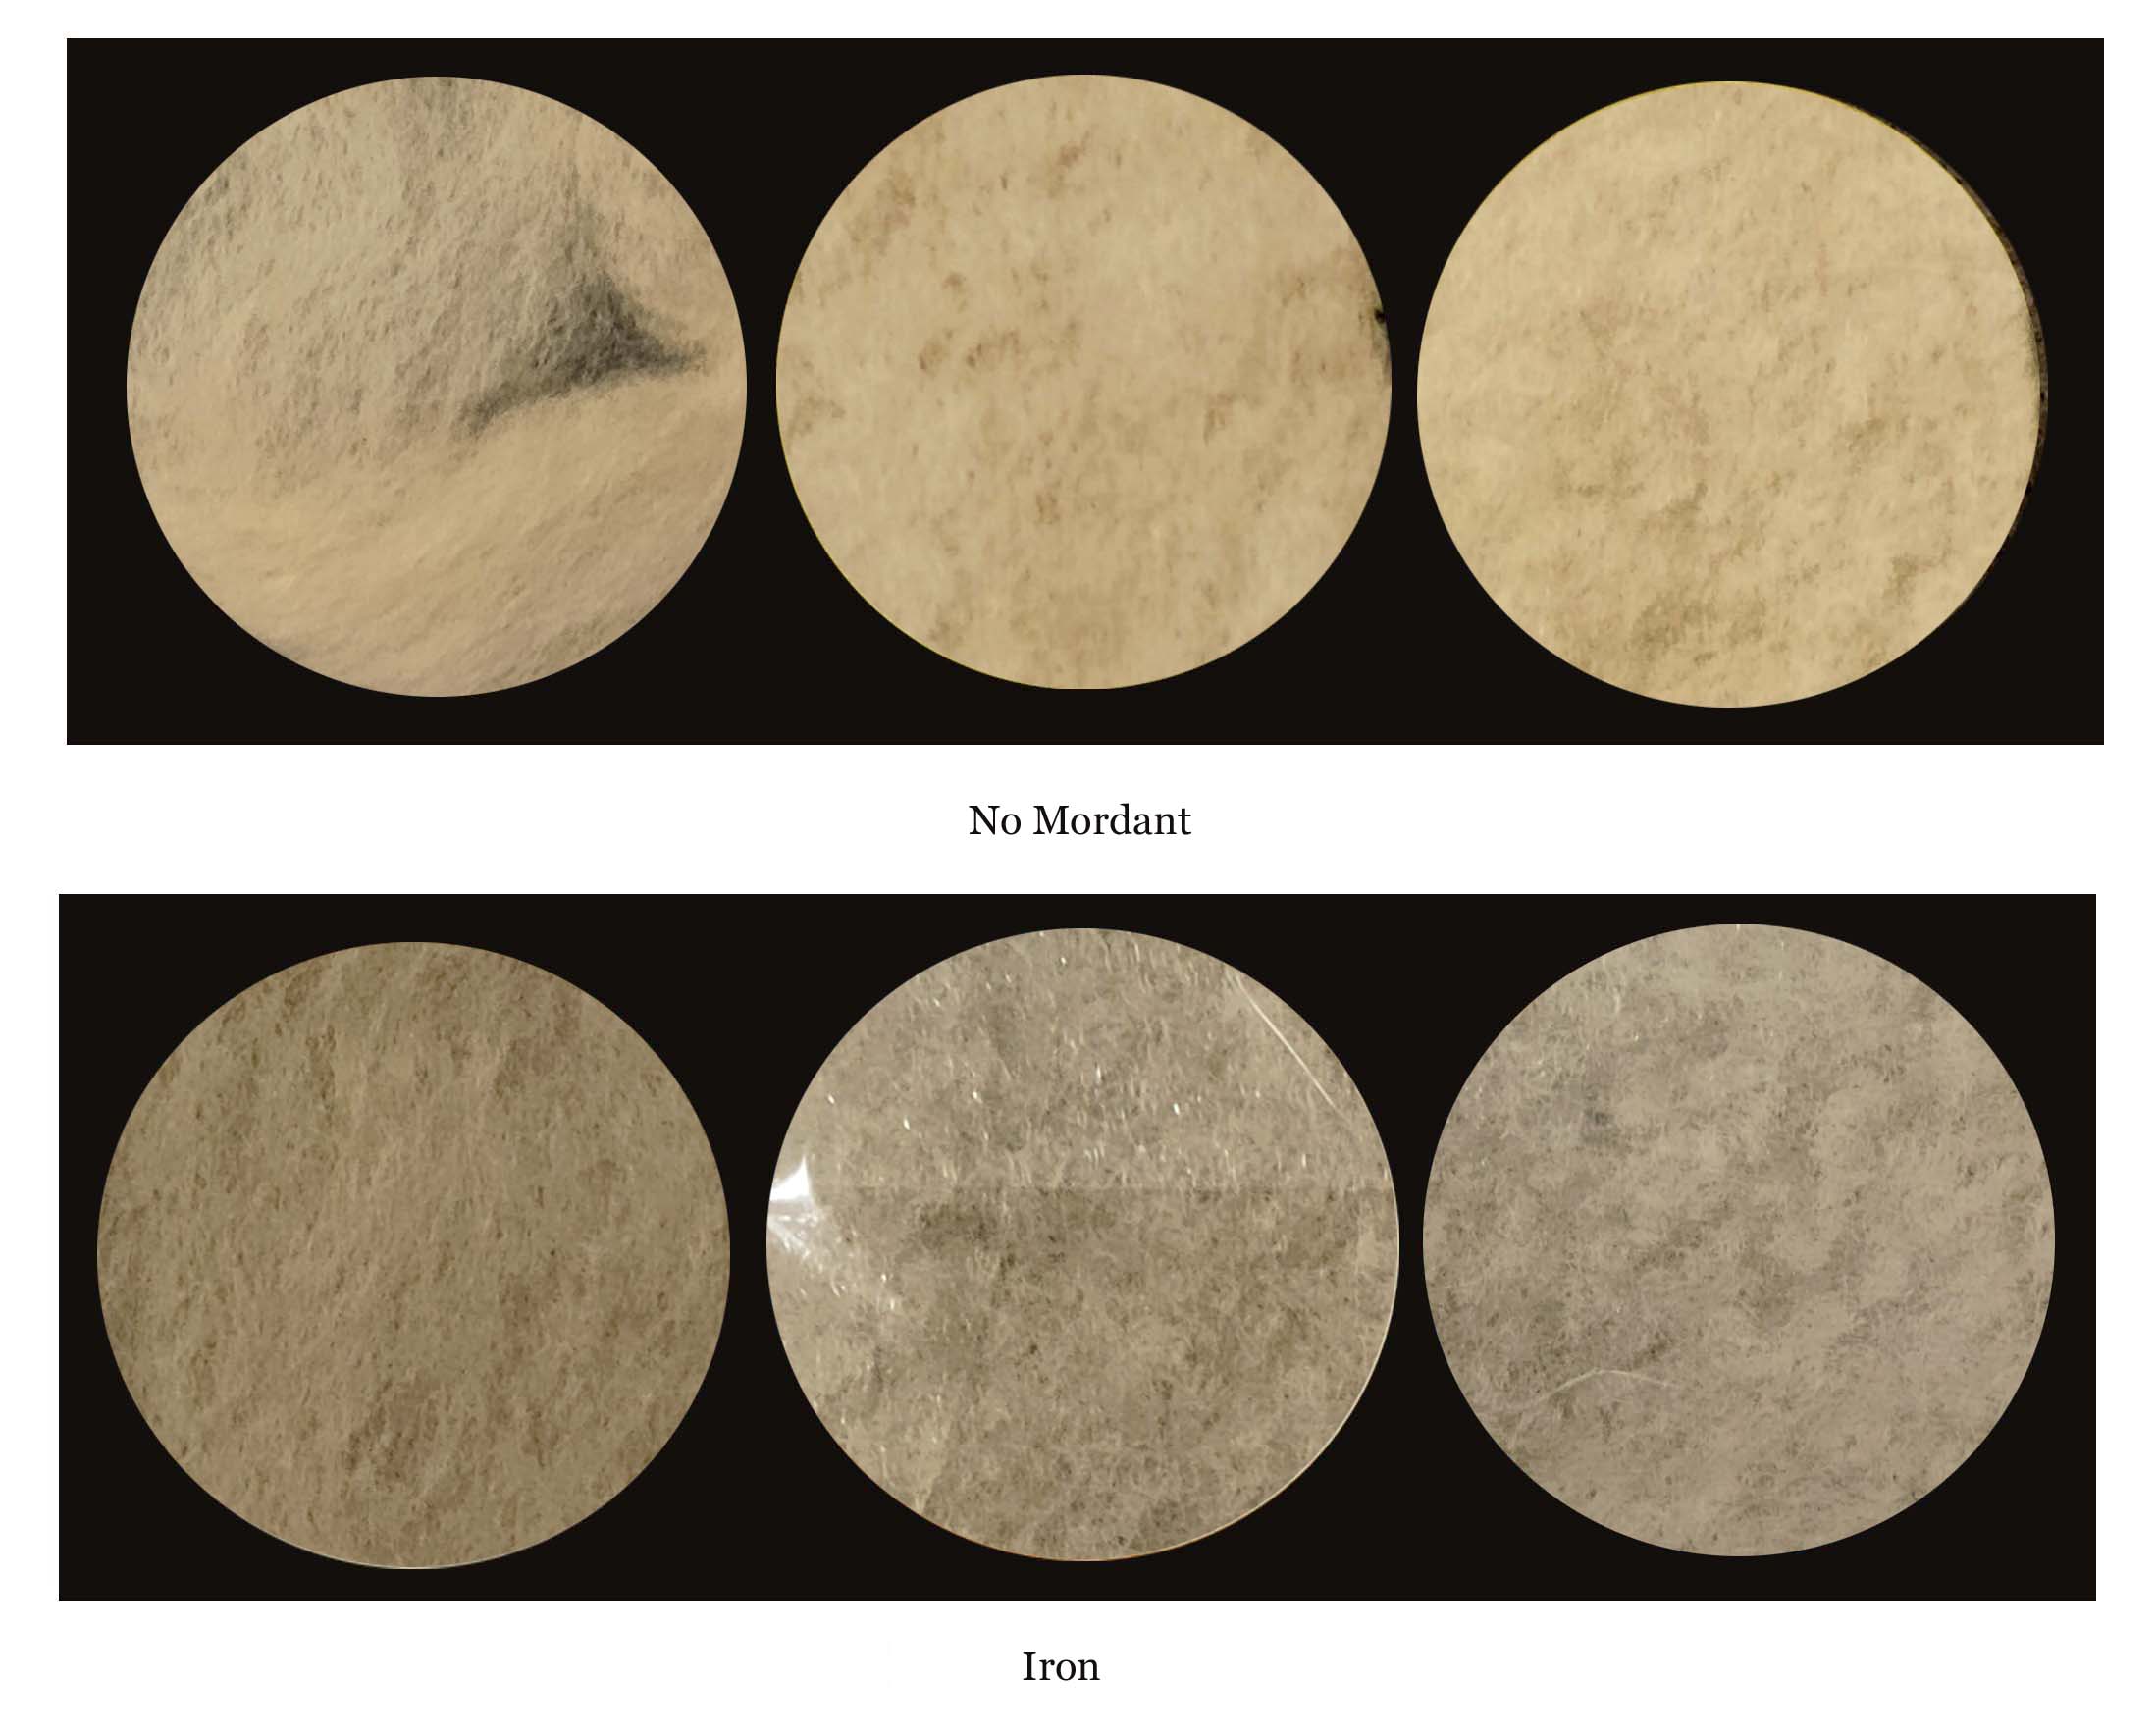
I am really happy with the results of theses experiments.
The first circle in each line is the roving dyed with tea. I then felted the roving which is shown in the 2nd circle. I figured that the wet felting procedure would be a good indication of how well the dye stands up to washing.
Then comes the sun test. The felt was then left on a window sill for 4 weeks in the hot Australian summer, to see if it would fade. (sun test is the last piece of felt in the line).
I hope this helps and encourages you to try your own experimenting in the world of natural dyes. 🙂
More Posts on Dyeing with Tea

Dyeing Wool with Coffee and Tea
Dyeing Wool with Hibiscus Tea
Join us on Instagram www.instagram/DyetoCraft
Etsy Shop Now open
If you like the idea of using organic naturally dyed threads in your craft but just don’t have the time, come and have a look at our Etsy Shop where you will find an array of beautiful colours provided by nature.

