Dyeing with Gum Tree Bark and how to change the colour.

In this experiment we will look at dyeing with Gum Tree Bark. We use a variation of mordants and time to achieve slightly different results.
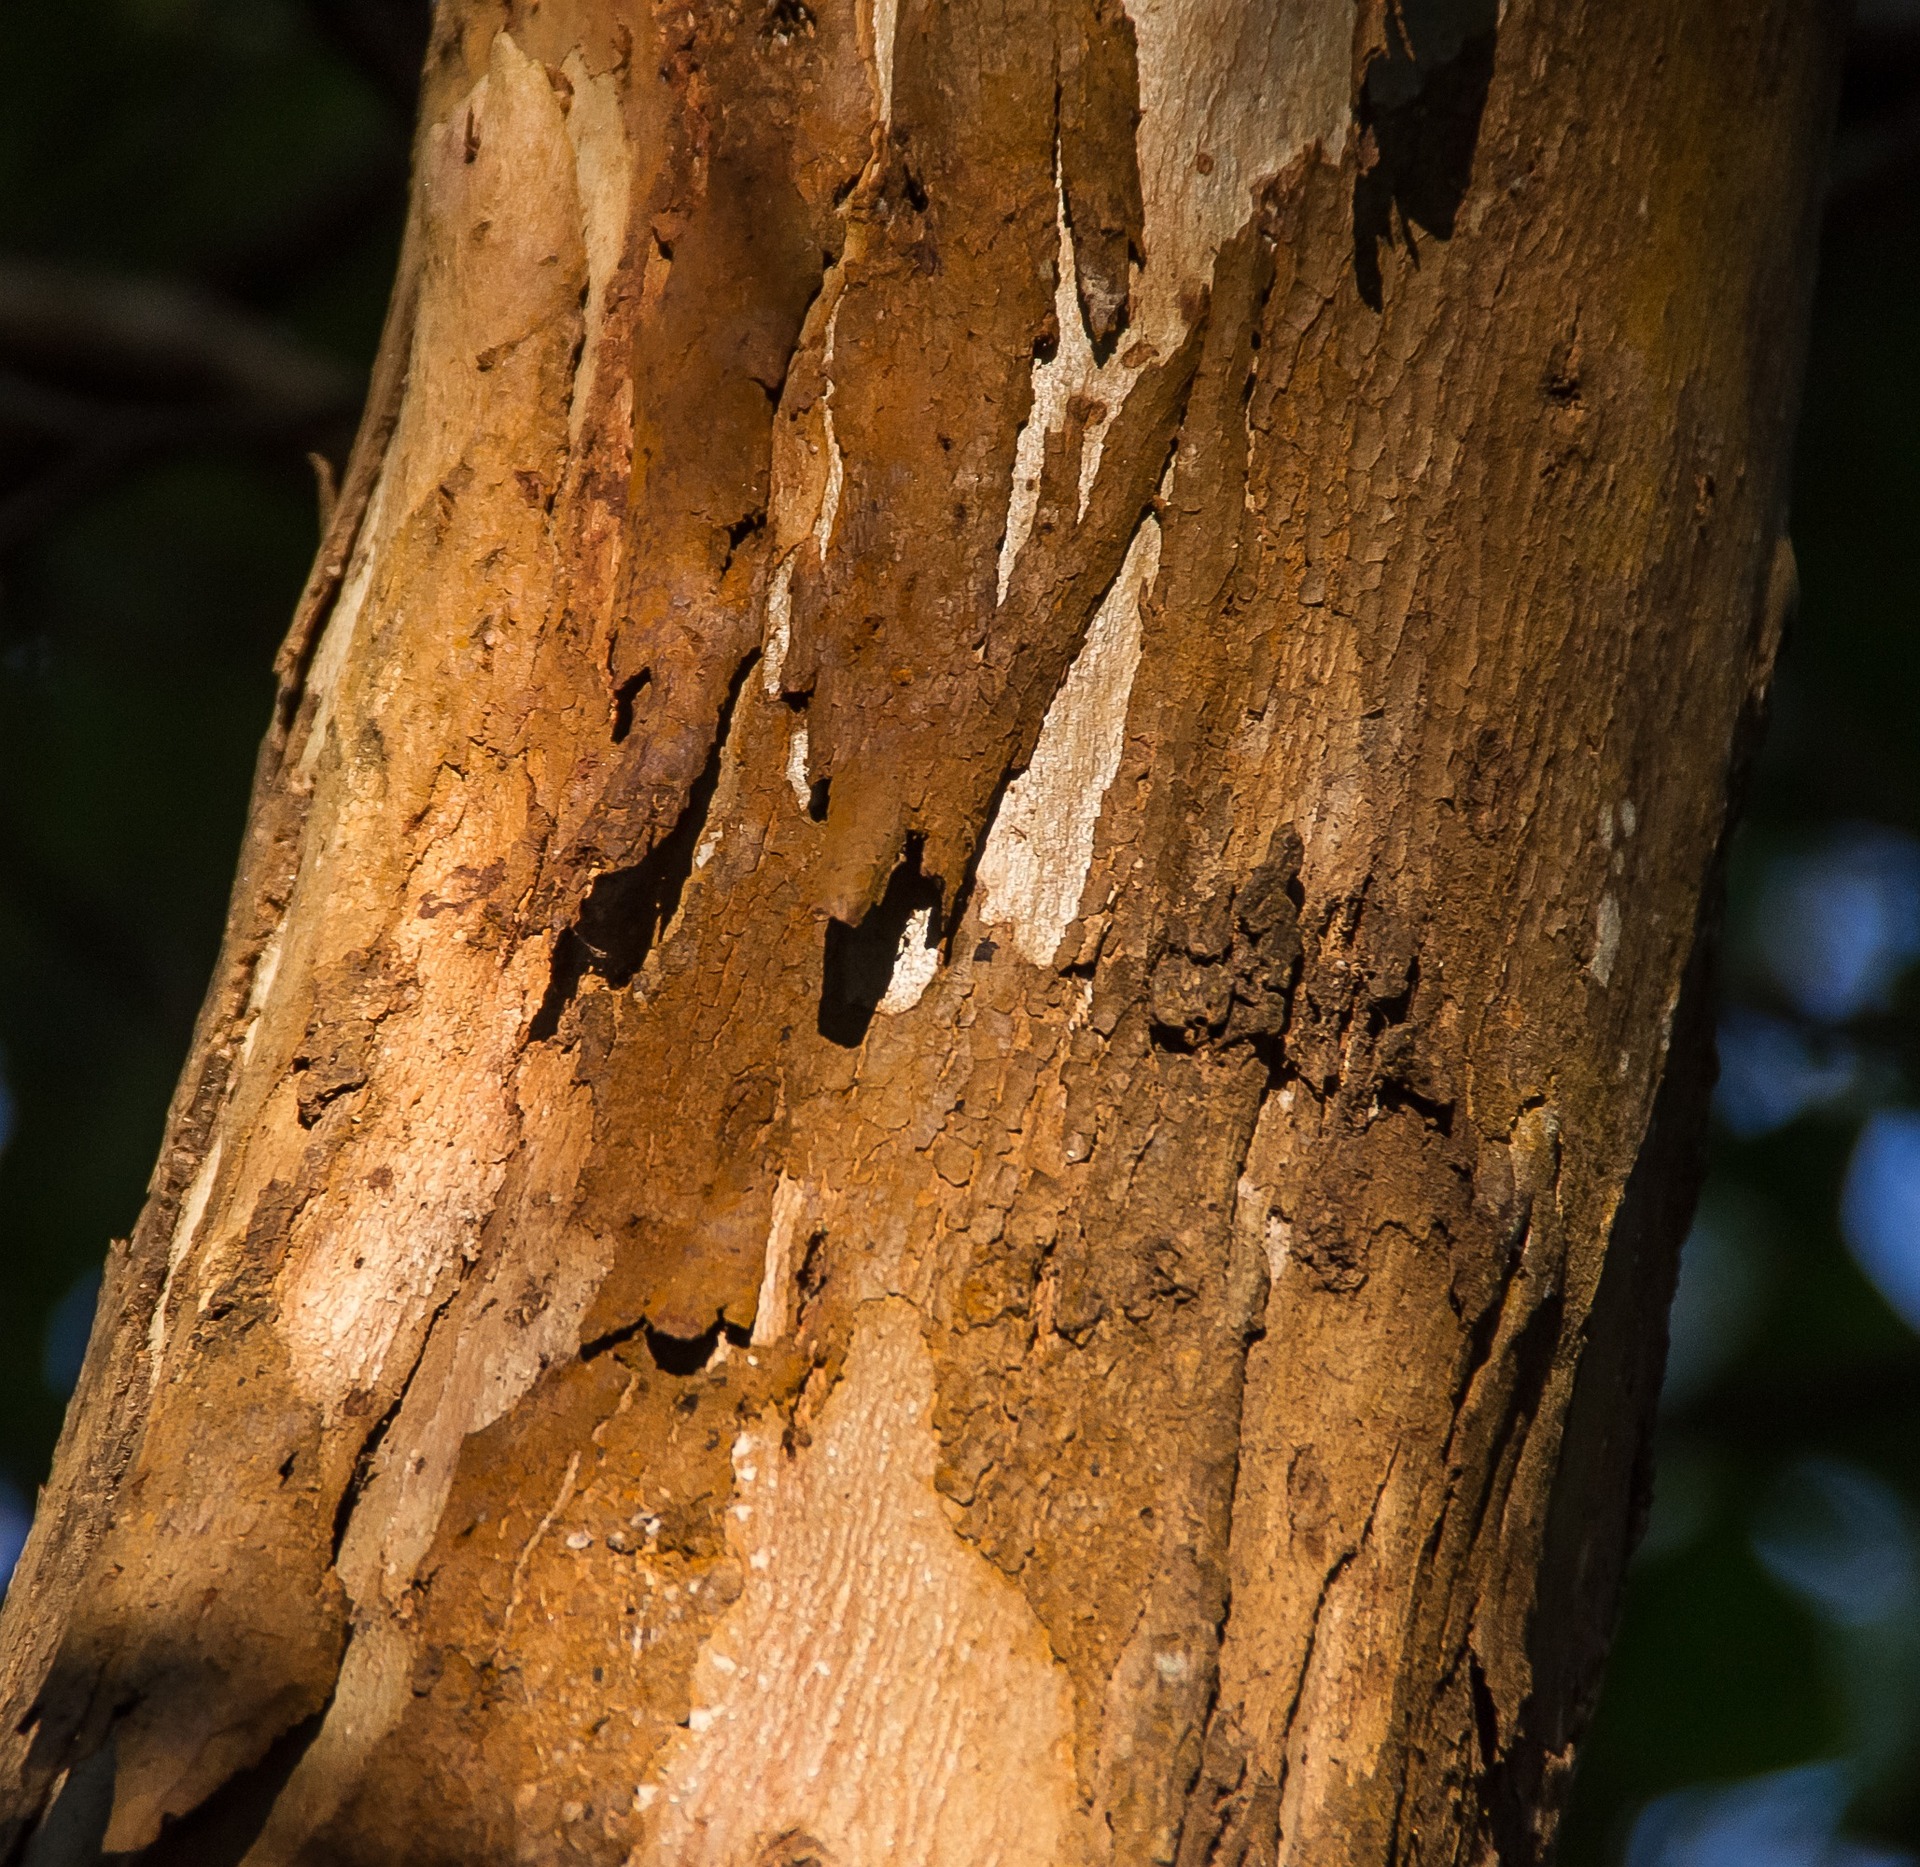
My neighbour has a large gum tree in his backyard. I am not sure what type of tree it is but it often sheds large thick pieces of bark that lie over the top of his lawn. He generously threw some over the fence for me to have a little play with and I have been quite happy with the results.
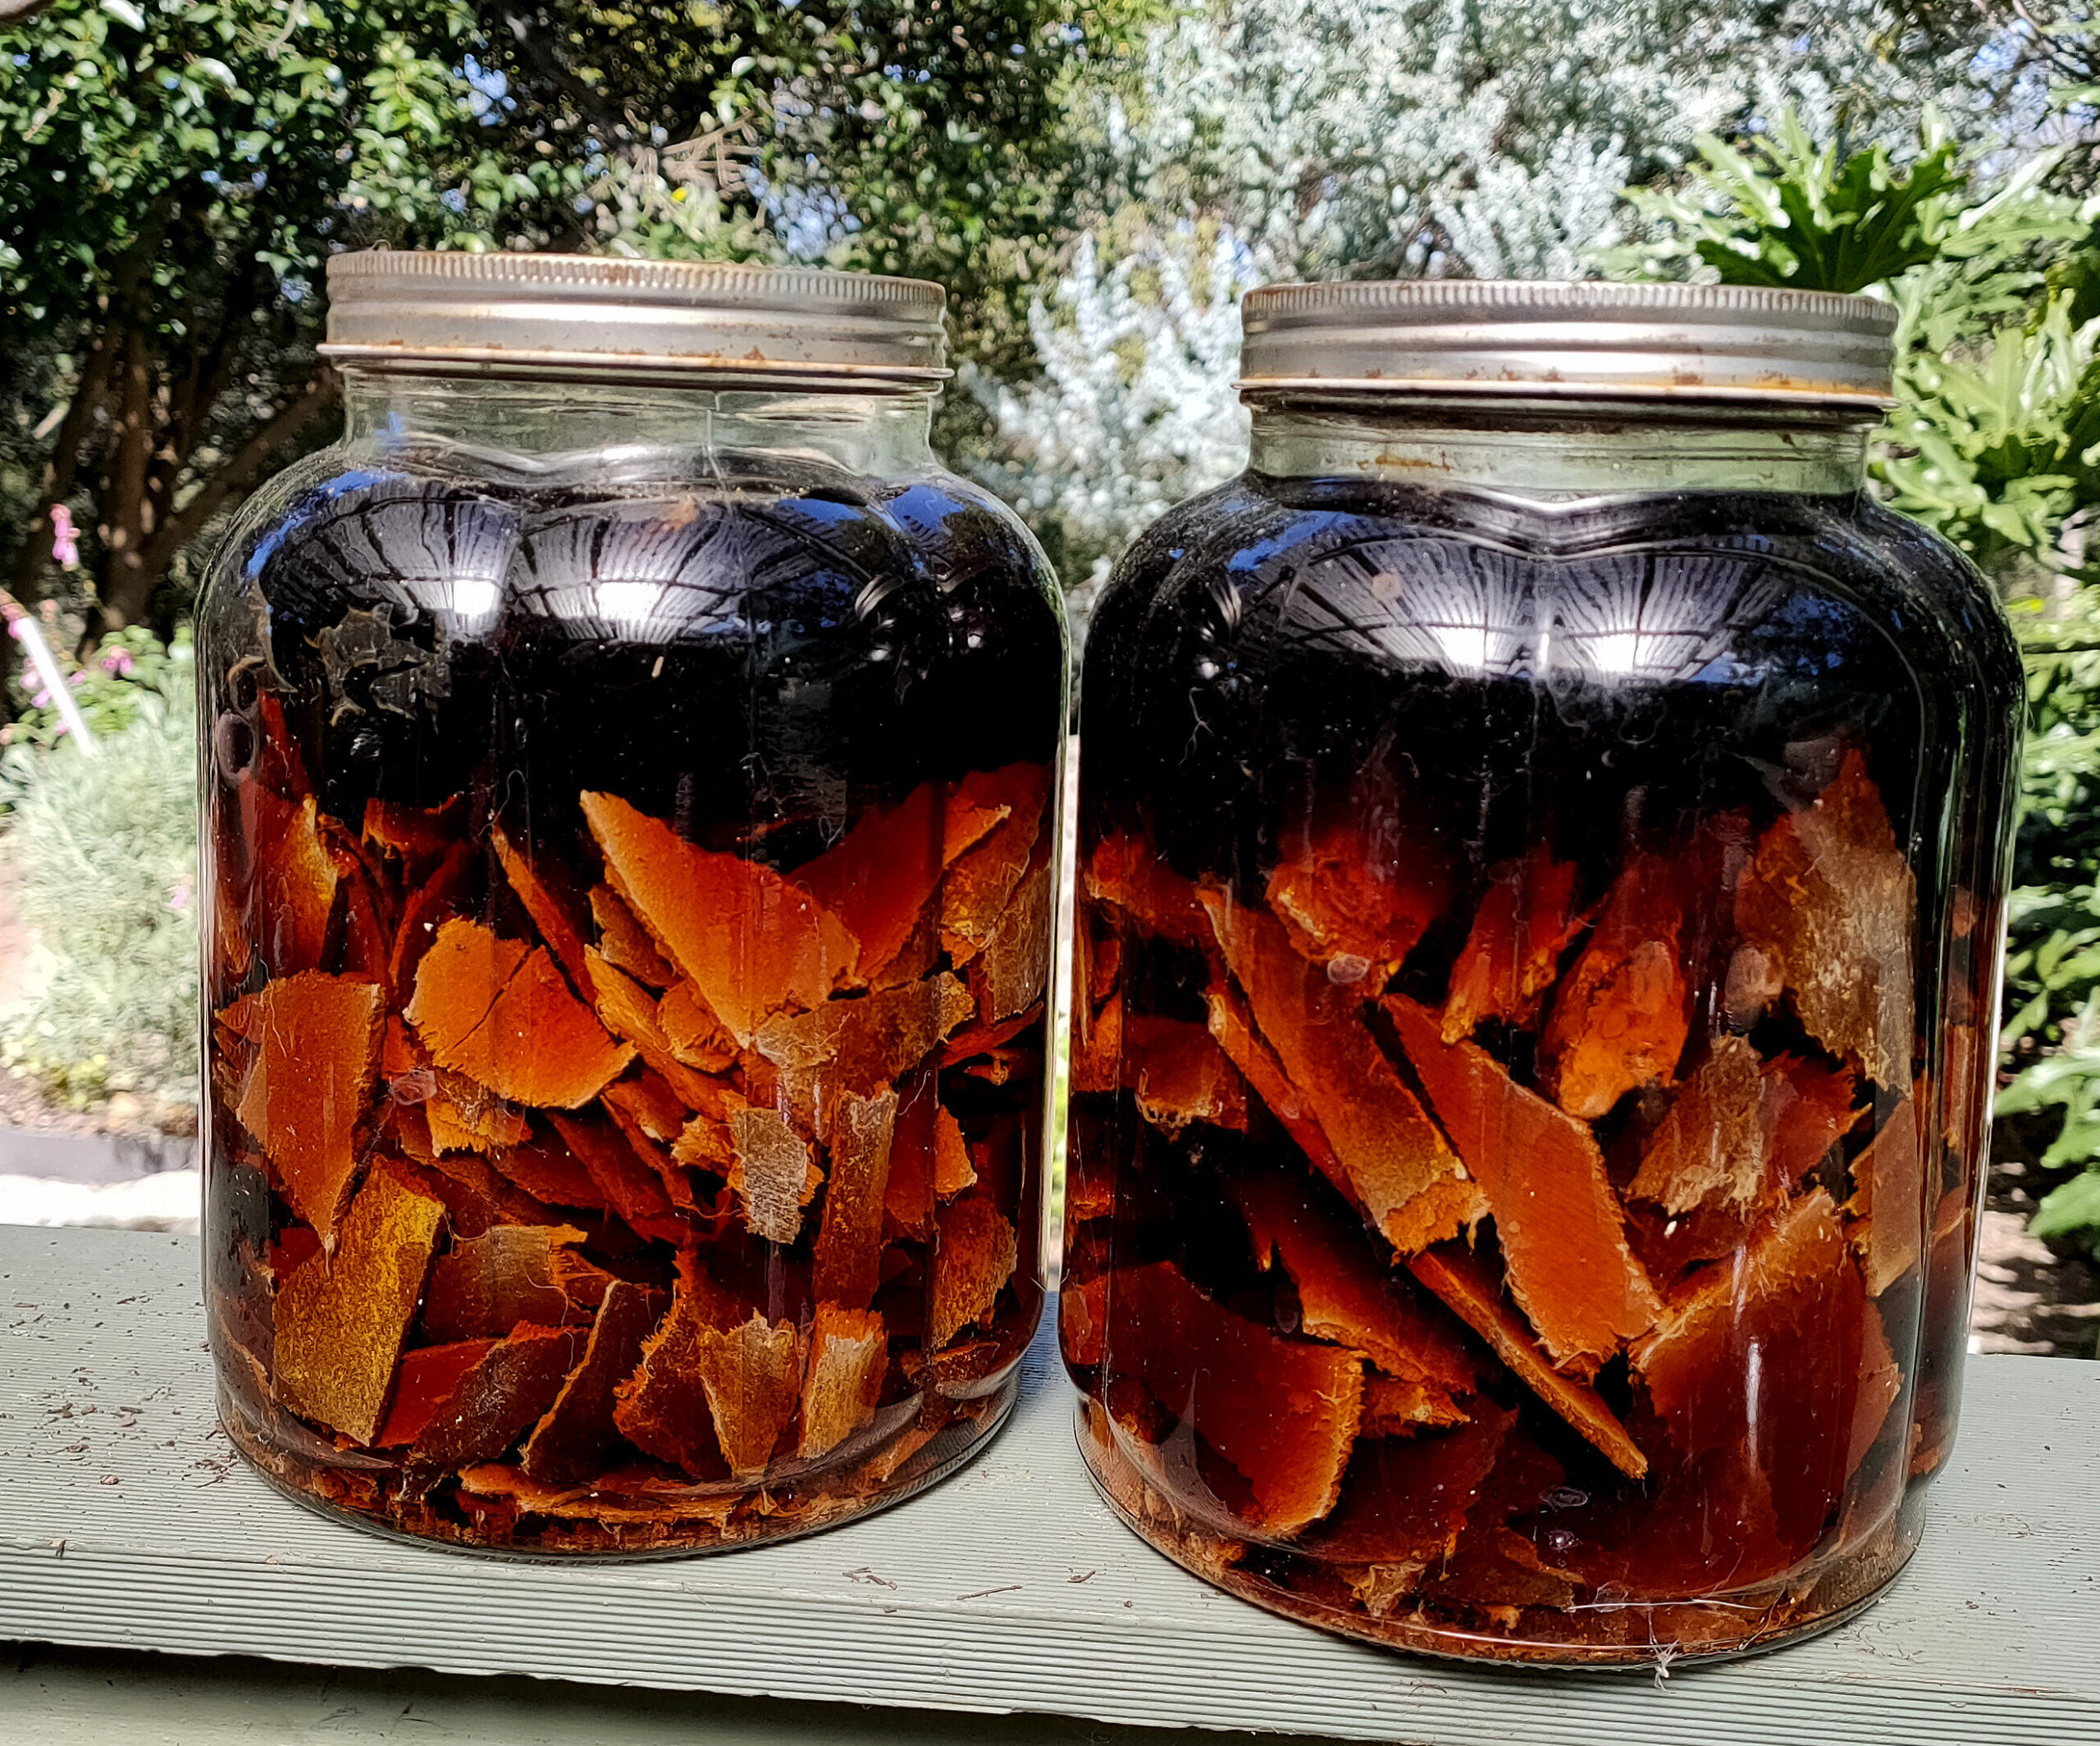
As I had quite a decent amount of it, I have set up 2 large 3 litre jars that are full of bark. They sit in the sun and when I want to to use them I just take out some of the dye water and refill the jar for next time. Bark from trees does take a little longer to release its colour in the solar dyeing process but it also means that you can reuse it over and over again.
Solar Dyeing
In this experiment where we are dyeing with gum tree bark, we will use 3 different mordants, to give a variety of colour in our natural solar dyeing journey.
As with most experiments, I am going to use the process of solar dyeing.
This is basically putting your dyestuff in a glass jar and leaving it in the sun to work its magic. The beauty of living in Australia means that I do have the benefit of hot summers. If you don’t have these conditions, it does not mean you cannot try this process. You will just need to experiment with your own environments advantages and disadvantages. Leave it in a room that gets sunlight and may have great heating or try longer dyeing periods.
These experiments are only to show you what has and hasn’t worked for me, so you can pick through the information to start your own experimenting journey.

Safety Note
Always ensure when dyeing of any nature, to keep all saucepans and utensils used in the process, separate from your general cooking supplies. You do not want to cook with anything that has been used to mordant or naturally dye your fibres. You should also wear gloves and a mask while handling your chemicals.
Fibre Preparation
Before dyeing you must first scour (wash) and mordant your fibre.
For this experiment I have used wool roving not mordant ( but still washed), wool roving mordanted with alum, wool roving mordanted with copper and wool roving mordanted with iron. For information on these process click on the links below.
What you will need
Water
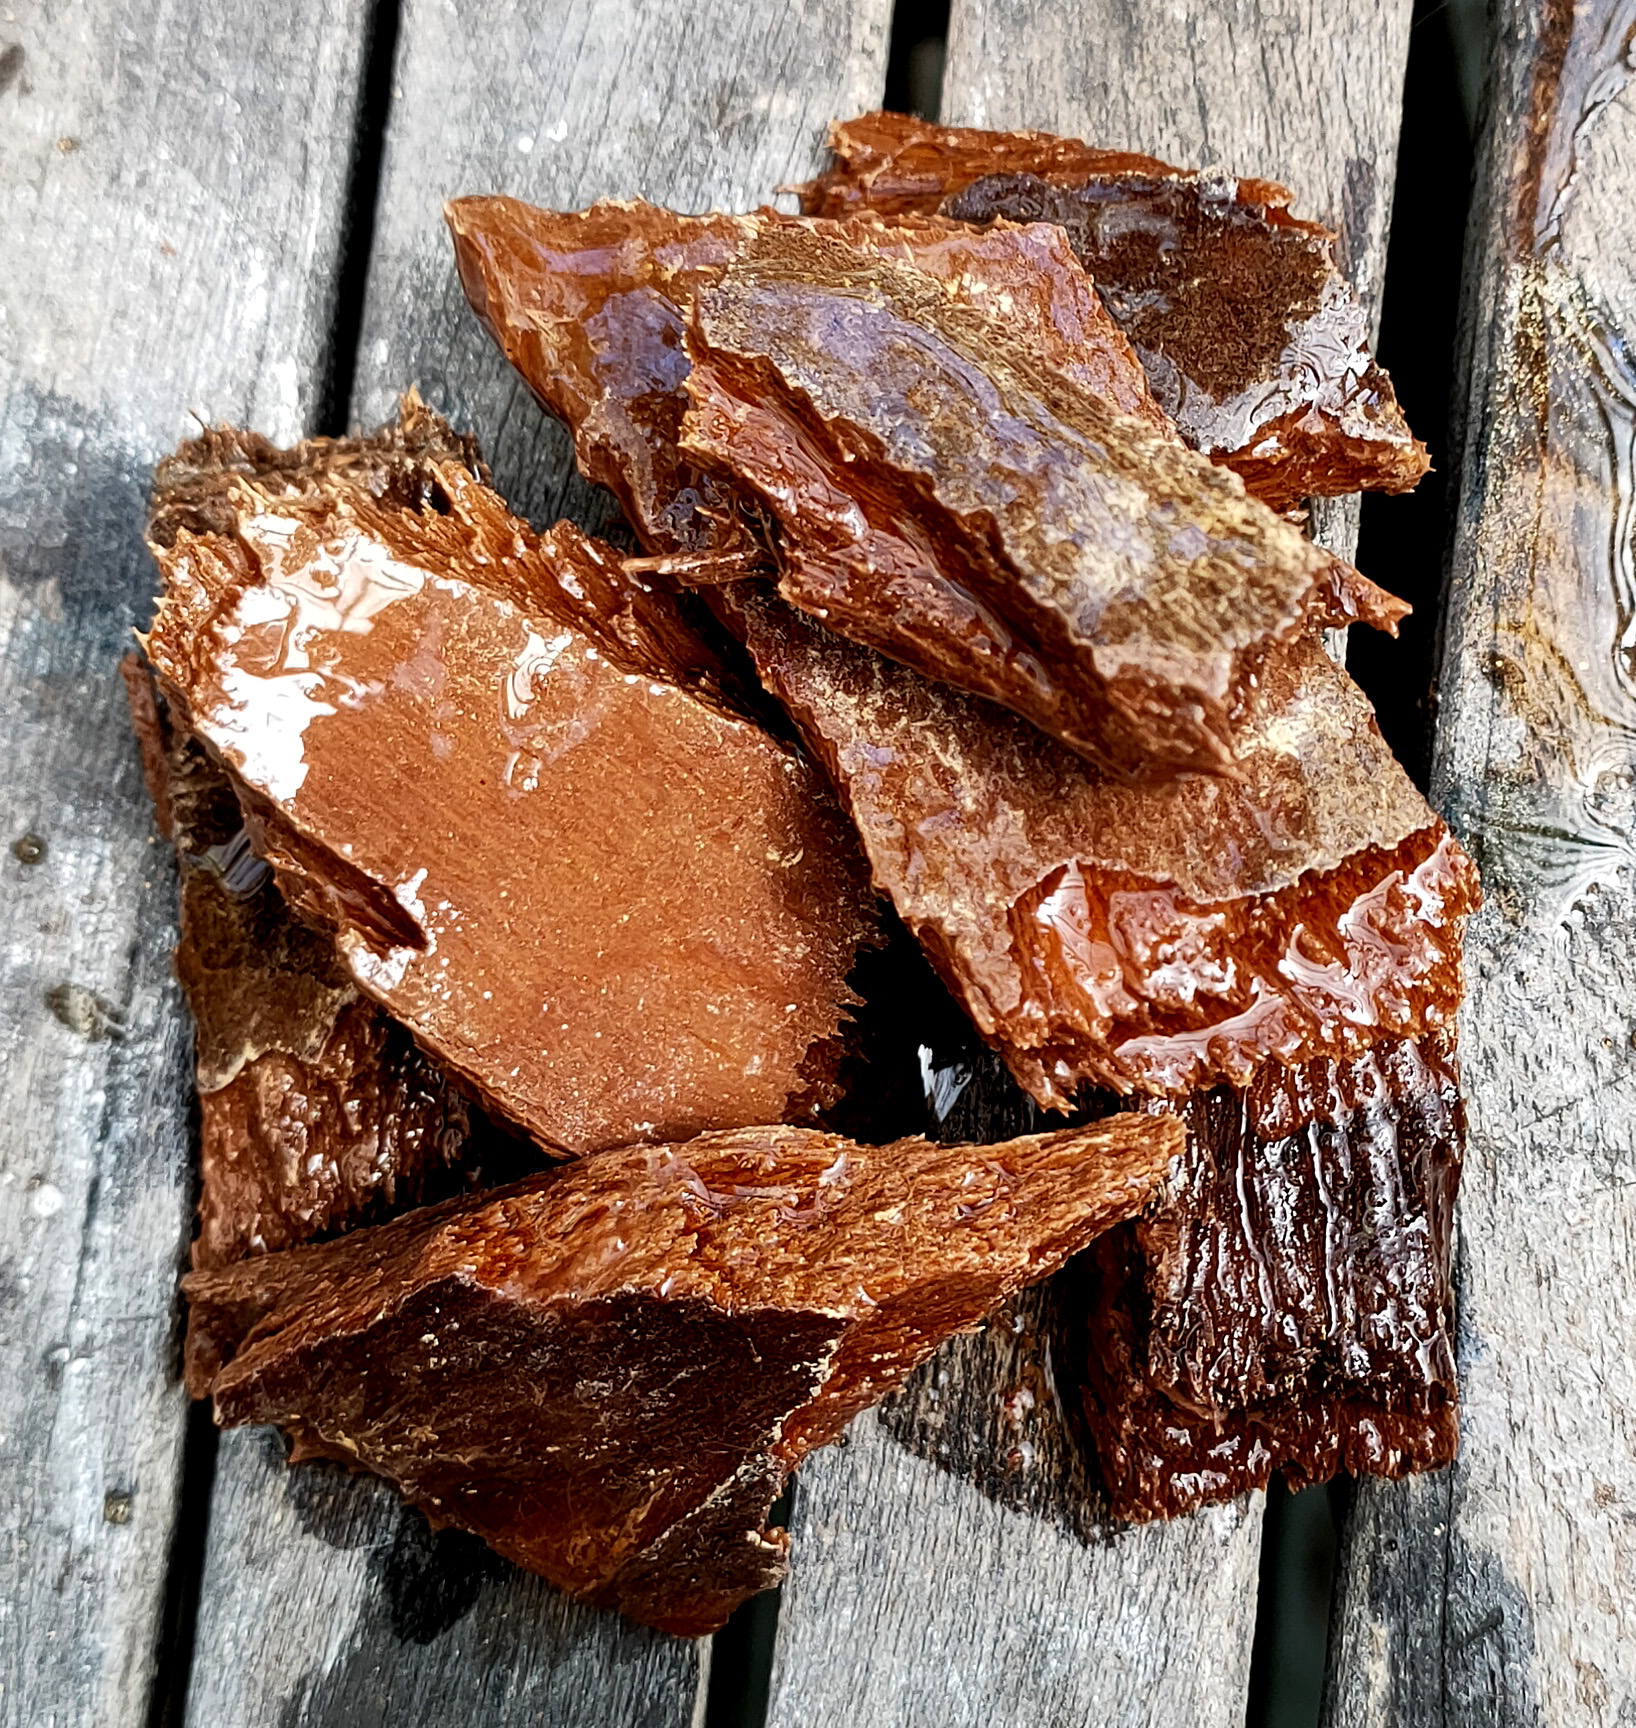
Bark- As I said earlier, I have used bark from a gum tree in my neighbours back yard. This picture shows some of the bark that I have taken out of the dye bath to show you. Hopefully you can experiment with any type of bark you find within your own environment. This bark is quite thick but I have broken it down to small pieces to fit easily into the jar. By breaking it down you also give more surface area for the water to get access to.
Wool Fibre- So all up I have used 5 10g lots of wool roving. 1 with no mordant, 2 mordanted with alum, 1 mordanted with copper and 1 with iron
5 Glass Jars
Procedure for dyeing with gum tree bark
It is a good idea with anything that is thick and hard like this bark, to set up your dye jars and leave them for a month to soak colour into the water.
Step1:
Place your broken up pieces of bark into a heatproof bowl and add boiling water.
Step2:
When cool enough transfer into your glass jars and leave outside for a month. ( I had so much bark, I separated them into 2 3litre jars)
Step 3:
Now you can sieve your dye and add your wool at this point. With bark however, I tend to leave the bark in the jar and just take out a litre of water at a time, to produce a separate dye bath away from the bark. I then refill the bark jar for use at a later date.
For this experiment I staggered the actually different mordanted dye baths over time. This allowed me to take out a litre of coloured water from the bark jars and then wait a week or 2 until I took some more out. I did not want to add different mordanted wool to the same dye bath so that they did not contaminate each other.
So basically the first week I took out a litre of coloured water from the both barks jars and put the water into 2, 1 litre jars. In 1 of these jars I added the non mordanted roving, and in the other the alum mordanted roving. These were left for 1 week before taking the wool out of the jar.
The next week I set up 2 more dye baths and added copper mordanted roving into 1 and iron mordanted roving into the other. Again they were left for 1 week before removing the wool
The third week I made 1 more dye bath and added alum mordanted roving. This jar was left for 4 weeks before removing the wool.
Step 4:
Take your wool out of the jar and leave to dry completely without rinsing.
Step 5:
Rinse in water baths until they are clear. As I was using roving I did not want to use running water to start it felting, so I used a few bowls of water. Always make sure you wool does not experience dramatic temperature changes. Make your water room temperature. Leave to dry
Results of dyeing with gum tree bark
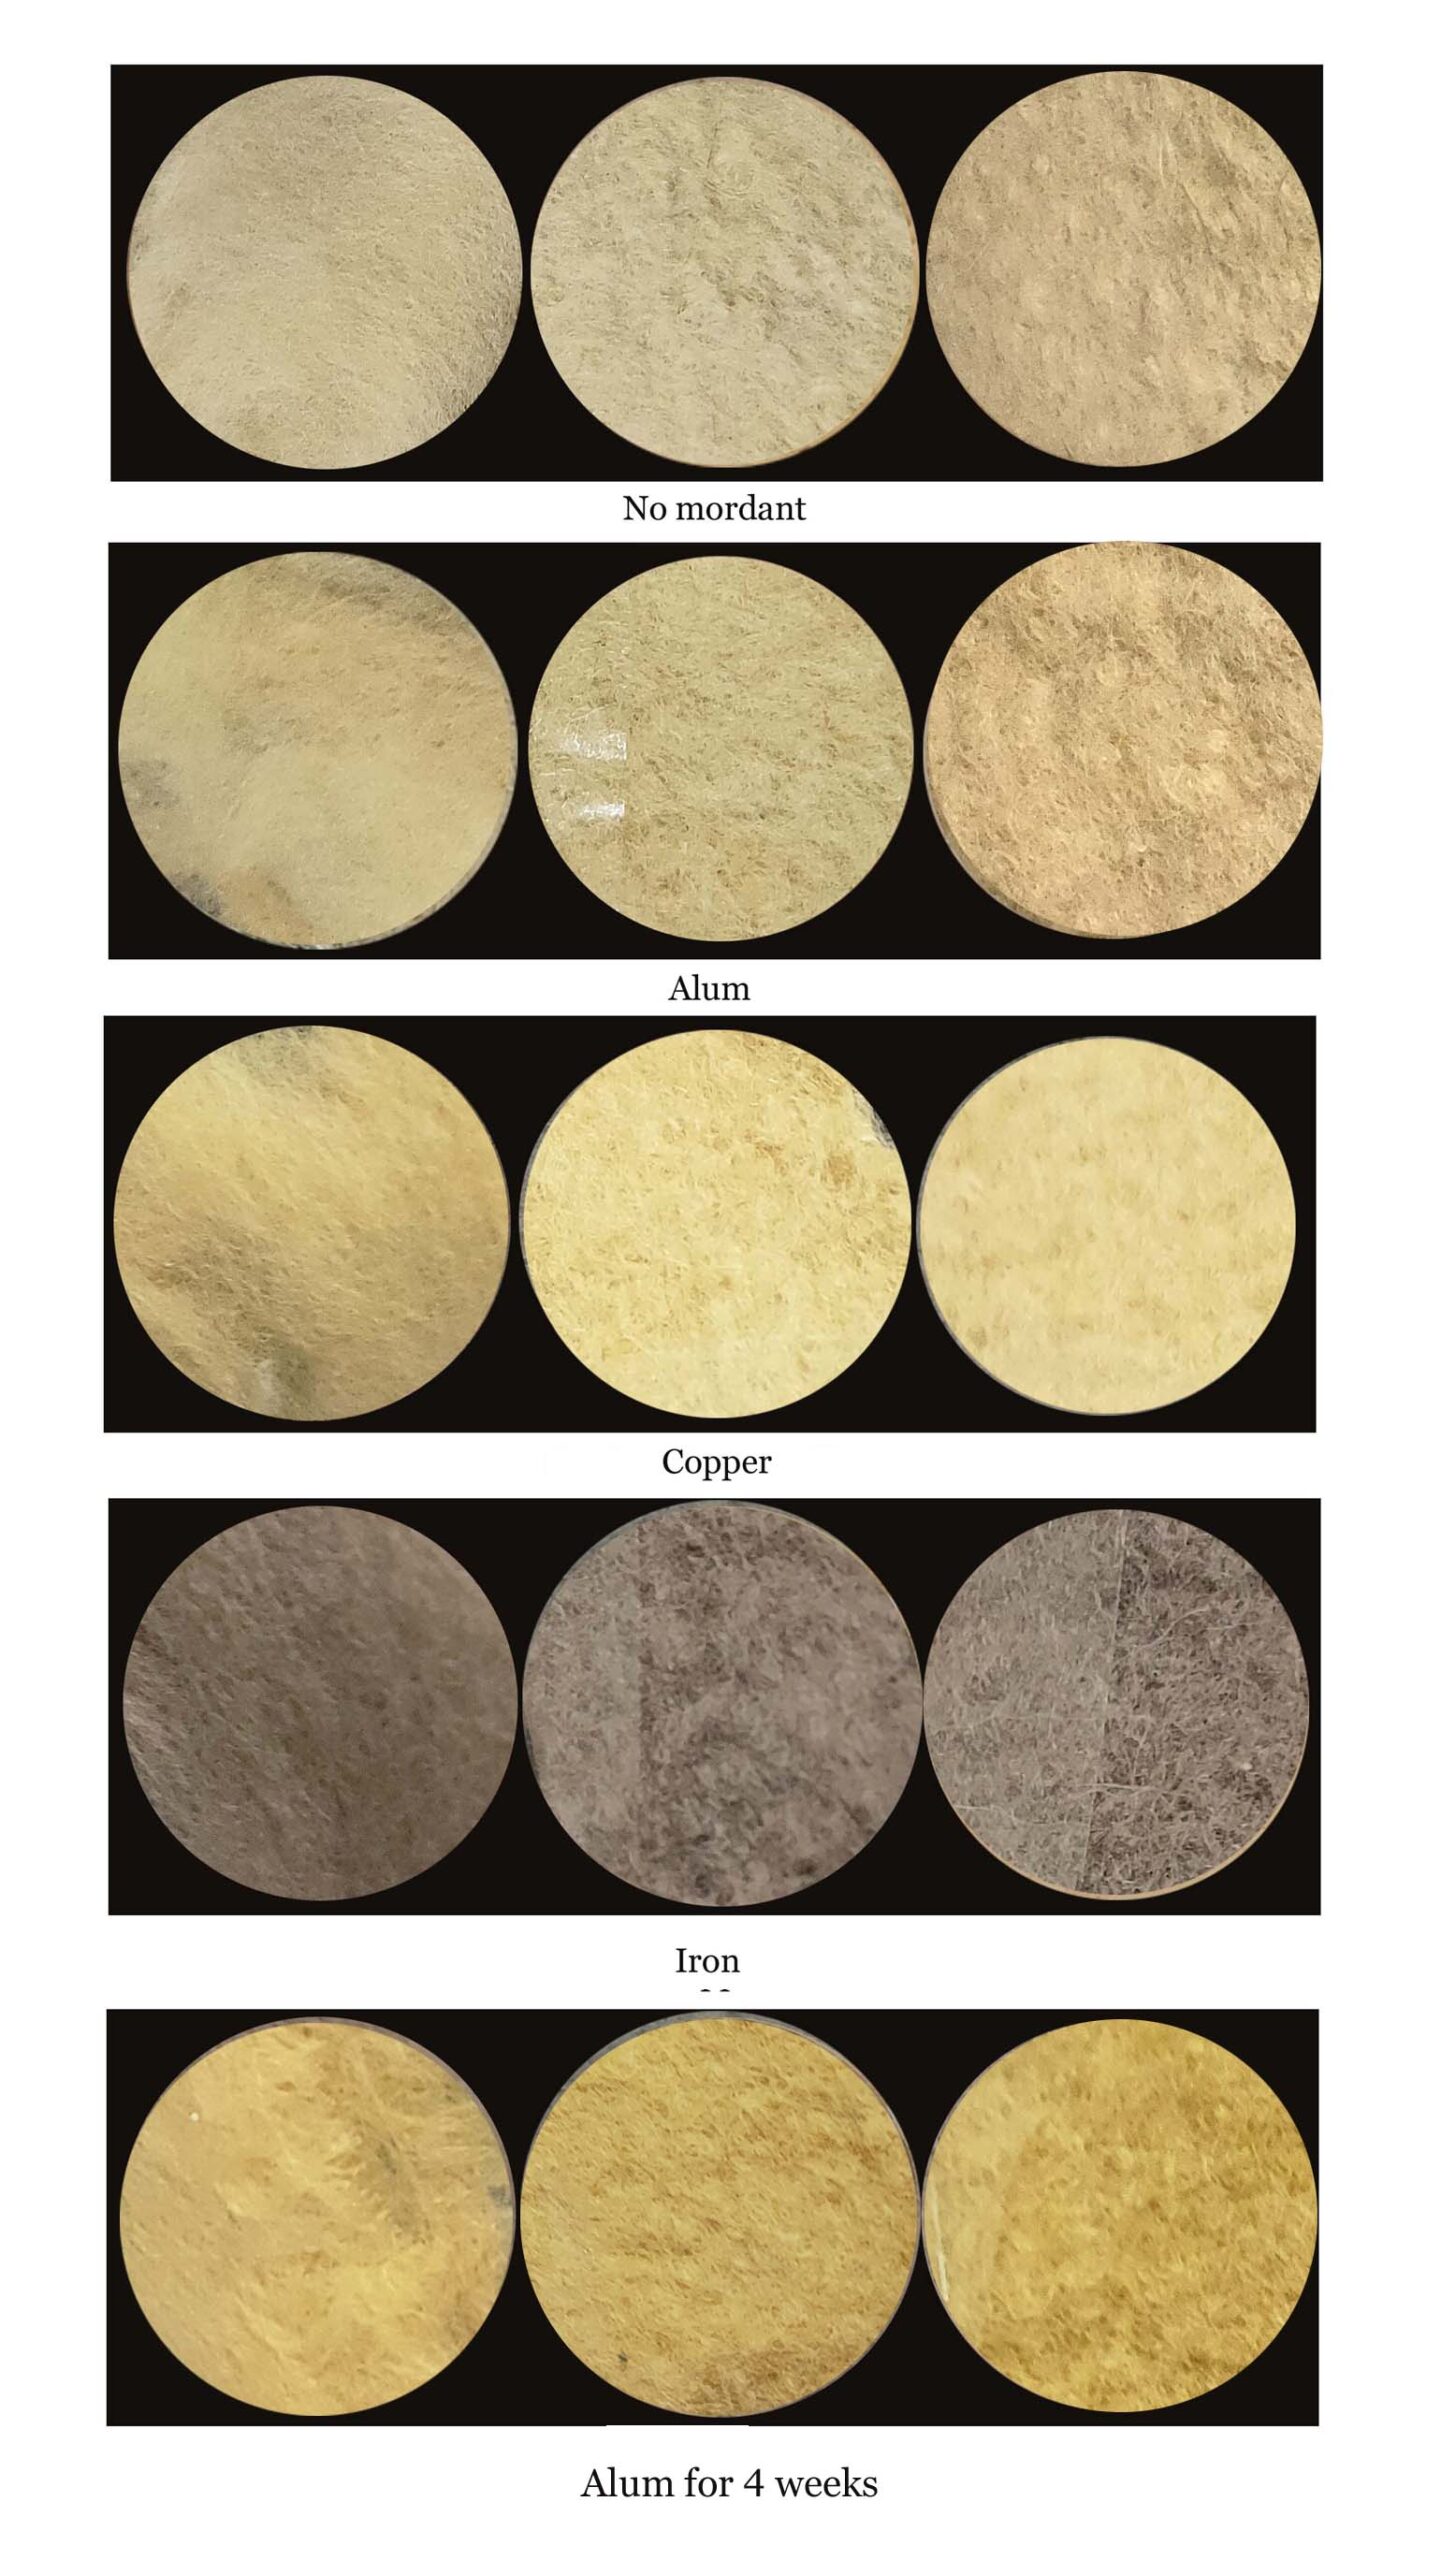
It is a little hard to see in the photos but there are differences between the colours with the different mordants
Across the page we have the roving after it was rinsed. Then comes the felt made from the roving. I figured that the wet felting procedure would be a good indication of how well the dye stands up to washing. Then comes the sun test. The felt was left on a window sill for 4 weeks in the hot Australian summer to see if it would fade.
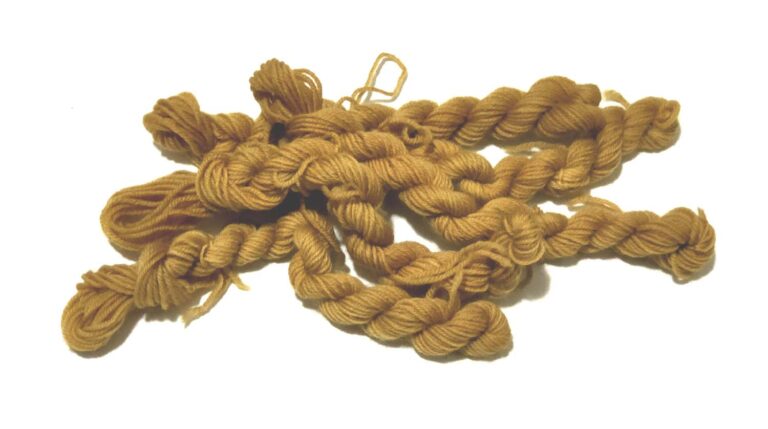
The non mordanted wool is slightly creamer than the others. It actually has quite a lovely soft look about it. The alum one however is more yellow though still within the beige range. The copper is slightly darker than the alum (which does not show up in the photos) but the 4 week wool is most definitely the darkest and did benefit from the extra time in the dye bath. It looks a much more solid and robust colour. The iron of course has come out a beautiful brown.
They have all held up great in the sun test, even the non mordanted wool. Both alums and the non mordanted actually seem to have gone just a little darker in the sun with the copper mordanted wool and iron looking exactly the same as when they first came out of the dye bath.
I hope this helps and encourages you to try your own experimenting in the world of natural dyes. See what colours the bark around your own backyard might produce 🙂
Update 23/8/2024
I thought I would update you on some additional dyeing I have done with the same bark as the previous experiments. I added more water to the bark and left for a few months before doing some more dyeing.
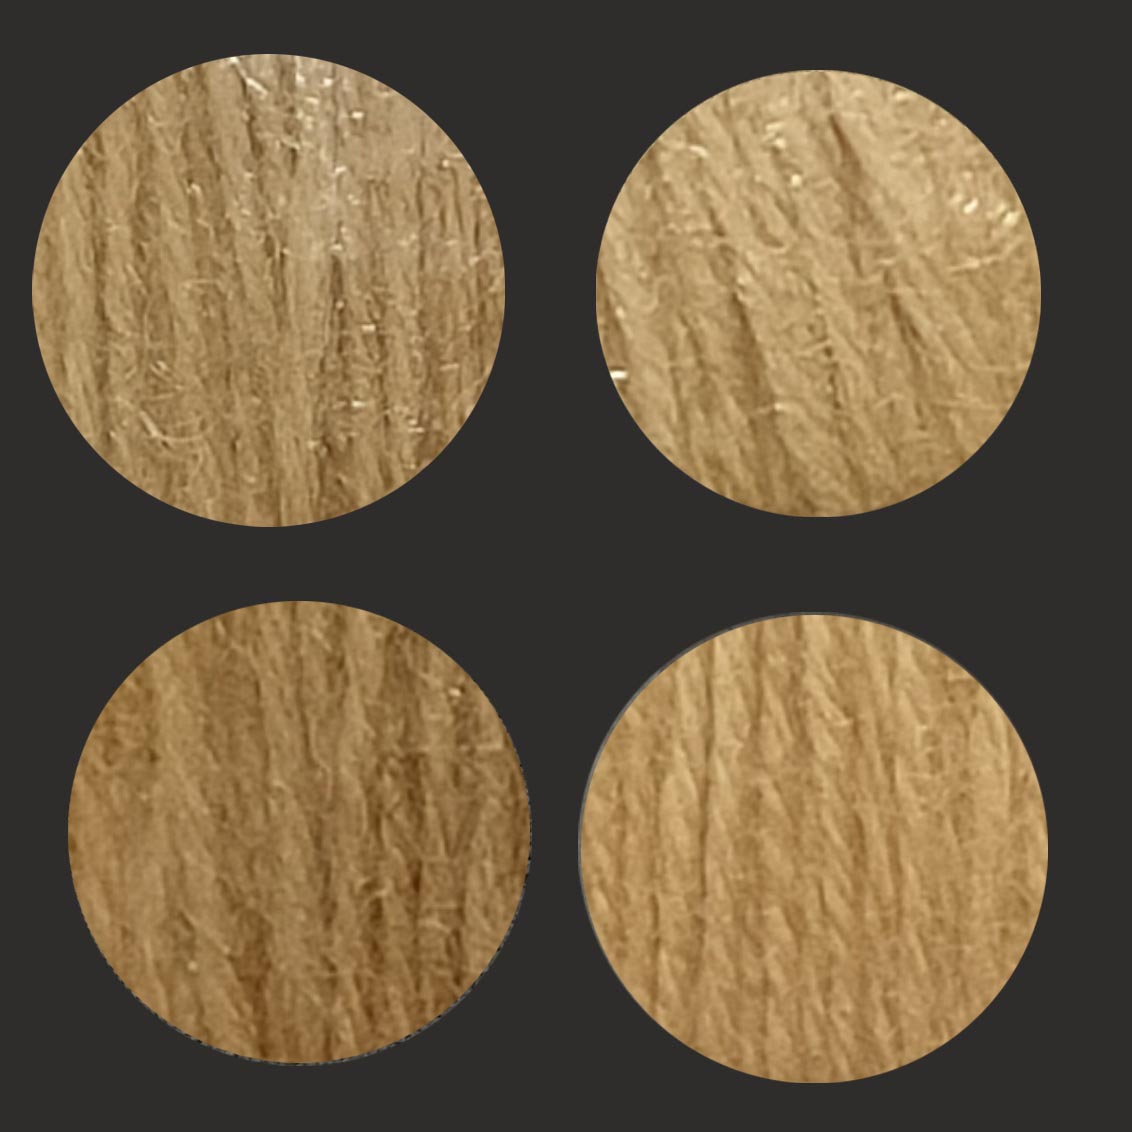
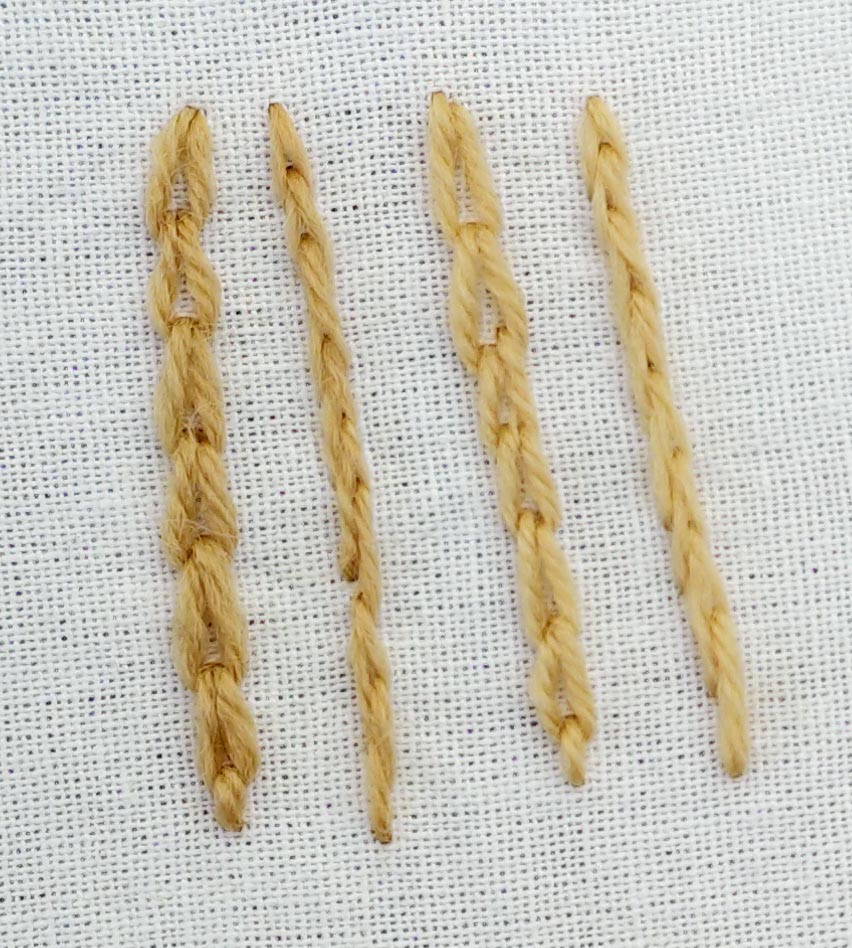
In this case I have dyed 2ply merino wool that was mordanted with alum. They were left in the dye for 4 weeks with additional threads added to the water after that and left for another 4 weeks. (exhaust bath).
The first picture shows the threads being subject to a sun test. The top row is the initial and exhaust threads after being rinsed and dried. The second row shows the threads after a week in the sun.
The next picture shows the threads being used on cotton fabric. The embroidery was then gently washed in warm water and a gentle soap and left to dry.
As you can see the results are great! There was no fading of colour with either the sun or wash test and no leaking of colour onto the cotton fabric after washing.
Have fun 🙂
Join us on Instagram www.instagram.com/DyetoCraft
Etsy Shop Now open
If you like the idea of using organic naturally dyed threads in your craft but just don’t have the time, come and have a look at our Etsy Shop where you will find an array of beautiful colours provided by nature.

