Dyeing with Coreopsis -the Queen of Natural Dyes

Here we look at natural dyeing with the Coreopsis flower, also known as Tickseed. You can get great results and a variety of colours from this little flower.
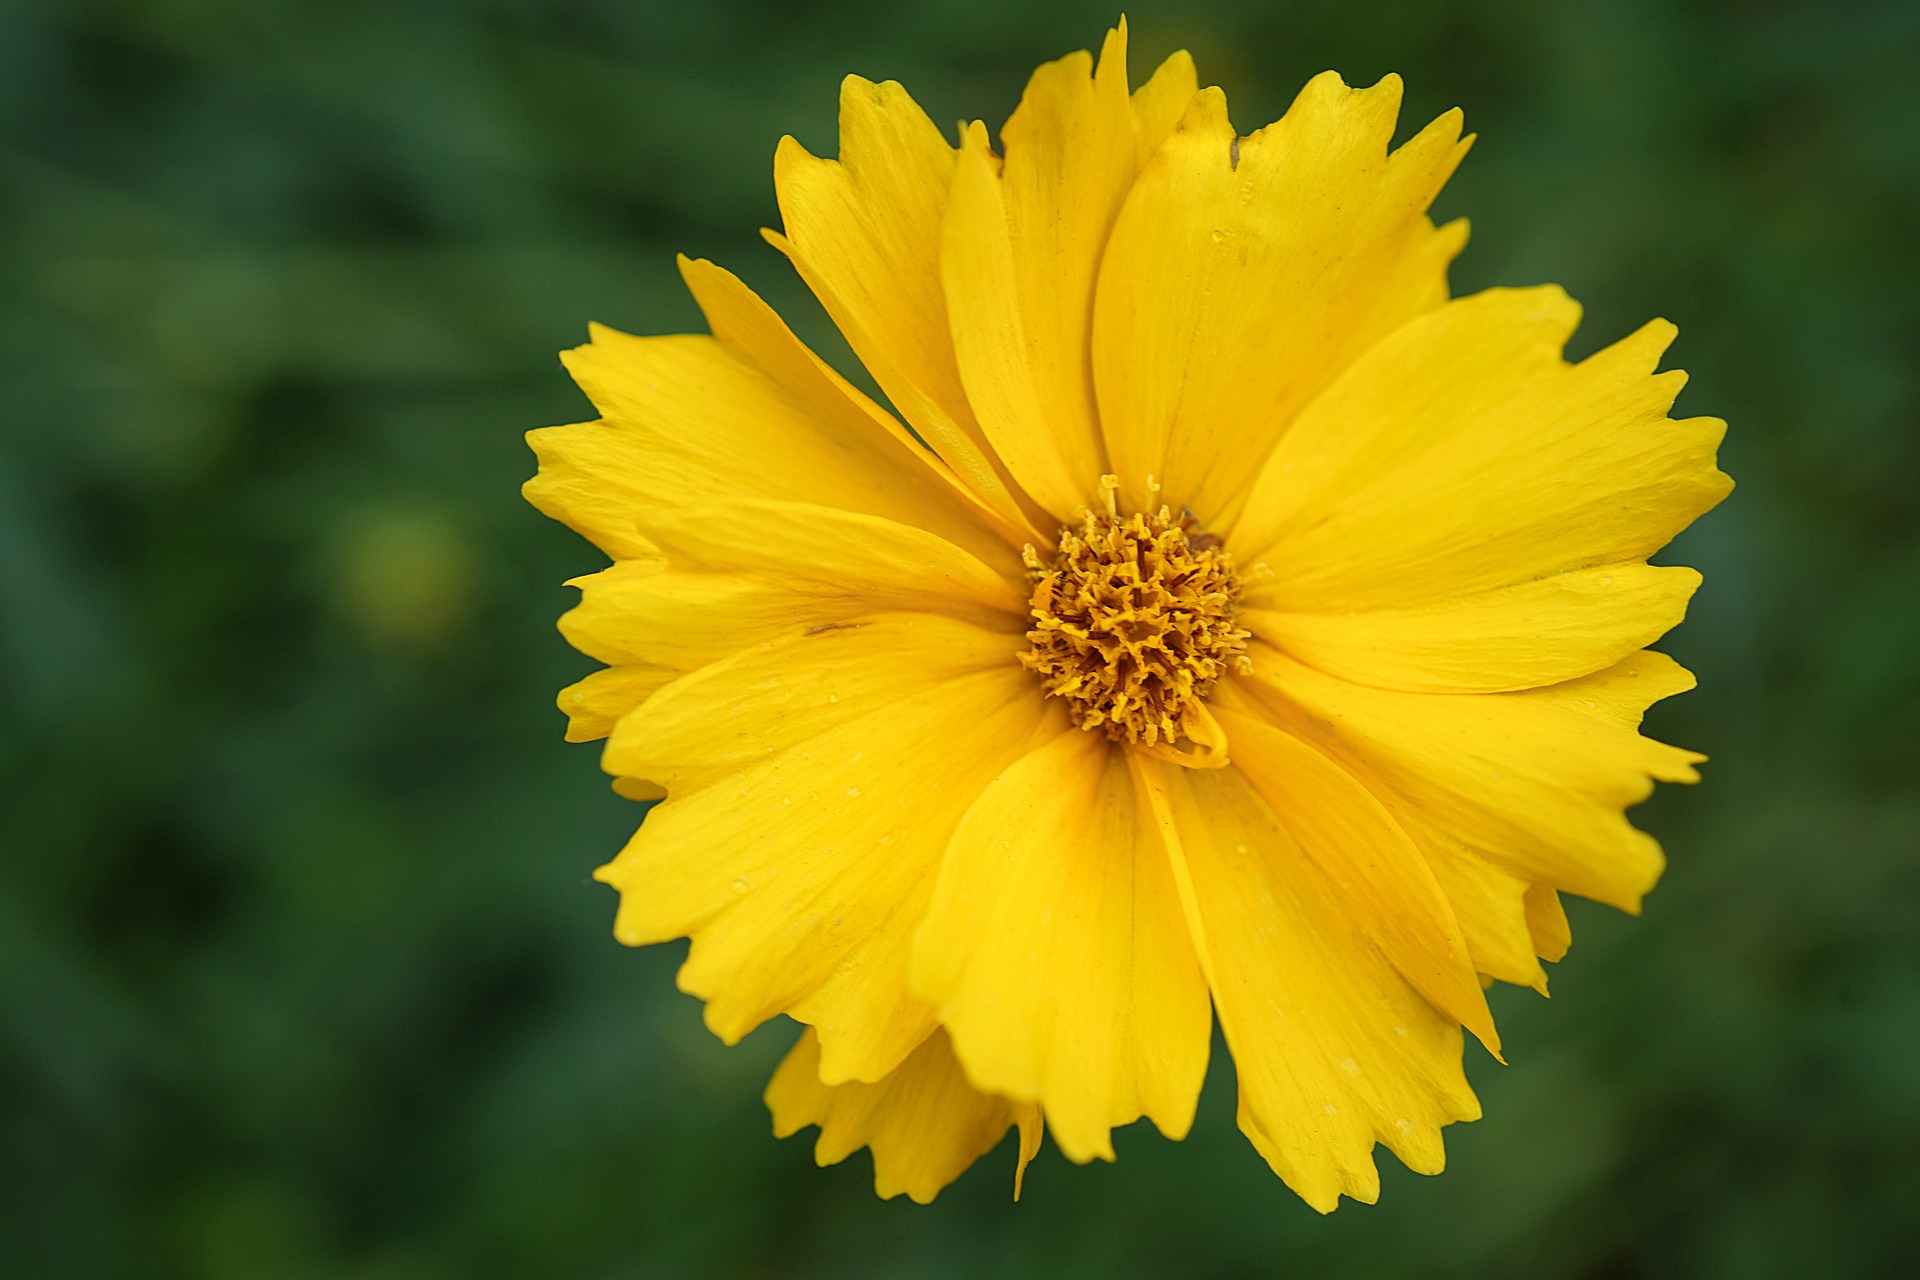
The Coreopsis Flower
This vibrant flower has become a major contributor in my natural dying craft. I love the colours it produces and it has not failed me yet. The coreopsis flower comes in a variety of colours but it is the yellow coloured flower shown in this picture that grows like a weed throughout the bottom half of the blue mountains here in Australia. It is not a native plant and actually comes from the United States.
Last spring I spent many an afternoon picking flowers along the road, under railway bridges and in nature strips. It was everywhere. I did a lot of dying with the fresh flowers and was also able to dry a large amount, which I am still dyeing with now.
Solar Dyeing with Coreopsis
With this experiment, as with most , I am going to use the process of solar dyeing.
This is basically putting your dyestuff in a glass jar and leaving it in the sun to work its magic. The beauty of living in Australia means that I do have the benefit of hot summers. If you don’t have these conditions, it does not mean you cannot try this process. You will just need to experiment with your own environments advantages and disadvantages. Leave it in a room that gets sunlight and may have great heating or try longer dyeing periods.
These experiments are only to show you what has and hasn’t worked for me, so you can pick through the information to start your own experimenting journey.
Fibre Preparation
Before dyeing you must first scour and mordant your fibre. For this particular experiment, I have used fibres that have been mordanted with both alum and iron. For information on these processes, try this post.
What you will need
Boiling water
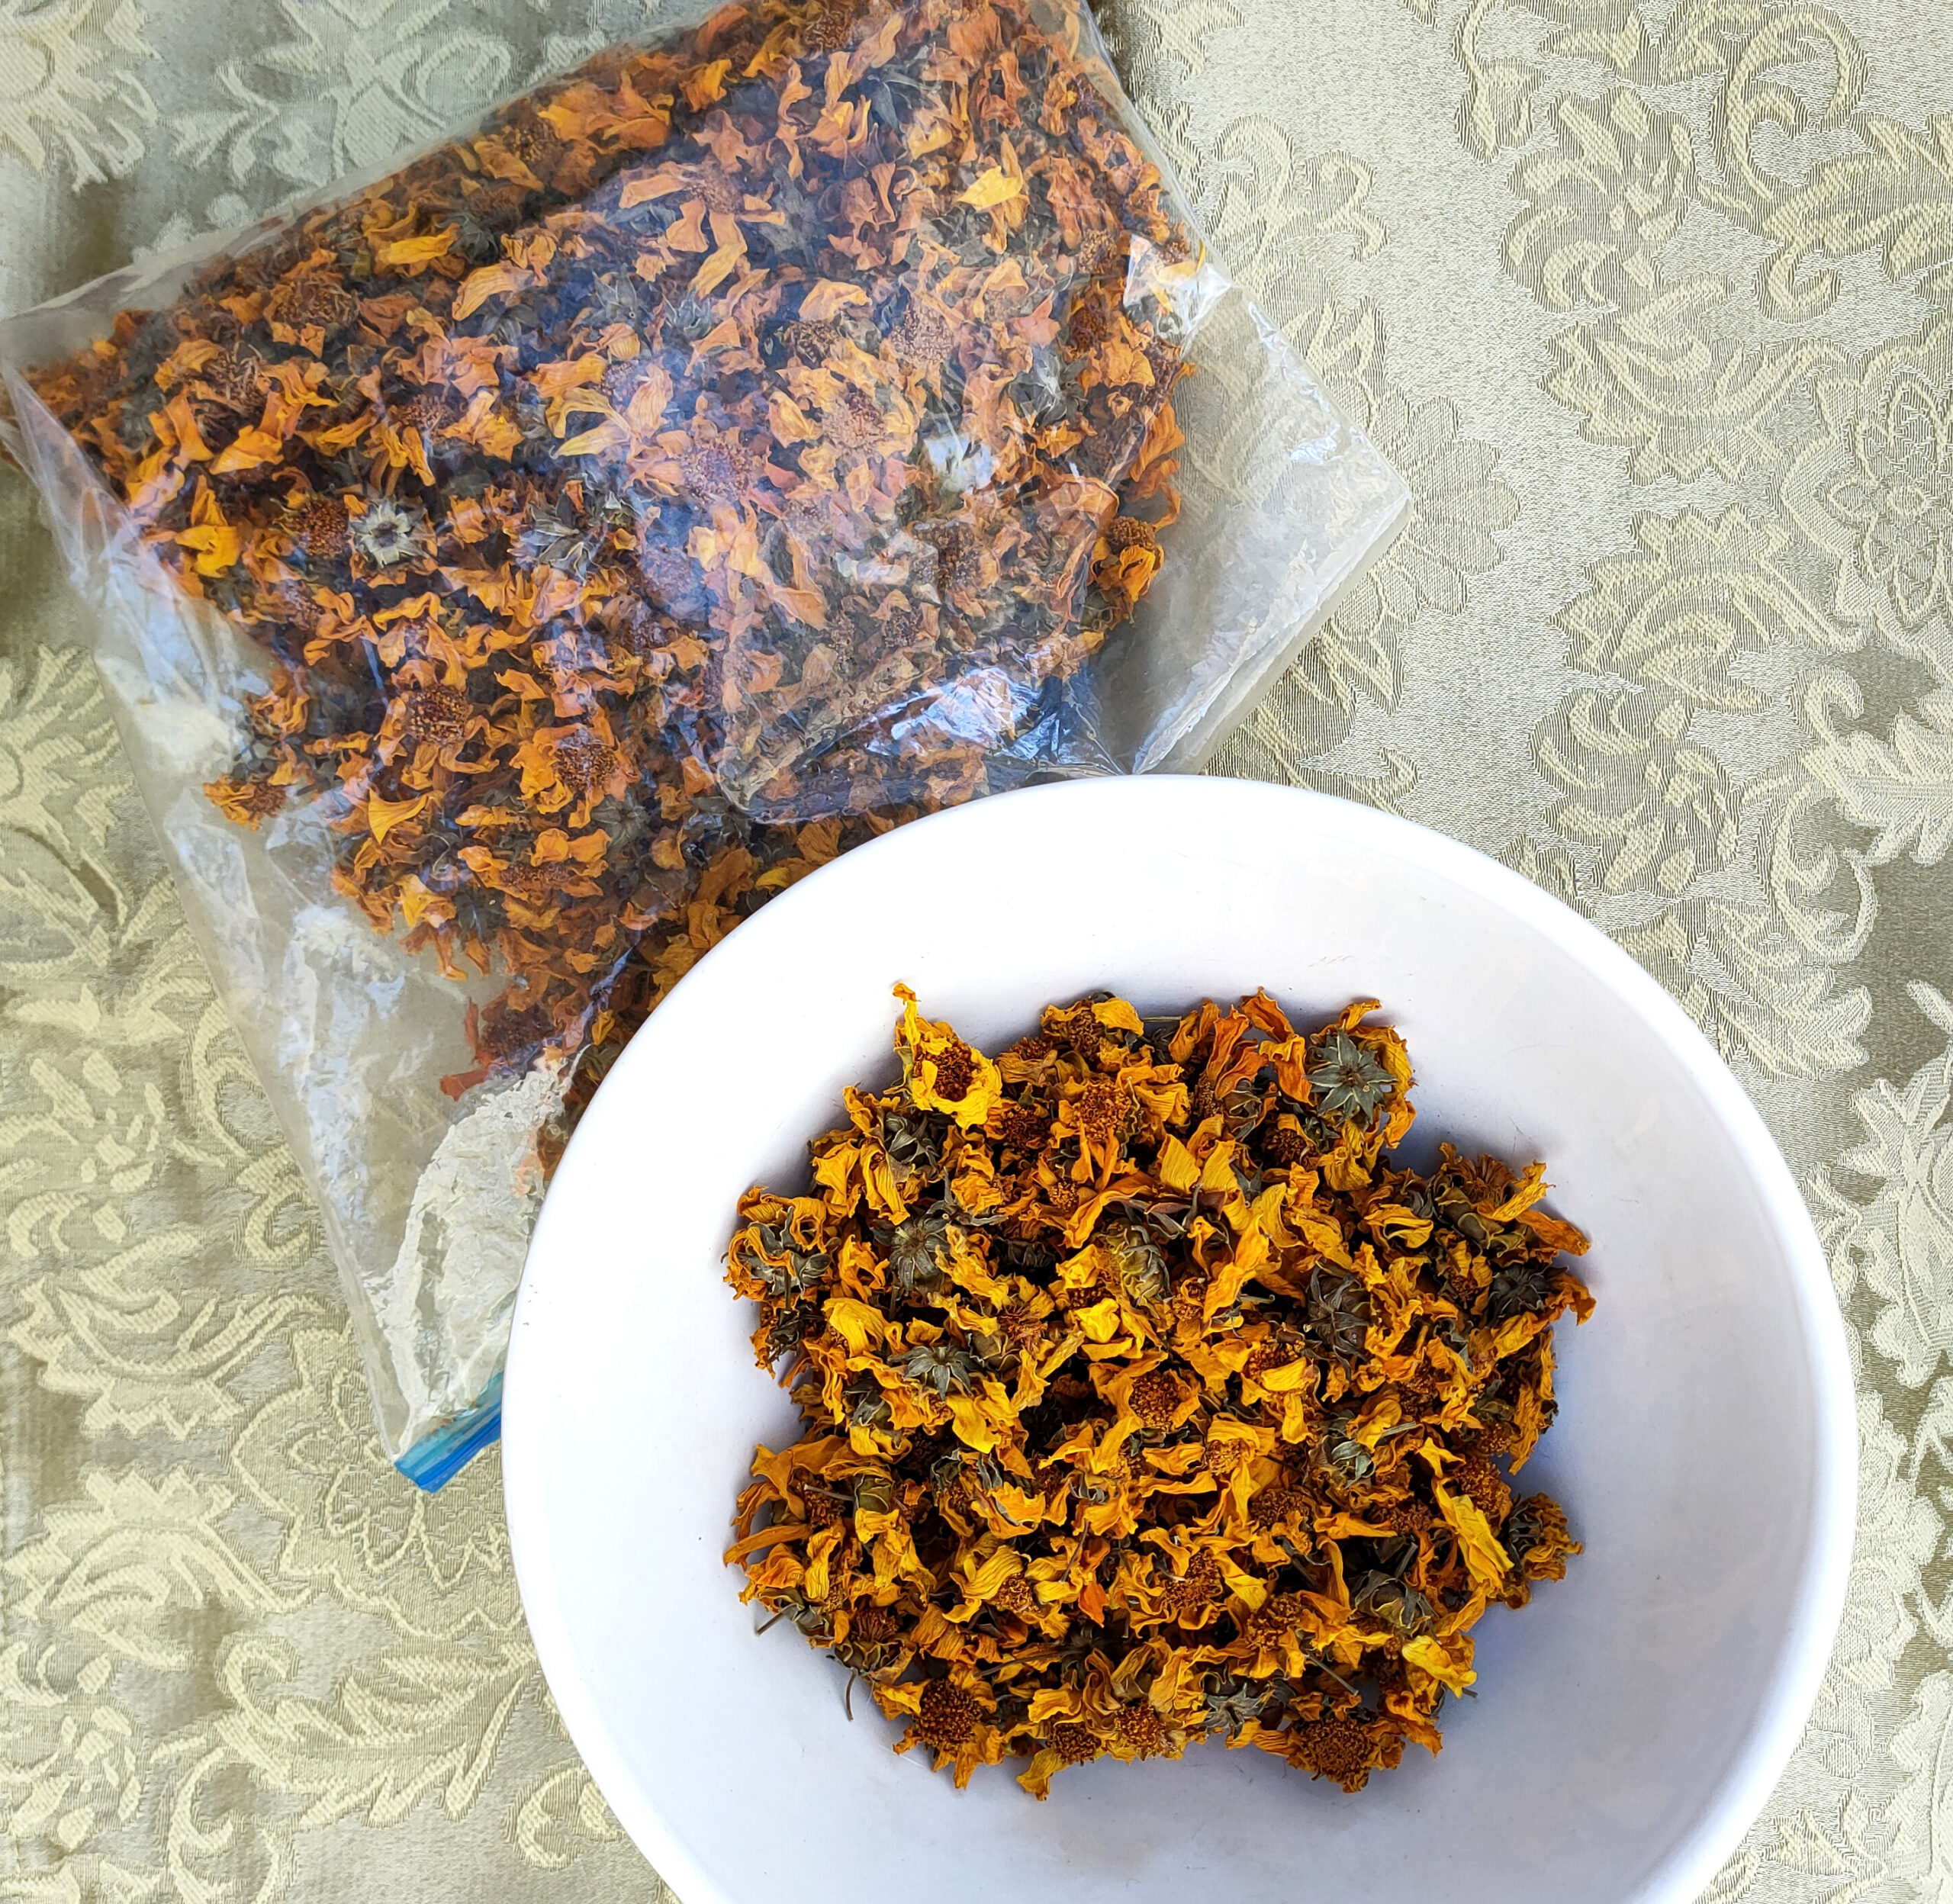
Flowers- Ant amount of flowers will give you some colour. In this experiment I used about 2 x WOF (refer below) but in later dye baths have used 50% of dried flowers.
Wool Fibre- I have used 10g of merino roving for each that was prescoured and mordanted with alum or iron.
Bowls
Glass Jars
Washing Soda
Procedure for dyeing with Coreopsis
Step 1:
Place your dyestuff in a heat proof bowl and add boiling water (in this instance I separated my flowers into 3 separate bowls)
Step2:
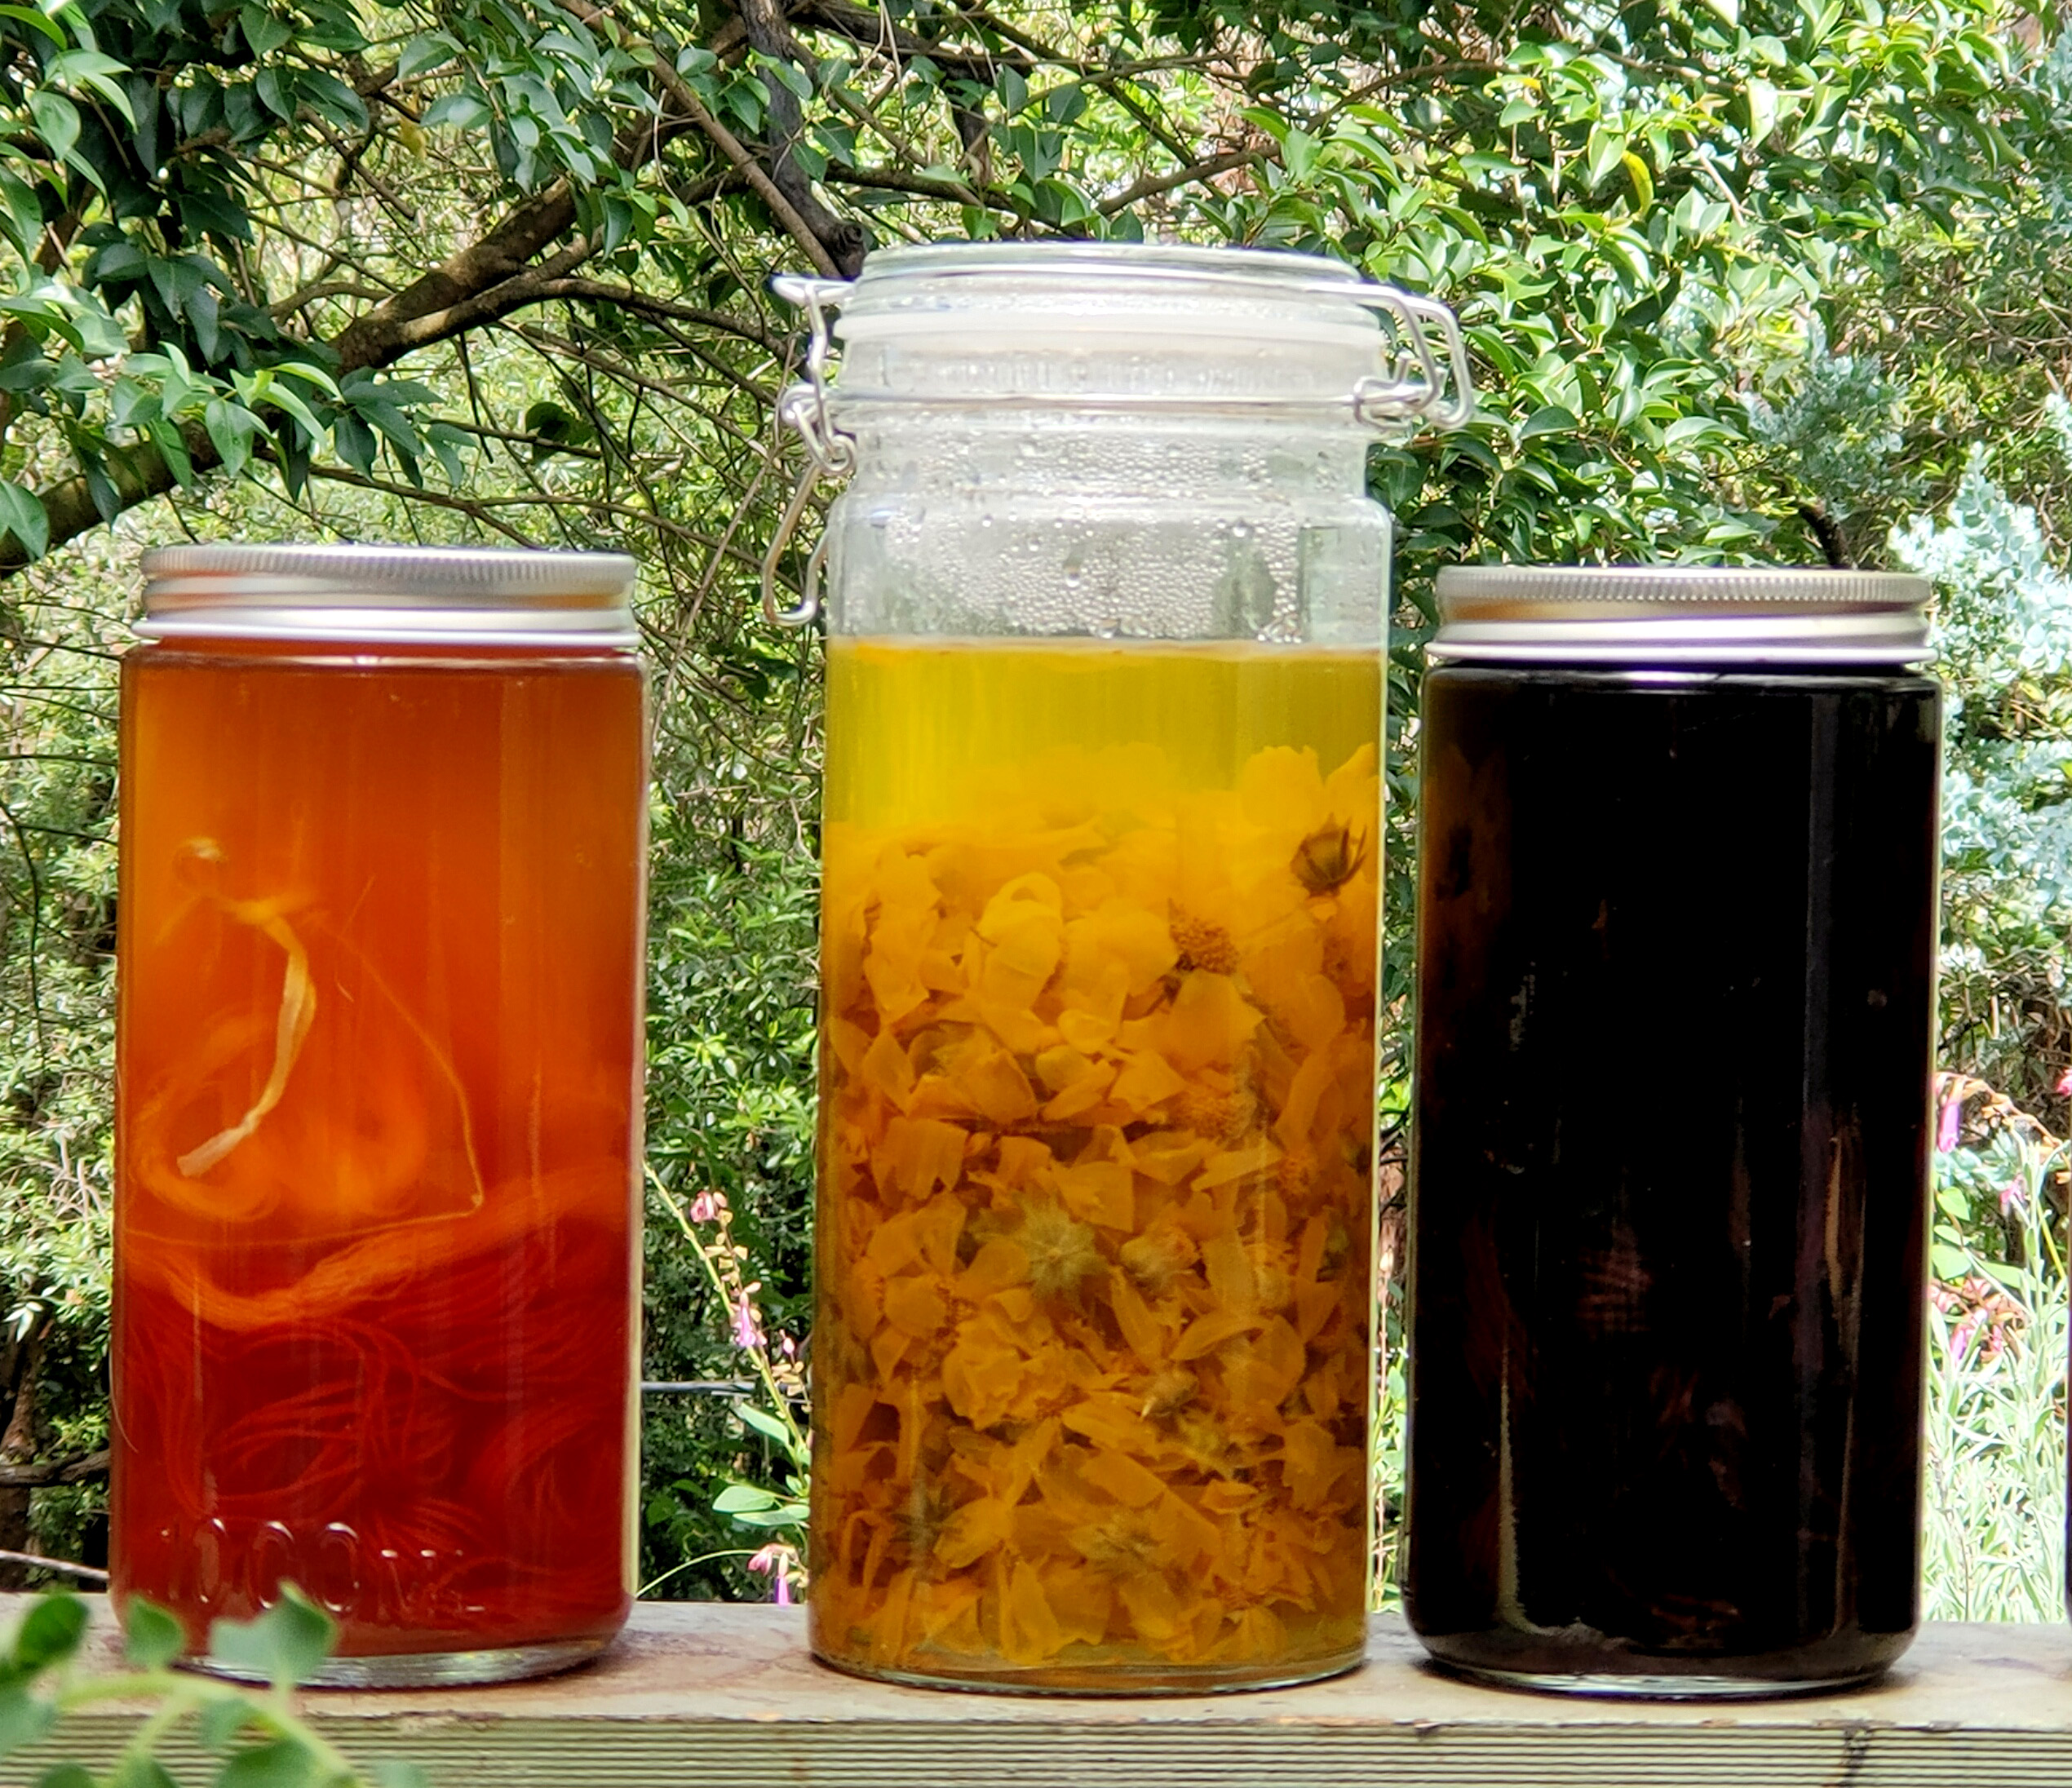
When cool enough, transfer into glass jars and leave outside. I left these for a week in the hot Australian summer sun.
Step 3:
For this experiment 1 wanted 3 distinct dye baths. 1 had the original dye from the flowers, and alum roving to put into it. This bath was yellow. 1 had some washing soda added in which I placed alum mordanted roving. This bath was orange. The last also had washing soda added and iron mordanted roving placed in. This bath turned brown over time as the iron reacted with the dye.
So for this step you would need to add washing soda to 2 baths. Dissolve a small amount of washing soda into hot water and gently stir into the jar.
Step 4:
Add your fibre. You will first need to take your flowers out of the bath and sieve the water. Don’t throw the flowers away just yet. Alum mordanted roving was added to the yellow jar and one of the orange jars. Iron mordanted roving was added to the other. Leave your fibre in for 1 week.
Step 5:
Take your wool out of the jar and leave to dry completely without rinsing.
Step 6:
Rinse in water baths until they are clear. As I was using roving I did not want to use running water to start it felting, so I used a few bowls of water. Always make sure you wool does not experience dramatic temperature changes. Make your water room temperature. Leave to dry
Exhaust Baths
You may still find there is a lot of dye left in your dye bath. We certainly don’t want to let this go to waste. While you are still getting colours that you are happy with, you can add another lot of fibre into your dye bath and leave for another week. I just assessed my wool when I took it out of the bath, to see if I was happy with it, and then decided if I could get some more colour out of the bath by adding another load of fibre.
For this particular experiment I did 3 more exhaust baths for the yellow and orange jars (so 4 lots of wool were dyed consecutively in each jar ), and 2 more exhaust baths for the brown (3 lots of wool dyed consecutively).
Extra Dye Baths
Another way to get as much dye out of your flowers as possible, is to create extra dye baths from the flowers. In step 4 of the procedure I mentioned to not throw the flowers out just yet. That is because you can but them into another jar with water and leave them for a week to create another dye bath. It is a great way to get as much value out of your flowers as you can.
Results for Dyeing with Coreopsis
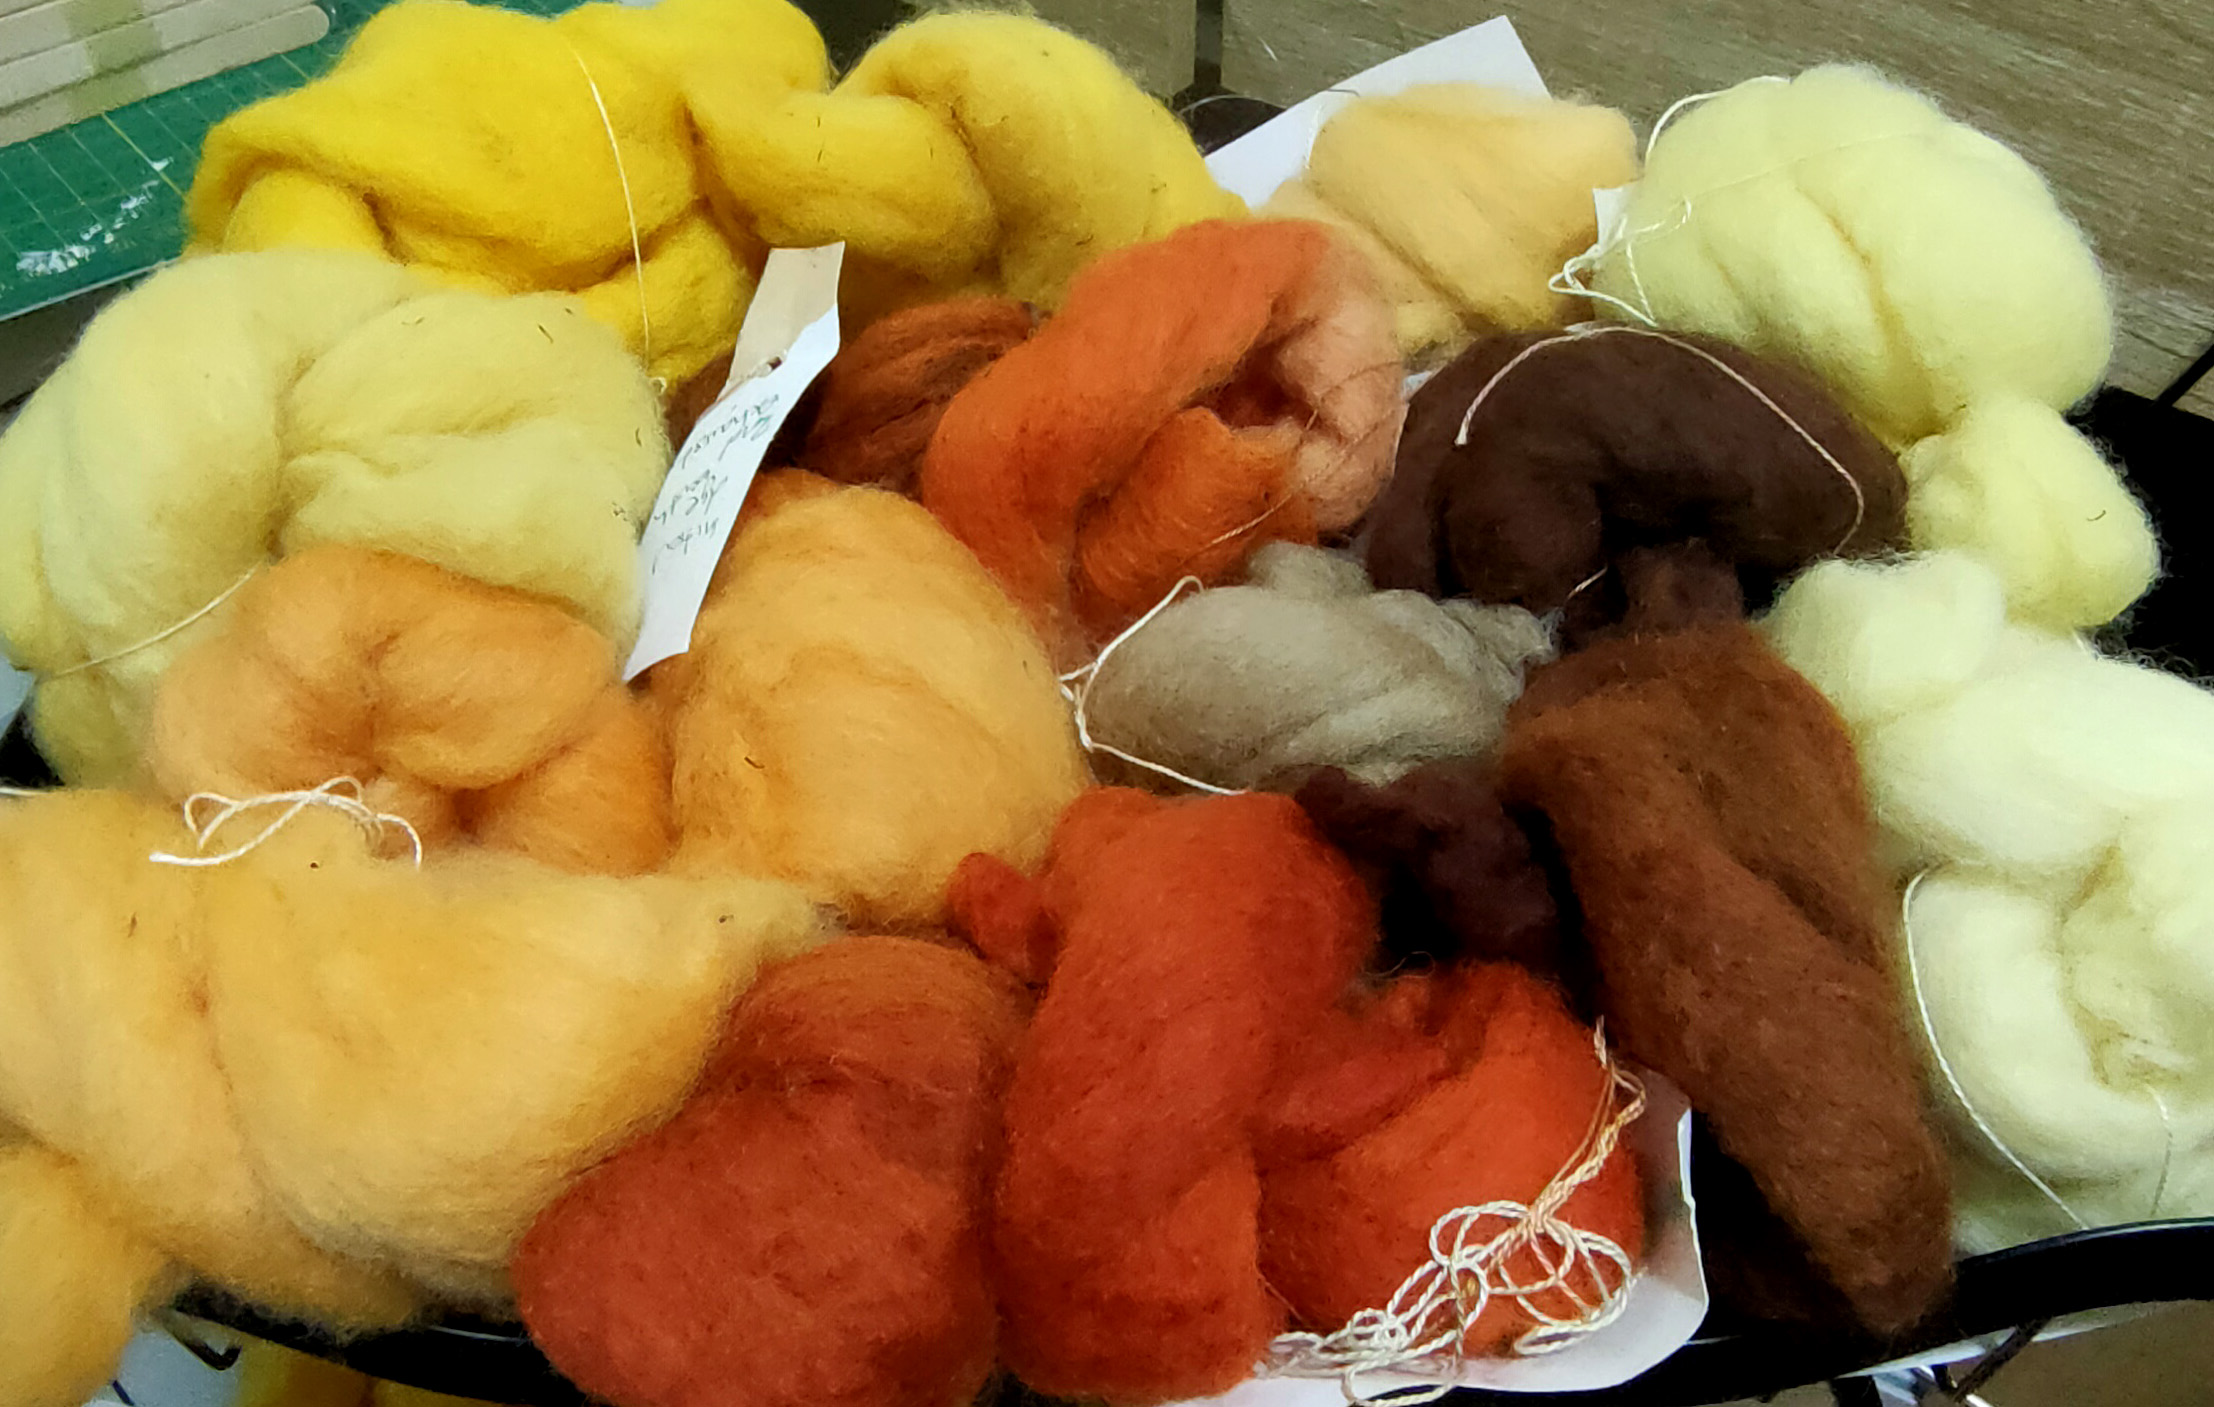
So with all of the different dye baths, both initial and extra, and then more exhaust baths, I ended up with quite a lot of beautifully coloured roving. I did not do a wash test or a sun test on all of them, but picked out a few of each colour, to see what would happen.
Some of the roving was turned into felt. I figured that the wet felting procedure would be a good indication of how well the dye stands up to washing. Then comes the sun test. The felt was then left on a window sill for 4 weeks in the hot Australian summer to see if it would fade. (sun test on white background)


Yellow’s
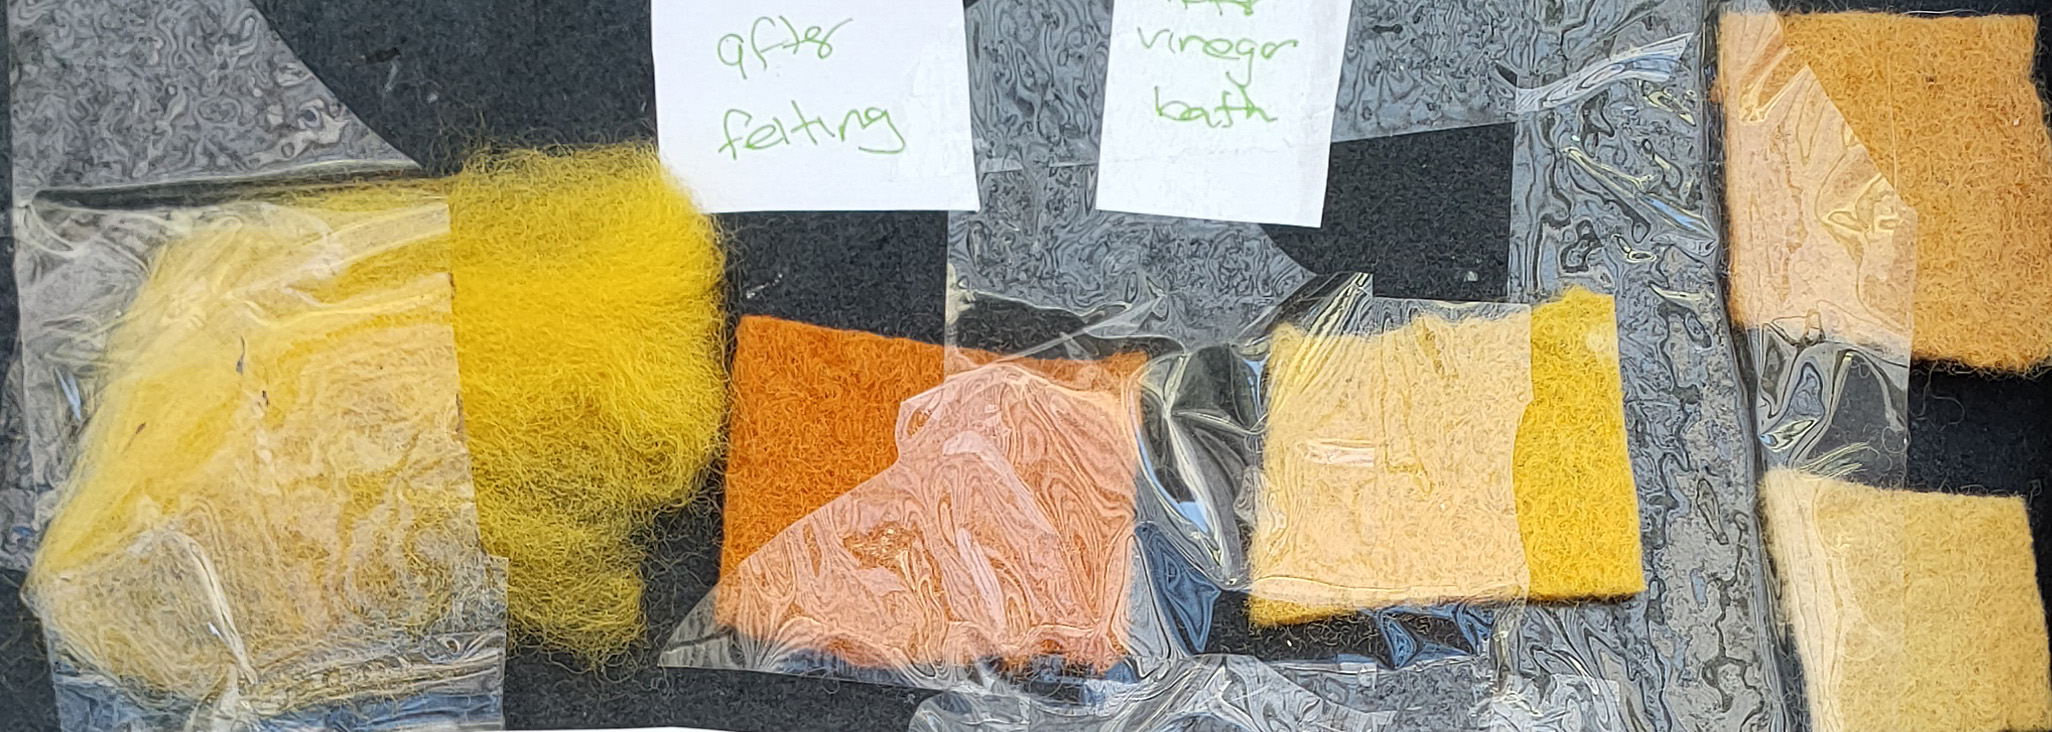
The first lot of tests we will look at are the yellow dye baths. Theses baths were made from dyeing with coreopsis flowers with no additives. Alum mordanted roving was used to produce these lovely colours.
1st picture
In the first picture we see results from the first dye bath that was set up, and the first lot of wool added. The wool initially came out a beautiful bright yellow, but as you can see, while being felted it turned orange. This is due to the soap that is used in the wet felting process, which is slightly alkaline. It basically works the same way as the washing soda did in the original experiment. Because of this, the felt was then given a vinegar bath to try and bring the colour back to the original (the second piece of felt in the picture).
Both pieces were then given the sun test with some reduction of colour occurring. It was actually a very hot and sunny 4 weeks so the actual reduction of colour between the felt after the vinegar bath and the felt after the sun test was really not too bad considering the intensity of the sun that it was subjected to.
2nd picture
The second picture shows the results from the initial dye bath and the 4th lot of wool that was added to it. As you can see, after 4 lots of wool going through the bath there was still some colour and the roving came out a lovely lemon. Again after felting we got some orangeing, so the 2nd piece of felt was given a vinegar bath. The 2 sun test results on the end show that the oranger felt did loose a bit of colour but the yellow felt only lost a little.
3rd picture
The last results for our yellows is a dye bath that was made after the flowers had been placed in water for the 3rd time. It is the first lot of wool put into that jar. The same felting process was used as the other 2 with the sun results showing some deterioration of colour.
Oranges
The next lot of tests we will look at are the orange dye baths. Theses baths were made from dyeing with coreopsis flowers with washing soda added. Alum mordanted roving was used to produce these lovely colours.
1st picture
In the first picture we see results from the first dye bath that was set up, and the first lot of wool added. The wool came out a beautiful dark orange. When felted the roving stayed the same beautiful colour, as it did not reduce with washing. It did however reduce in colour after an intense 4 weeks in the hot summer sun.
2nd picture
The second picture shows the results from the initial dye bath and the 2nd lot of wool that was added to it. In this instance the wool held up to both felting and the sun test really well. You really couldn’t ask for better results.
3rd picture
The last results are from a dye bath that was made after the flowers had been placed in water twice. It is the third lot of wool put into that jar. In this instance we did get a lot of reduction during the sun test.


Browns
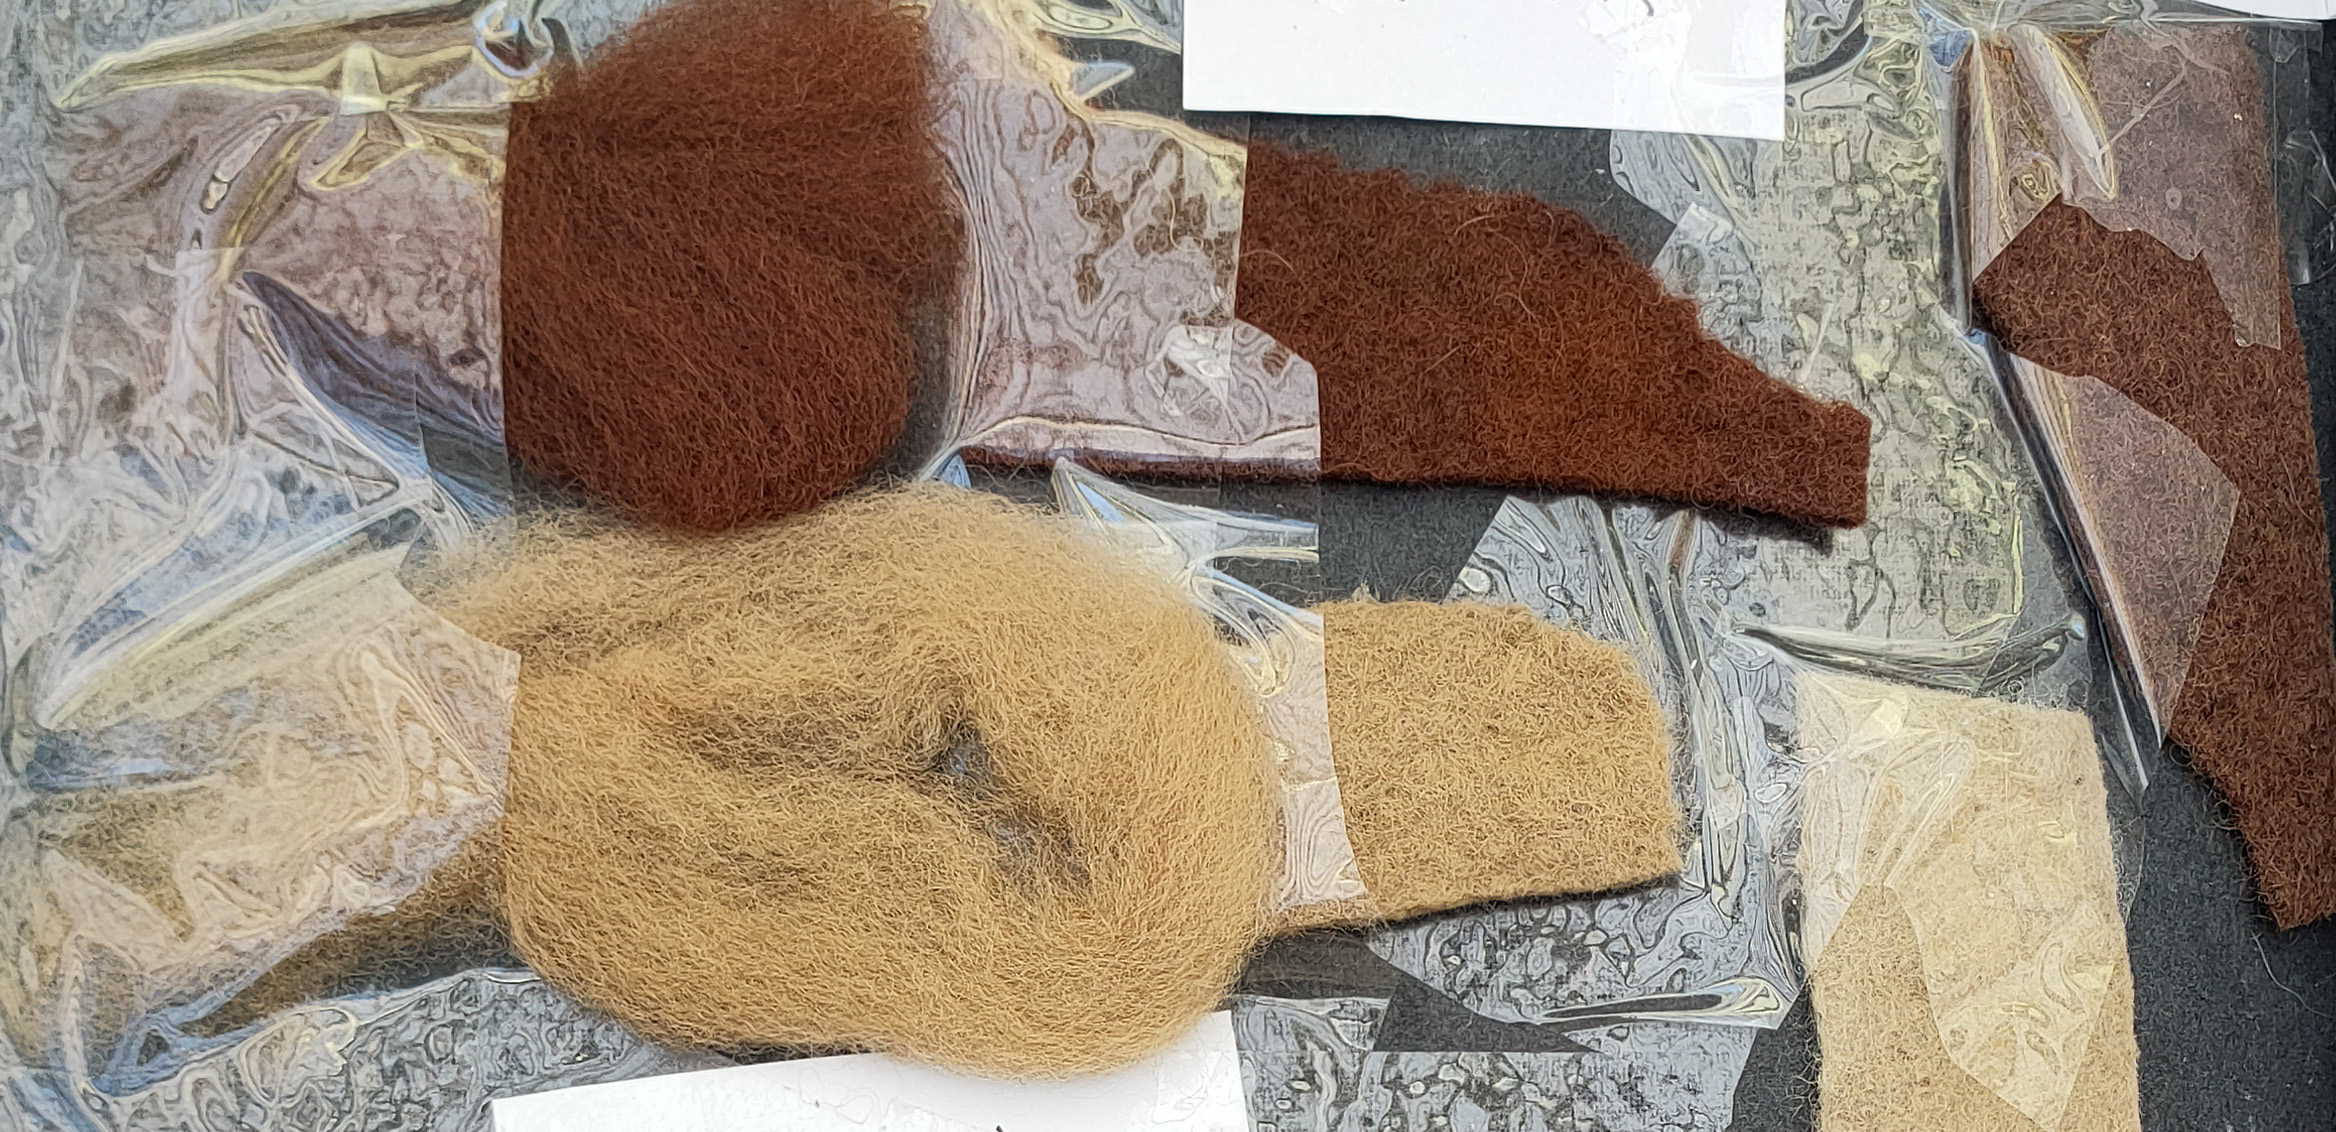
The last lot of tests we will look at are the brown dye baths. These baths were made from dyeing with coreopsis flowers with washing soda added. Iron mordanted roving was used to produce these lovely colours.
The first line of results in this picture comes from the initial wool that was placed in the initial bath. I cannot emphasise enough what a beautiful brown this dye produces. It is full of colour and vibrancy. And as you can see from the results, it did not fade when subjected to the hot australian sun.
The 2nd lot of results are from the initial dye lot but the 2nd exhaust. So basically this was the 3rd lot of wool added to the initial dye bath. In this picture it looks like the wool has lightened after the sun test but in real life it actually looks like it has darkened a little bit. I think was has actually happened is, it has lost some of its more orange tone, leaving a slightly duller colour.
Results of a Second Experiment Dyeing with Coreopsis.

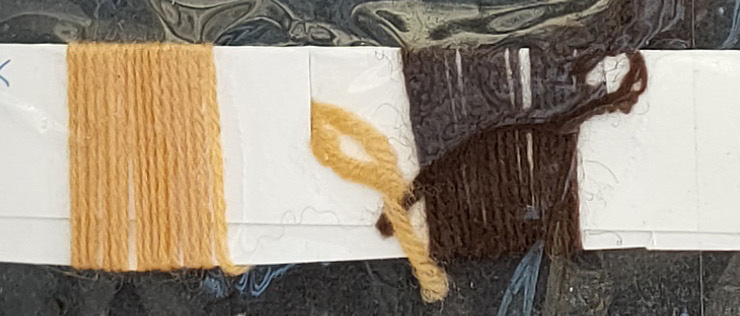
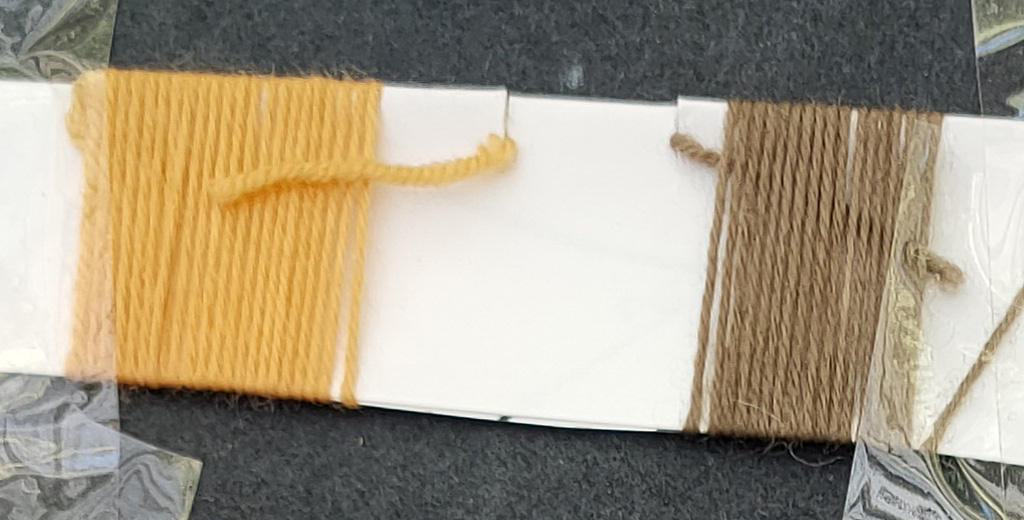
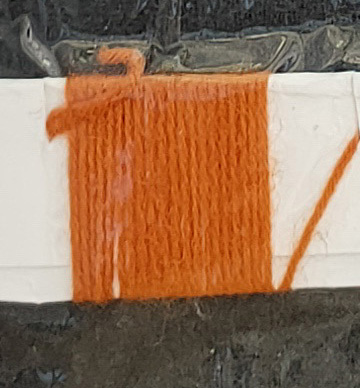
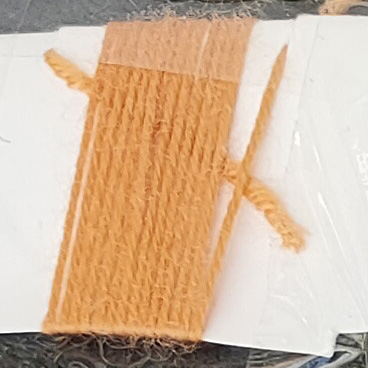
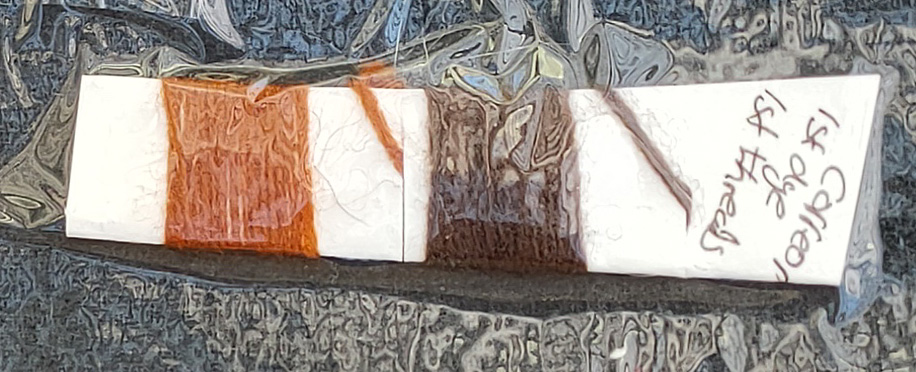
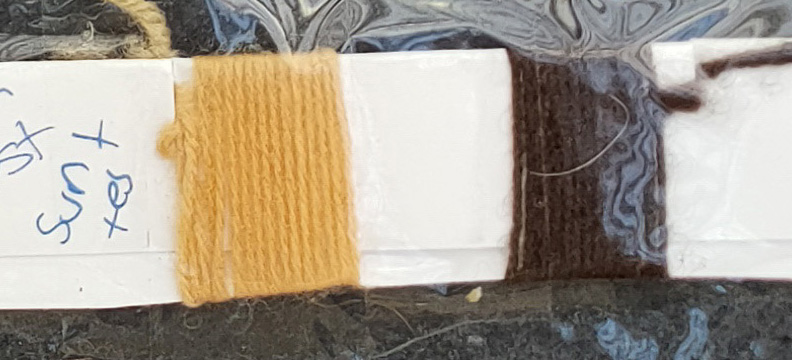
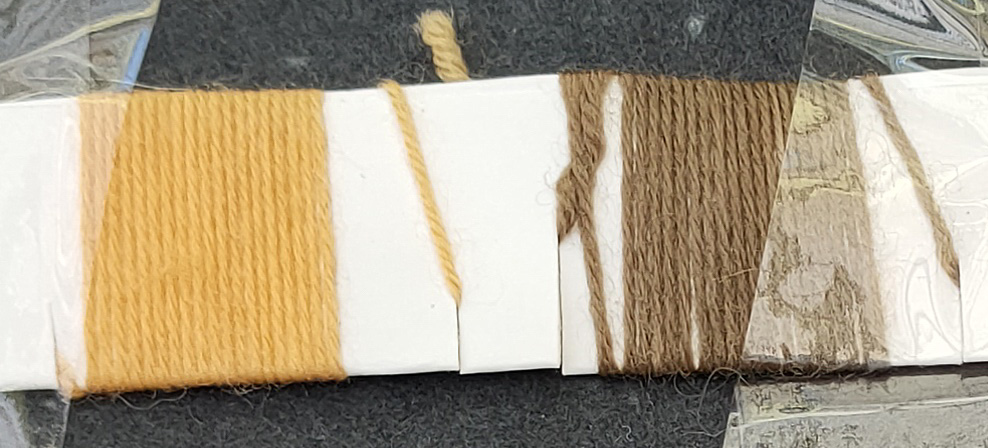
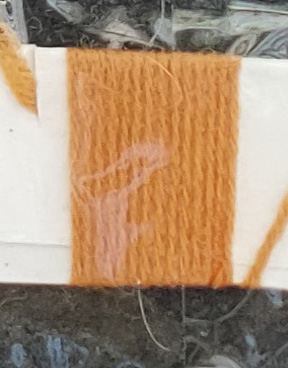
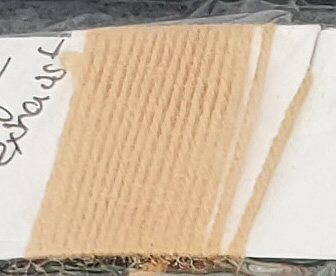
I later did some further experiments on 2 ply wool with the coreopsis and washing soda. In this case I was a little more measured in my process. I used a 1:1 ratio of Weight of fabric to weight of dried flowers. I also added the washing soda until I had a pH of 9 and made sure the pH remained there through out the different exhausts.
As you can see from the pictures, I had 2 tests going. 1 with alum mordanted threads and 1 with iron mordanted threads. After soaking the flowers for 1 week in 1 jar, I then placed them in another jar for a week to make a 2nd dye bath. I did 2 exhausts in the initial dye bath and 1 in the 2nd dye bath.
Results
The first column of results are the threads when taken out of the dye bath, dried, rinsed and dried again. For the rinsing process I placed the threads in a water bath several times until the bath remained clear. I then did a bath with some wool conditioner in it and left the wool for at least half an hour before another rinse bath.
The 2nd column of results show threads that have been left on a sunny window sill for 1 week in the hot aussie summer sun.
All up I think the initial bath results all came up quite well. They didn’t loose too much colour during the rinsing cycle, and non at all in the sun test. The 2nd dye bath however did not hold up to the sun test quite as well, in either the roving experiment or the thread experiment. I won’t do 2nd and 3rd baths for my threads but if I want to make some felt that I know will not be subjected to hot sun, I will definitely not let this dye go to waste.
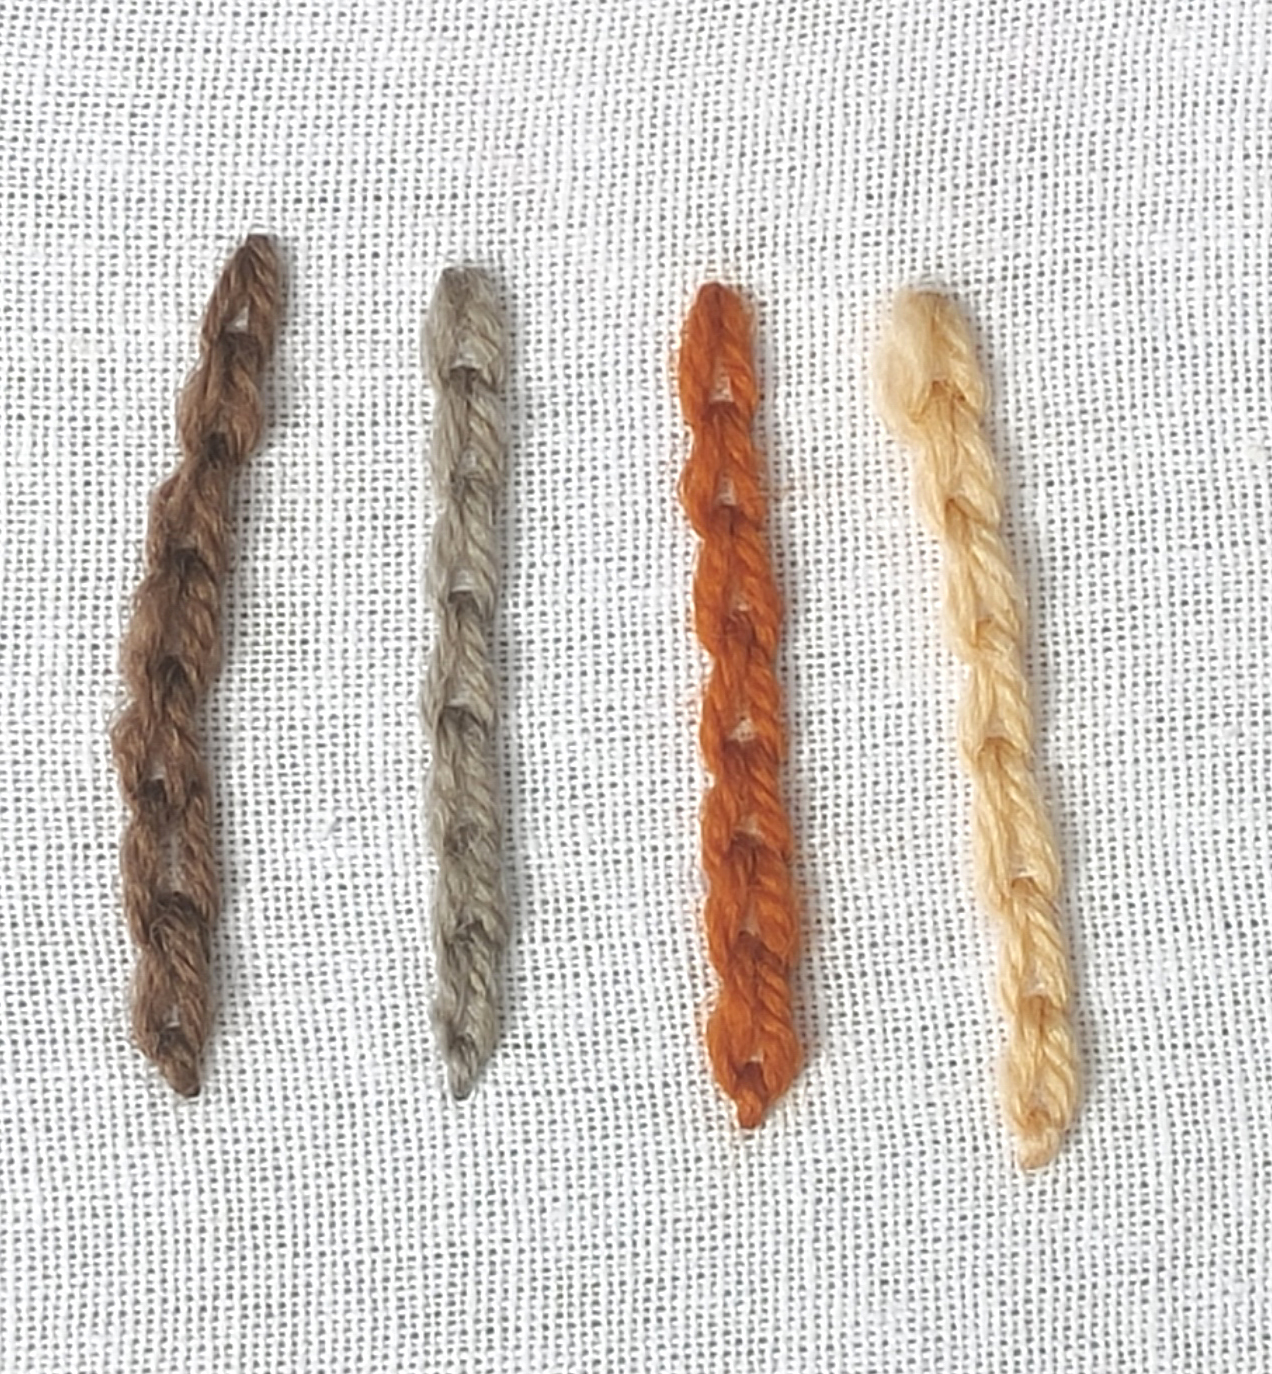
This picture shows some merino 2ply wool thread that has been dyed with coreopsis and used for some simple line embroidery. This piece was then gently hand washed with a gentle soap and left to dry. It was great to see that the colours did not run at all and there was no fading to the final piece.
Finishing Up
This has been a large post with quite a lot to take in. Again this is not the definitive in regards to dyeing with coreopsis. Rather a first glimpse to encourage you to try your own experiments. There are many different species of this flower which I have not had the chance to dye with. You will also find in the world of natural dying, that results can differ depending on the environment that that particular dye stuff has grown in. Each season is different with different amounts of rain and minerals fertilising the plant. And each of these differing conditions can change the outcome of your results. The uptake with this flower is that no matter where you live or whatever your conditions, hopefully you will be able to get own personalised results from this marvellous flower.
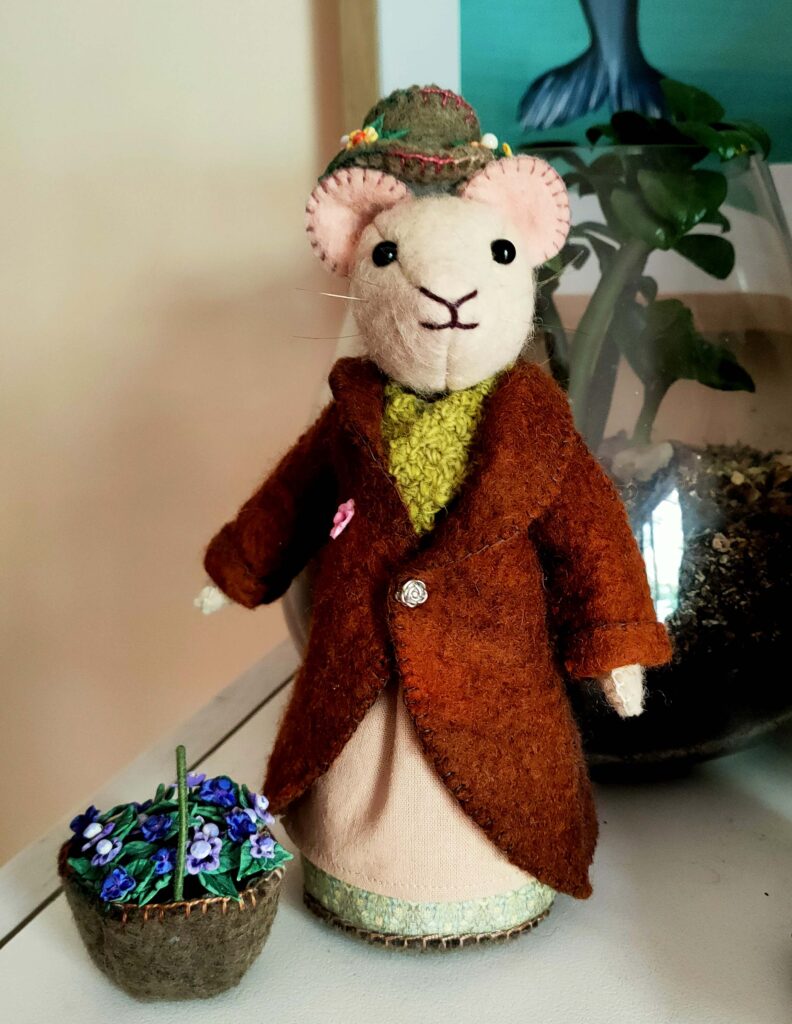
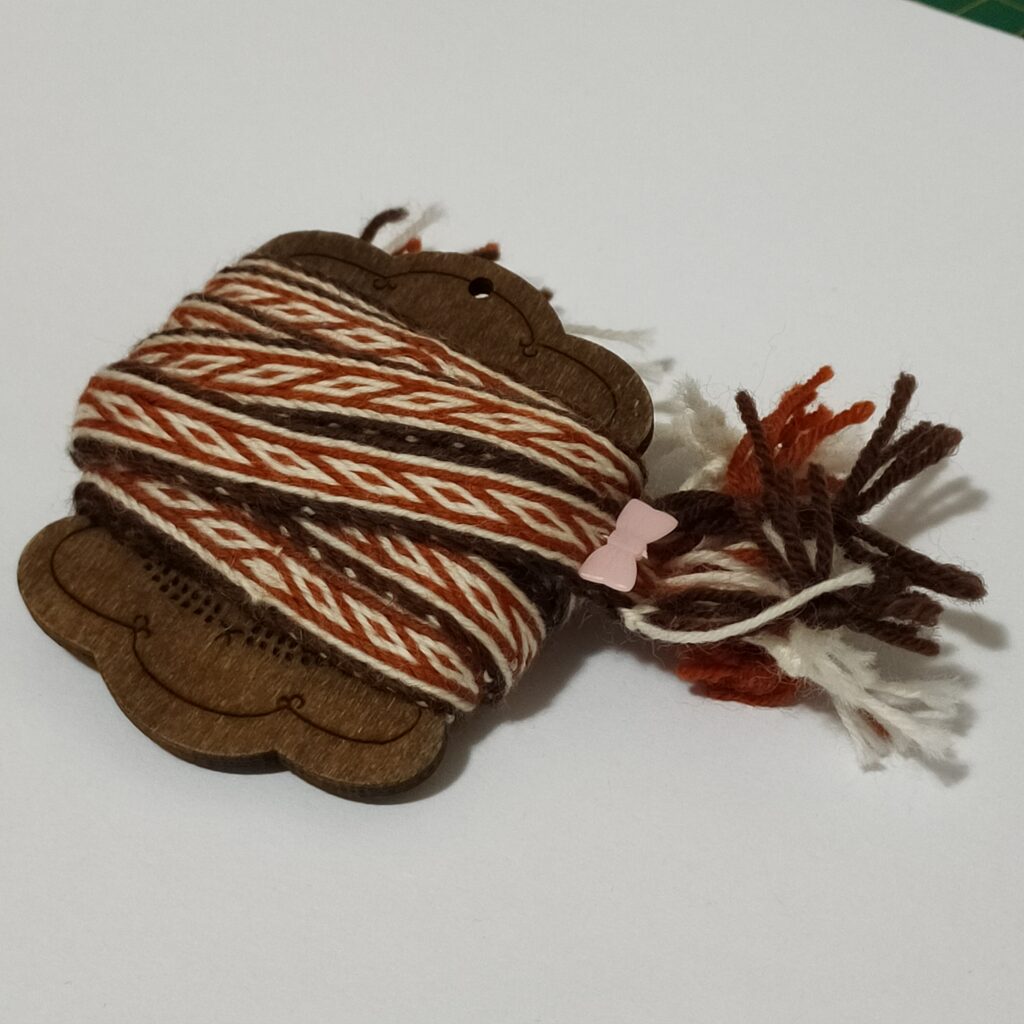
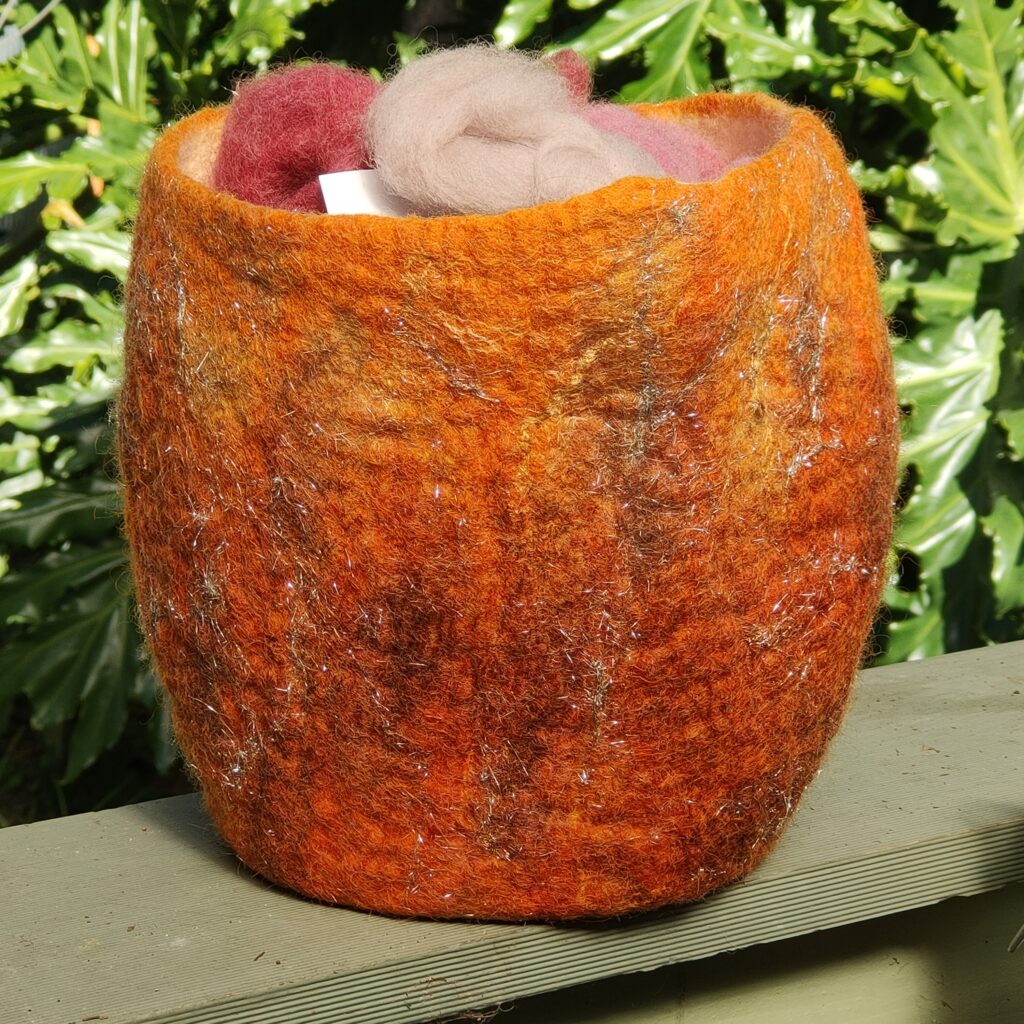
I thought I would just finish off with a few pictures of the ways in which I have incorporated this lovely dye into my work.
Join us on Instagram www.instagram.com/DyetoCraft
Etsy Shop Now open
If you like the idea of using organic naturally dyed threads in your craft but just don’t have the time, come and have a look at our Etsy Shop where you will find an array of beautiful colours provided by nature.

