Dyeing with Carrot Tops to produce that elusive grey.

Dyeing with carrot tops is an easy and great way to use up those kitchen scraps
Solar Dyeing
In this experiment, where we dye with carrot tops, I am going to use the process of solar dyeing.
This is basically putting your dyestuff in a glass jar and leaving it in the sun to work its magic. The beauty of living in Australia means that I do have the benefit of hot summers. If you don’t have these conditions, it does not mean you cannot try this process. You will just need to experiment with your own environments advantages and disadvantages. Leave it in a room that gets sunlight and may have great heating or try longer dyeing periods.
These experiments are only to show you what has and hasn’t worked for me, so you can pick through the information to start your own experimenting journey.

Fibre Preparation
Before dyeing you must first scour and mordant your fibre. For this particular experiment, my wool roving was mordanted in iron. For information on these processes, try this post.
What you will need
Boiling water
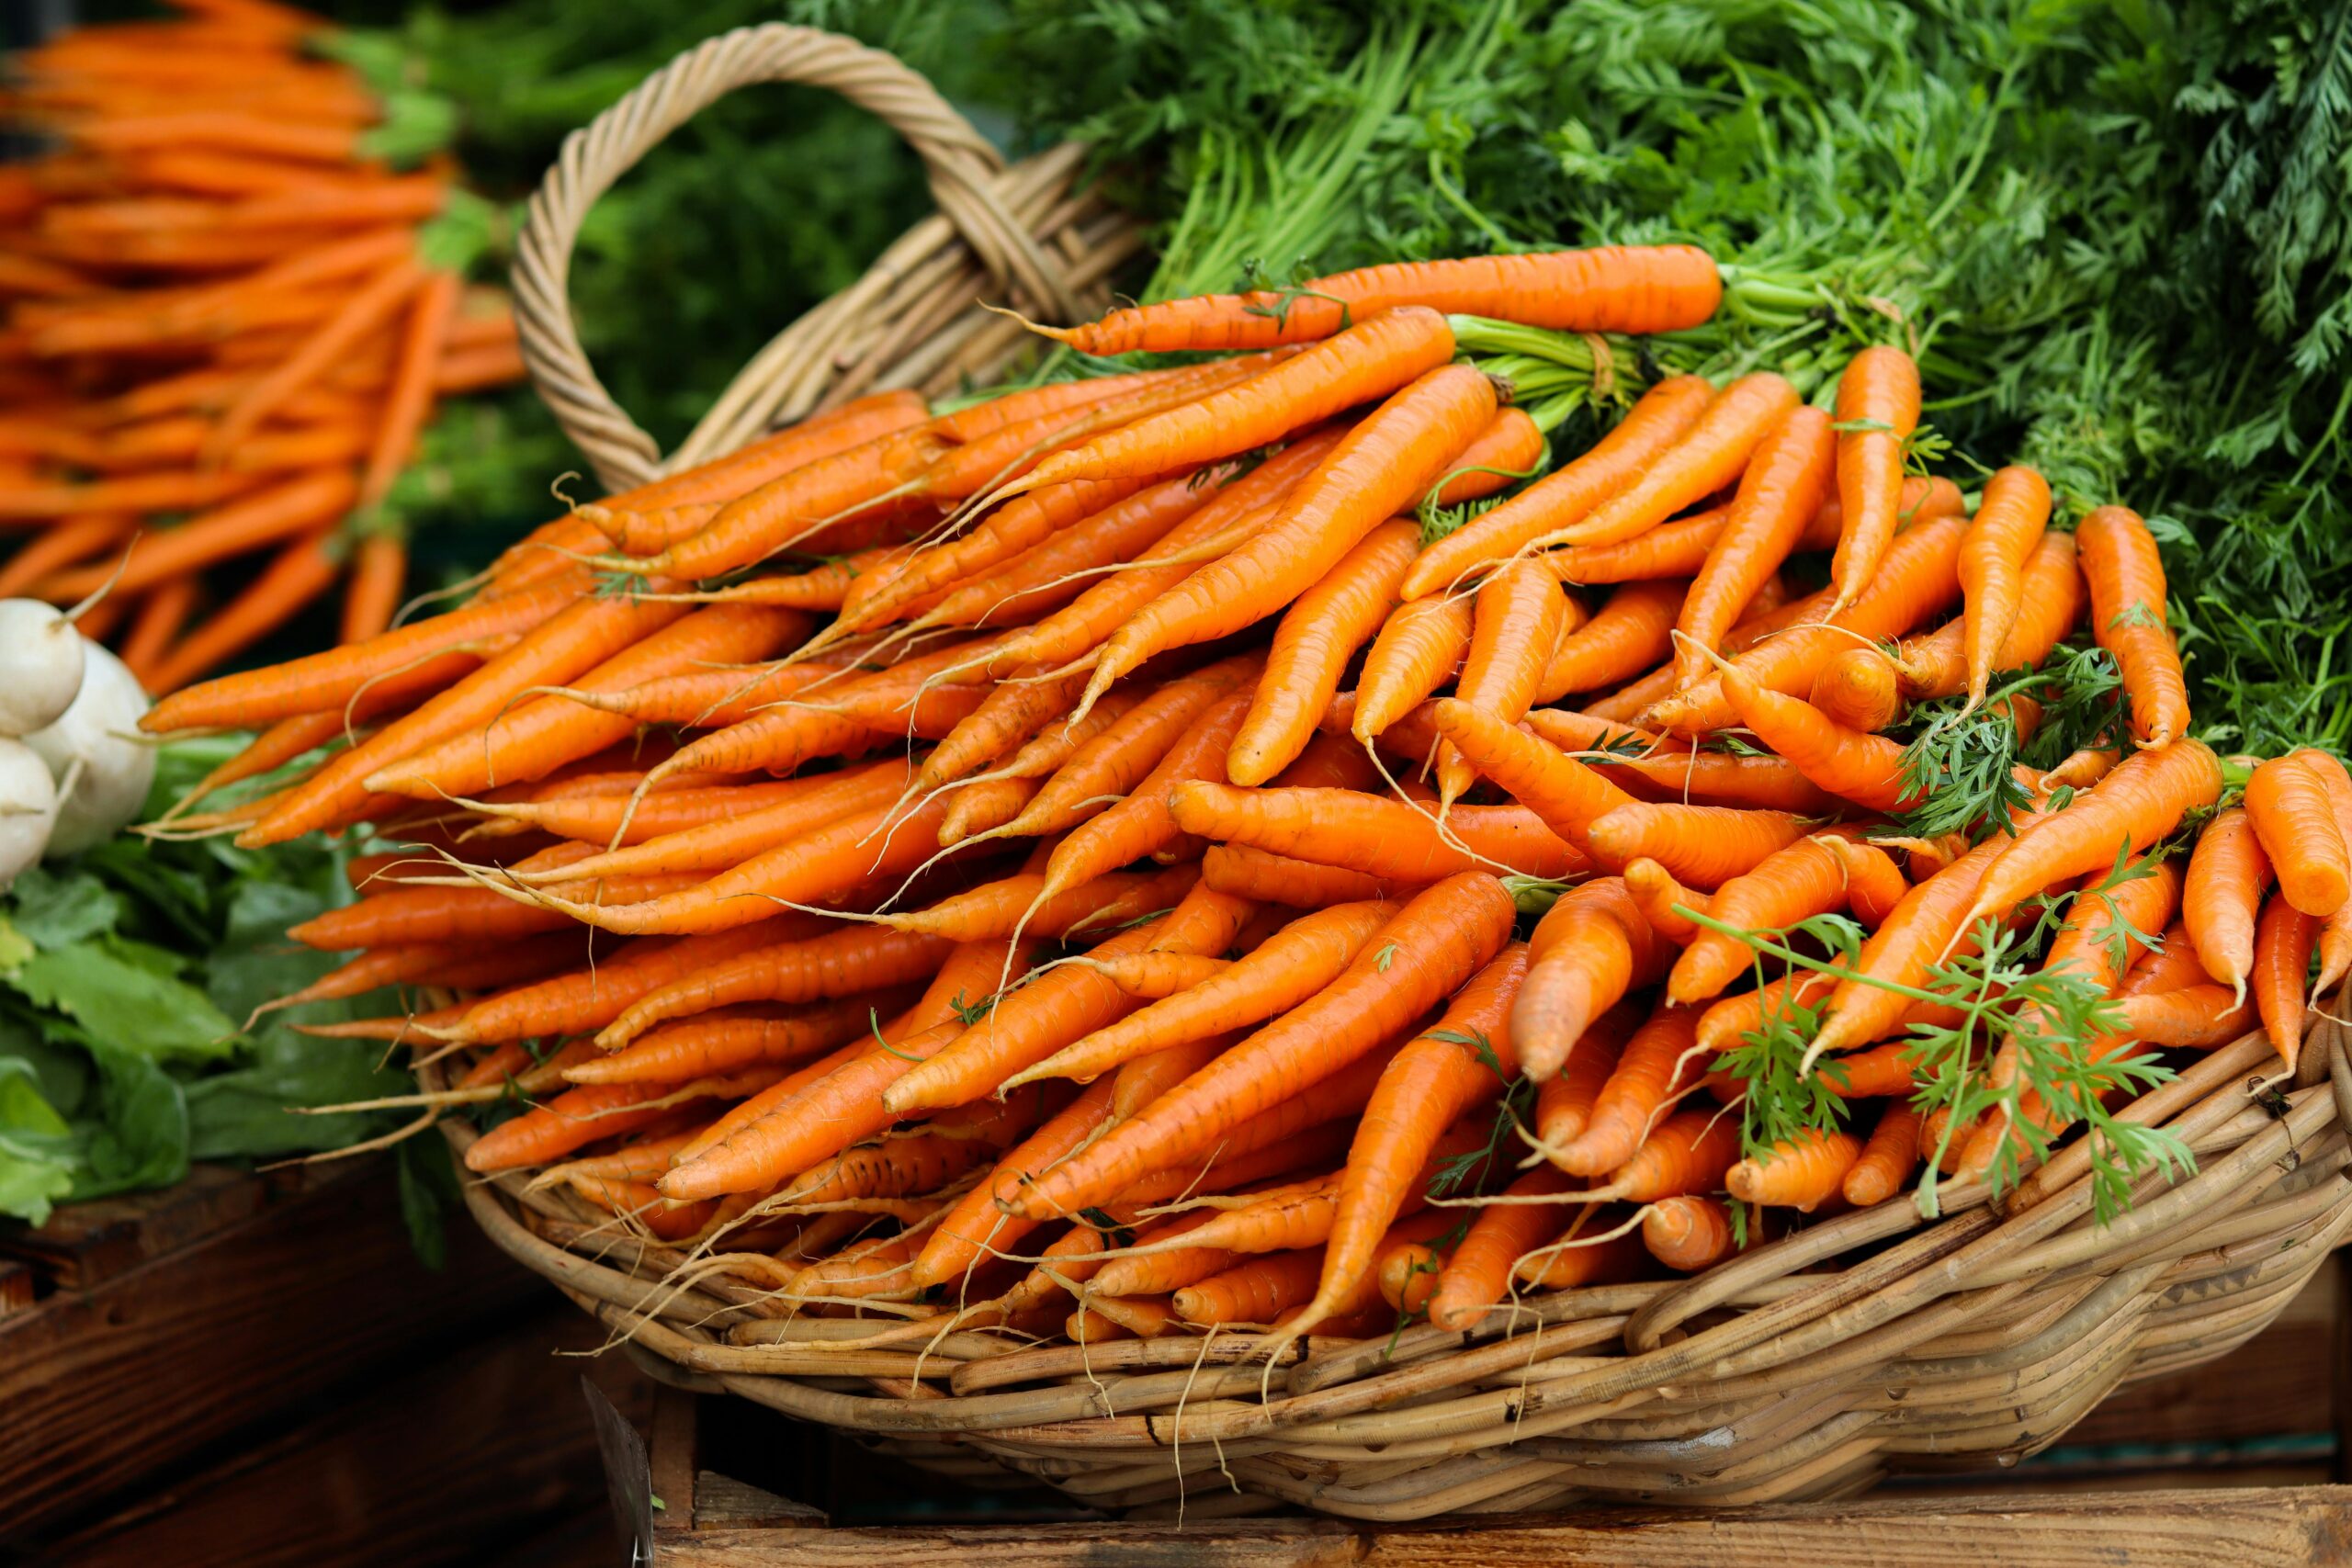
Carrot tops- for this experiment I have used the tops of one bunch of dutch carrots.
Wool Fibre- I have used 10g of merino roving that was prescoured and mordanted with iron.
Bowl
Glass Jars
Procedure
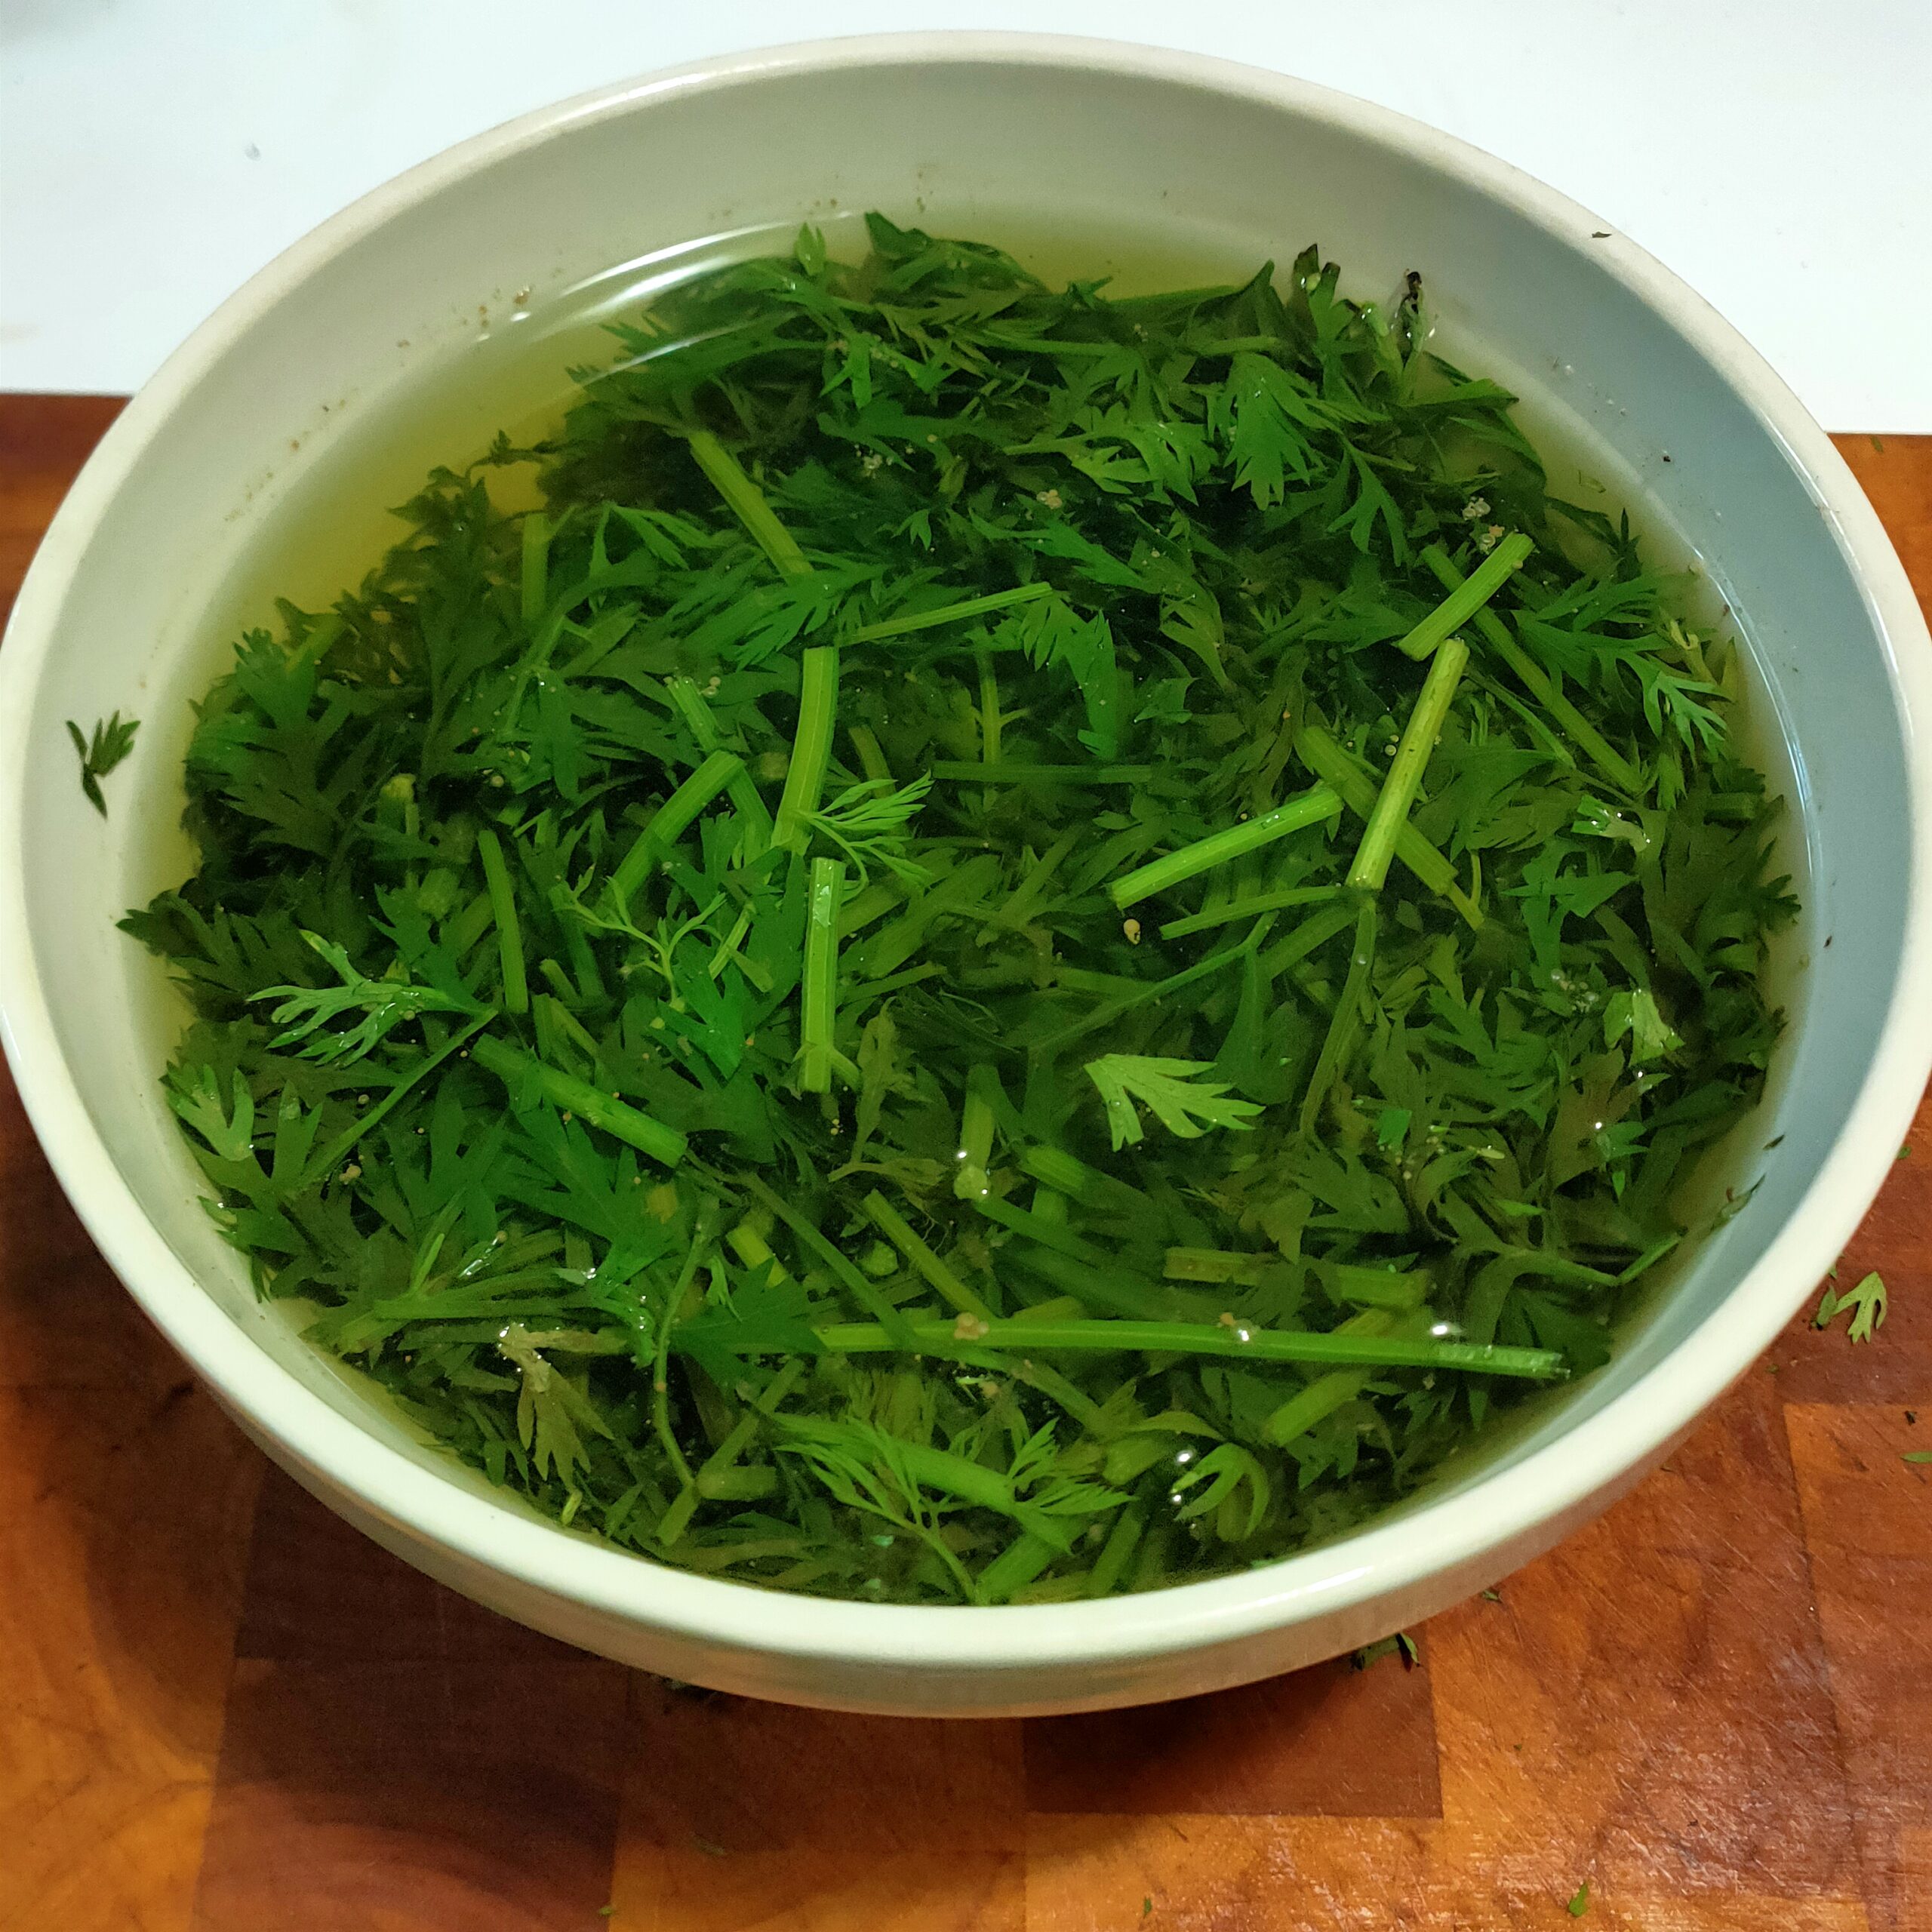
Step 1: Place your dyestuff in a heat proof bowl and add boiling water
Step2: When cool enough, transfer into your a glass jar and leave outside. I left these for a week in the hot Australian summer sun.
Step 3: Sieve your dye and add your fibre. Leave outside in the sun for 1 week. (It was summer in Australia, so was quite warm)
Step 4: Take your wool out of the jar and leave to dry completely without rinsing.
Step 5: Rinse in water baths until they are clear. As I was using roving I did not want to use running water to start it felting, so I used a few bowls of water. Always make sure you wool does not experience dramatic temperature changes. Make your water room temperature. Leave to dry
Results of dyeing with carrot tops
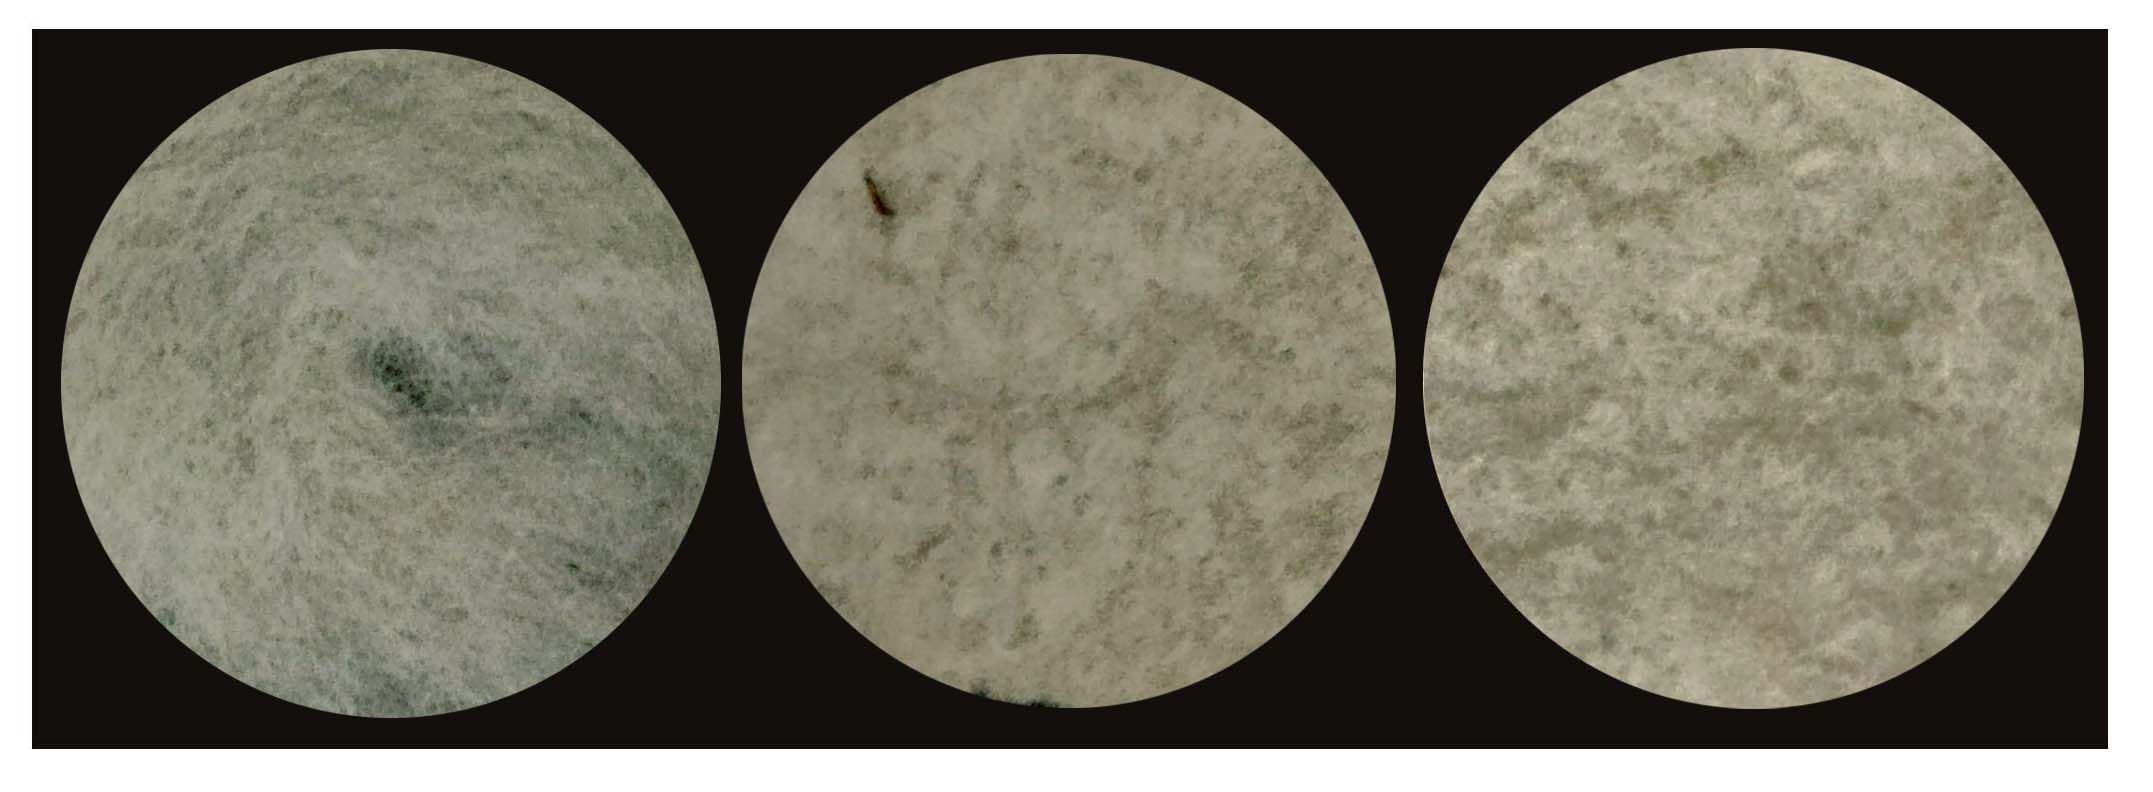
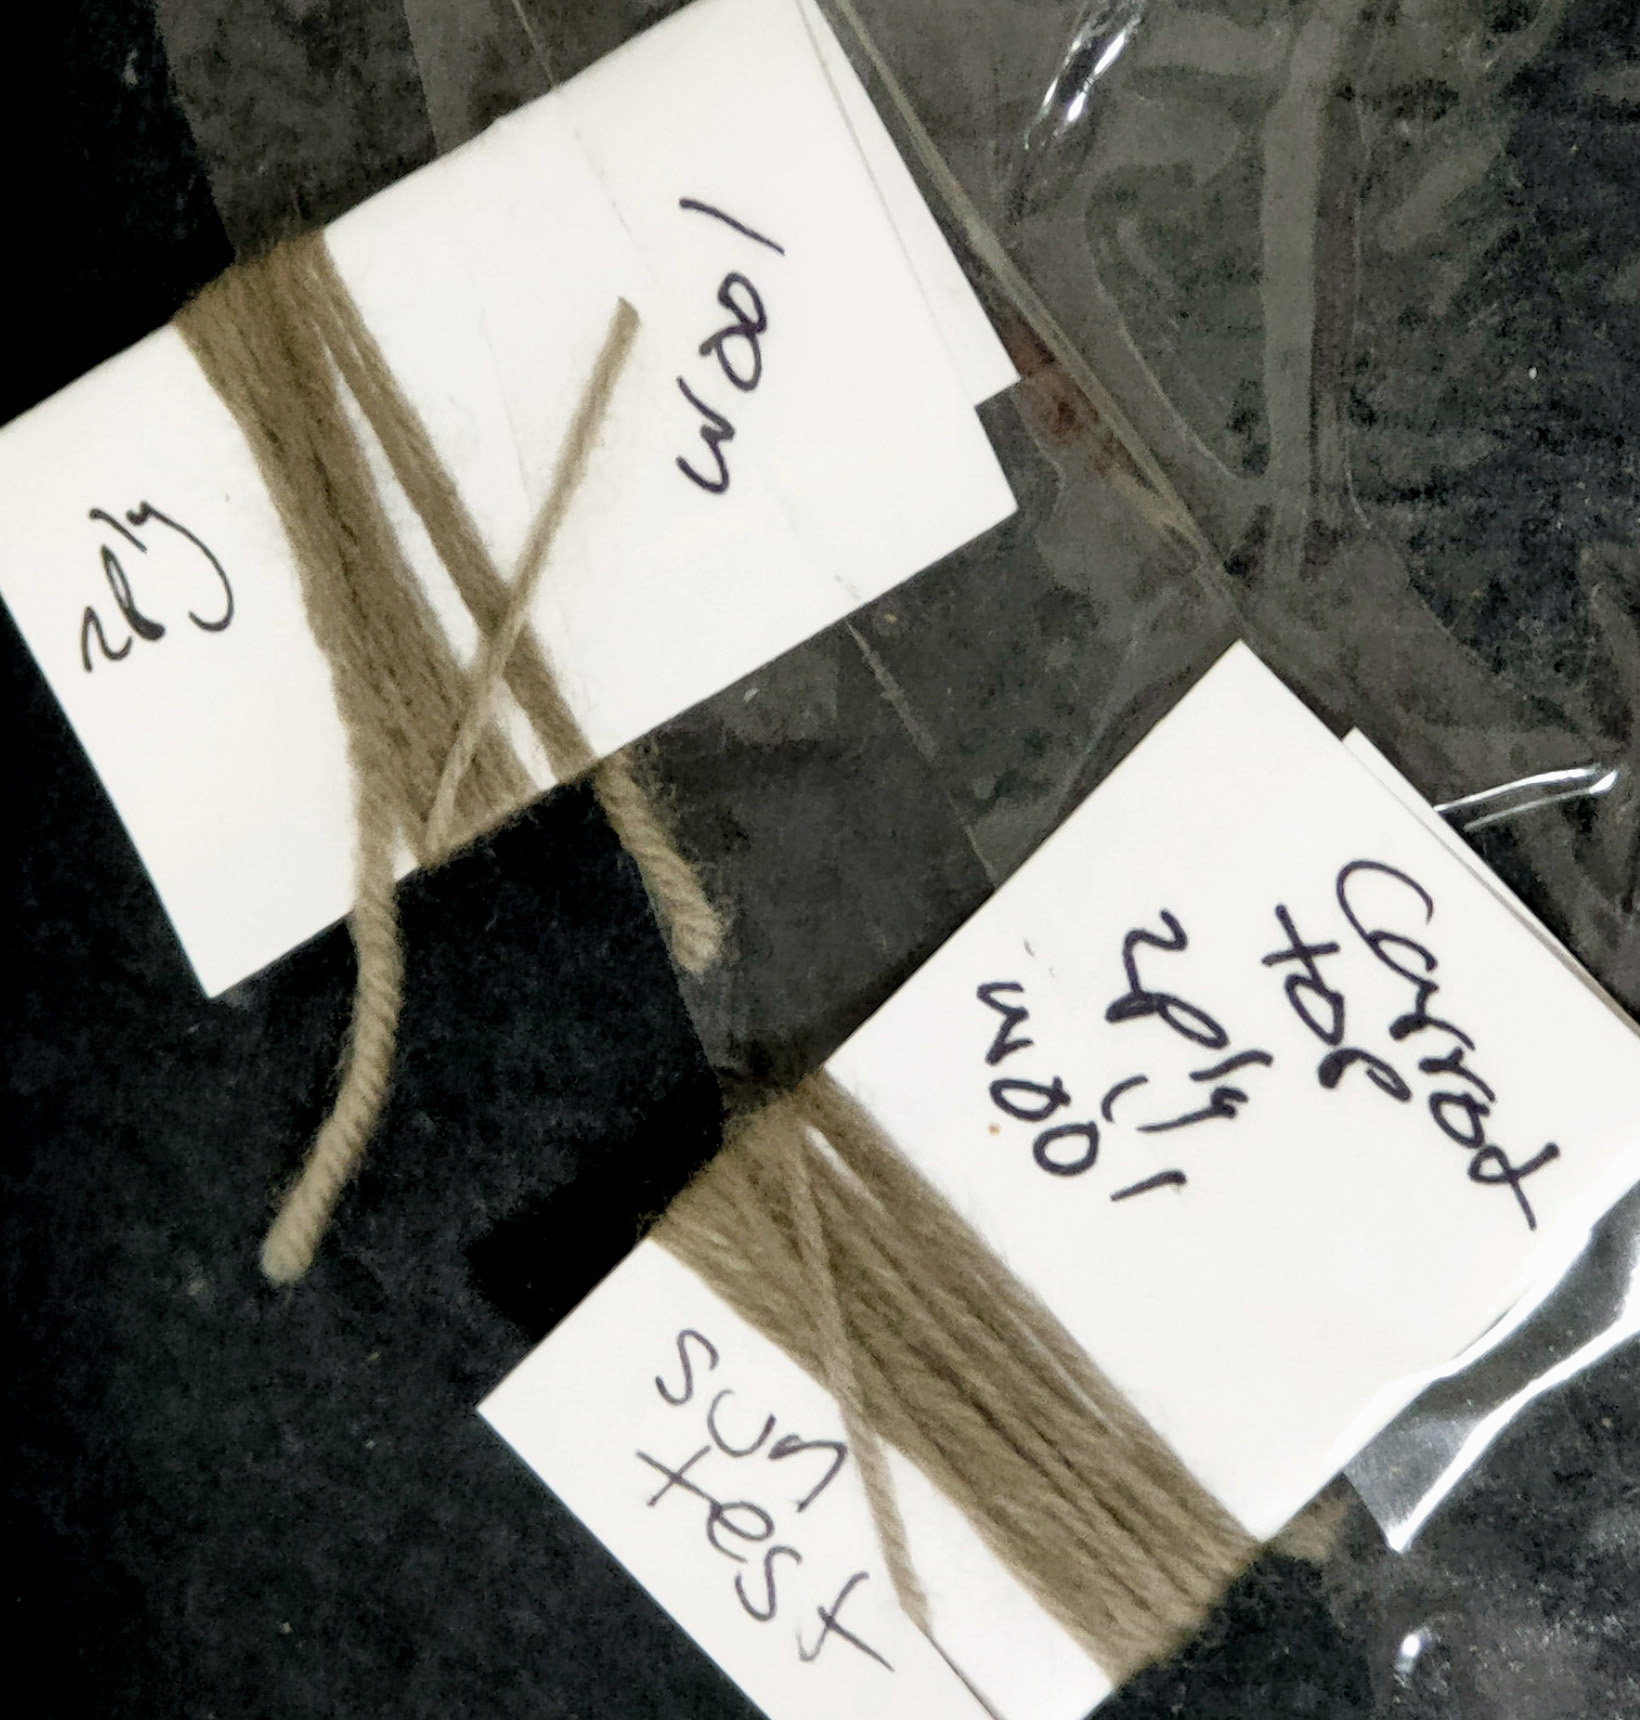
As you can see the colour as come out a beautiful soft grey with green tones. (excuse my scribbly writing).
Across the page we have the roving after it was rinsed. Then comes the felt made from the roving. I figured that the wet felting procedure would be a good indication of how well the dye stands up to washing. Then comes the sun test. The felt was left on a window sill for 4 weeks in the hot Australian summer to see if it would fade. (sun test on white background)
As you can see, the dye stood up to washing and sun quite well. The colour is stable, and it is hard to see in the photo, but really is a lovely soft colour.
Additional
I later did the same experiment with 2ply wool and thought I would show you the results. The wool in real life looks a little greyer than what the photo shows and is very similar to the above results.
The sun test was only done for 1 week.
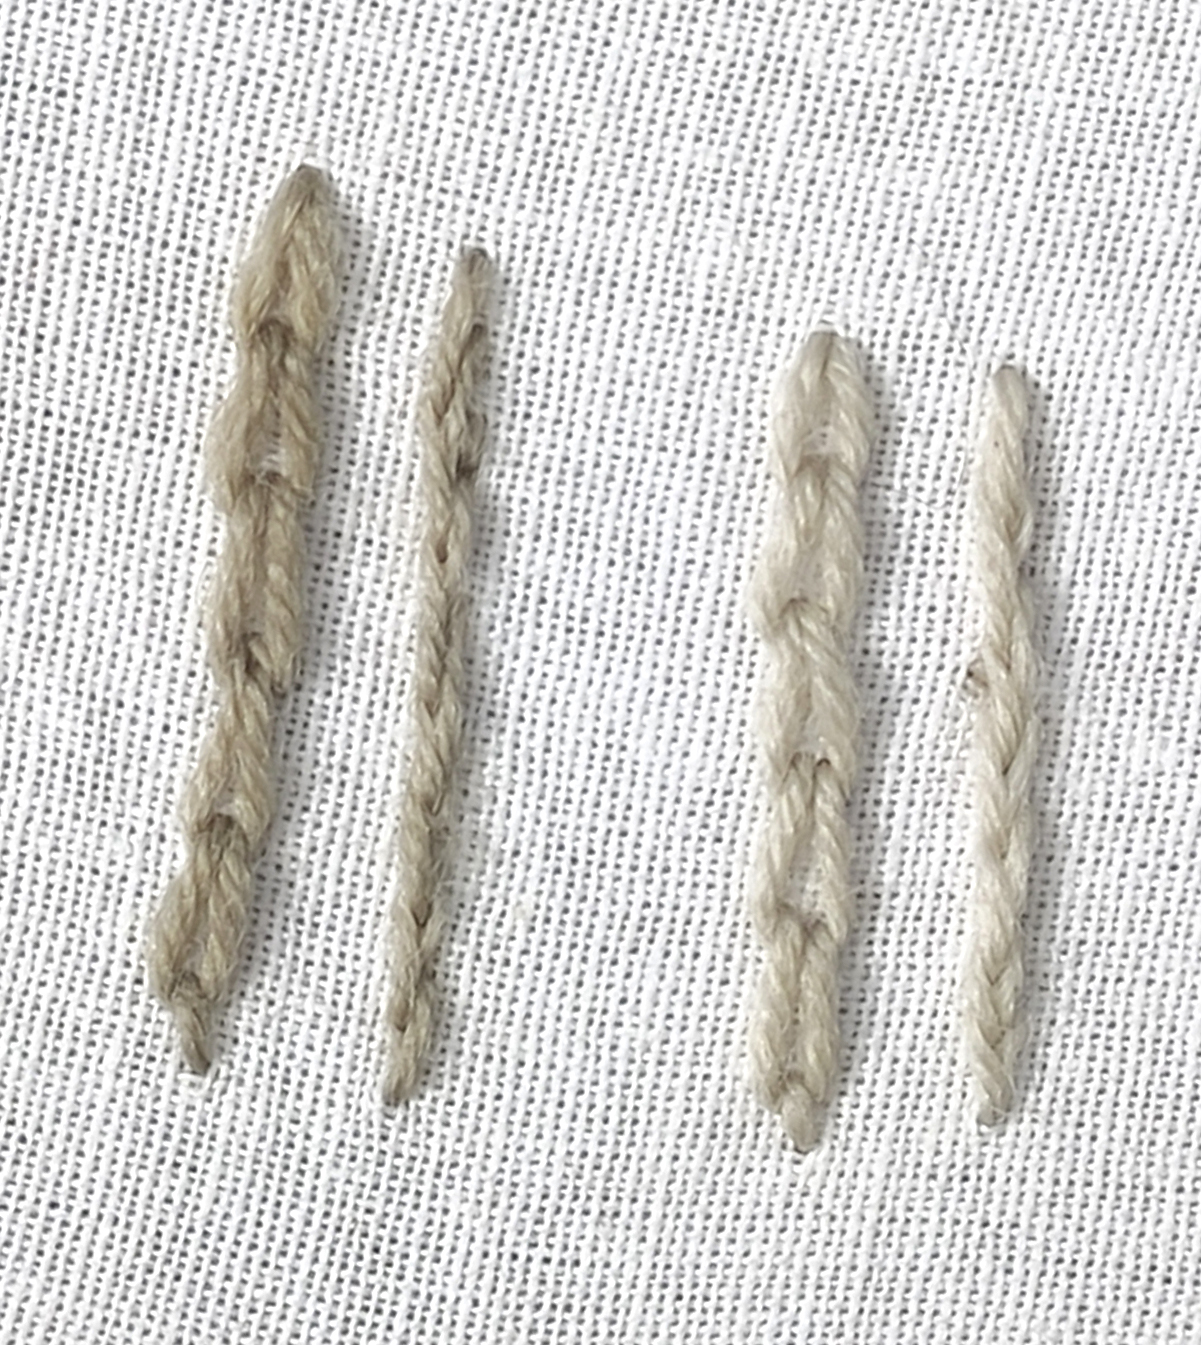
The second photo shows some 2 ply merino wool thread that has bee washed with a gentle soap and dried after being used for some simple embroidered lines. The first 2 rows are a initial dye bath of carrot tops with the second set of rows being an exhaust bath. Neither of the threads faded with washing and no colour ran while the threads were wet.
I hope this helps and encourages you to try your own experimenting in the world of natural dyes. 🙂
Update 3/2/2025
I have since done some more dyeing and experimenting with carrot tops, and thought I would show you what was achieved.
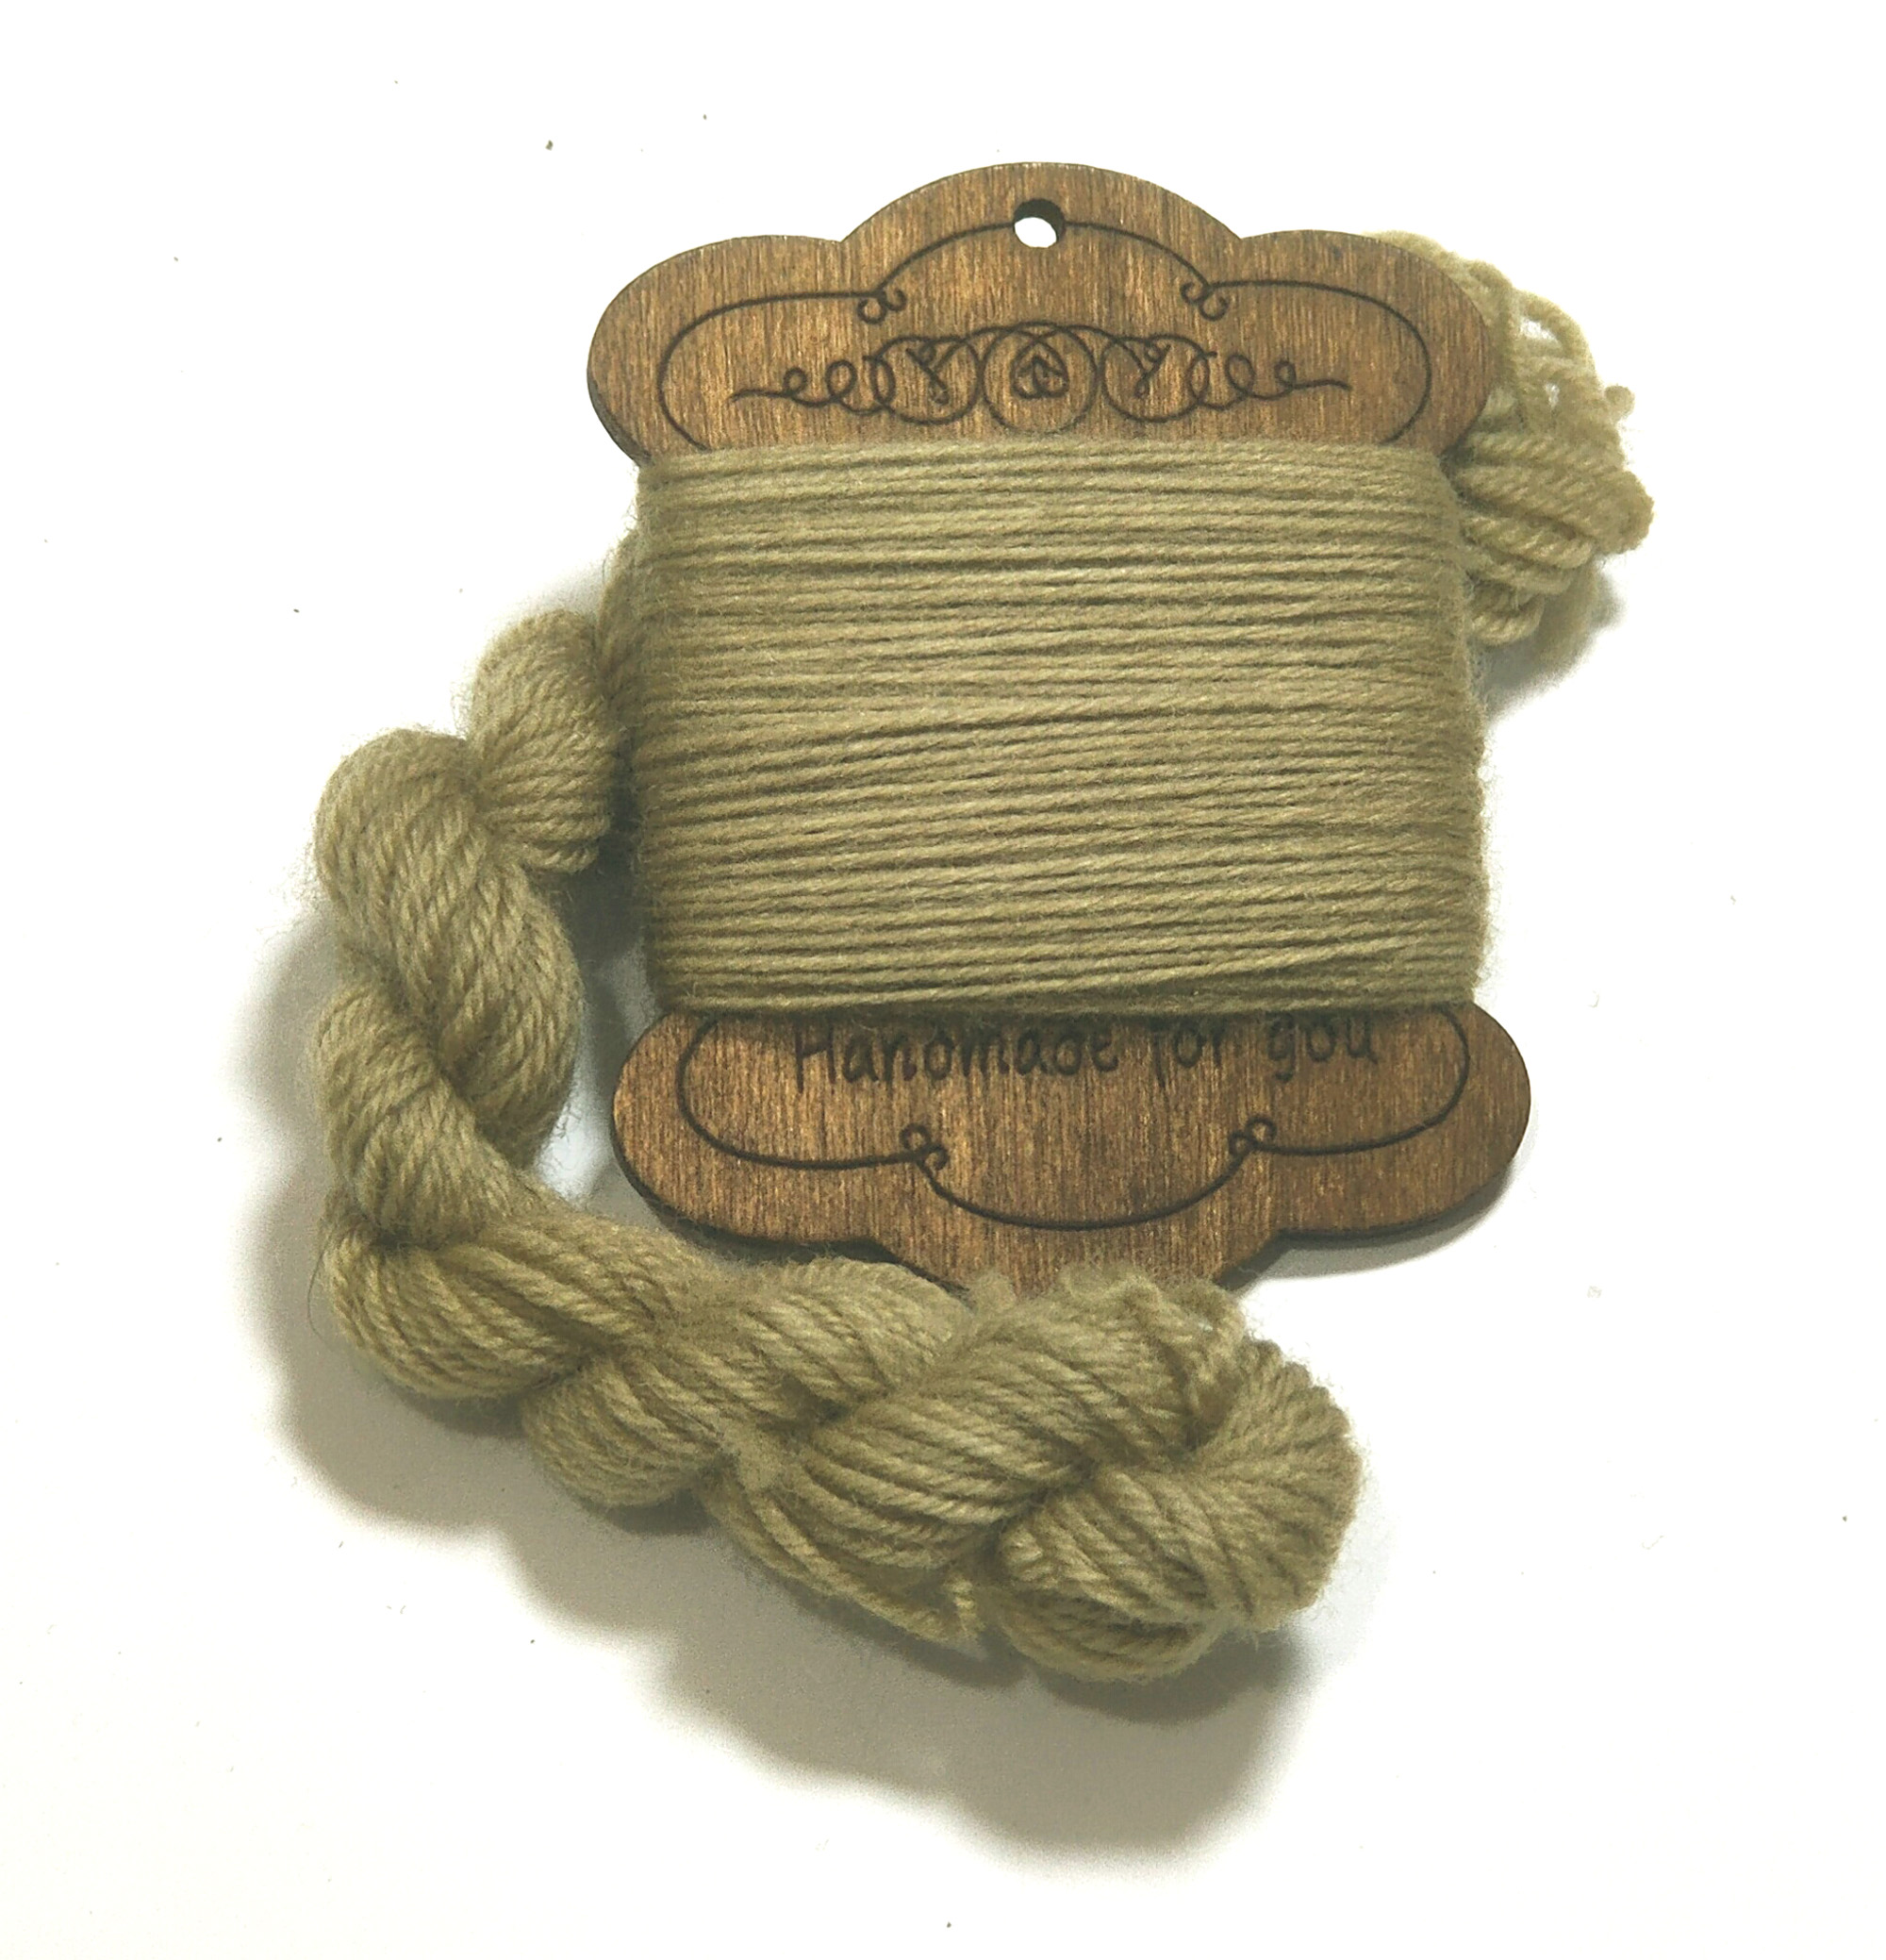
These pictures are of 2ply merino wool that was solar dyed in the same manner as above, but with copper mordanted threads.
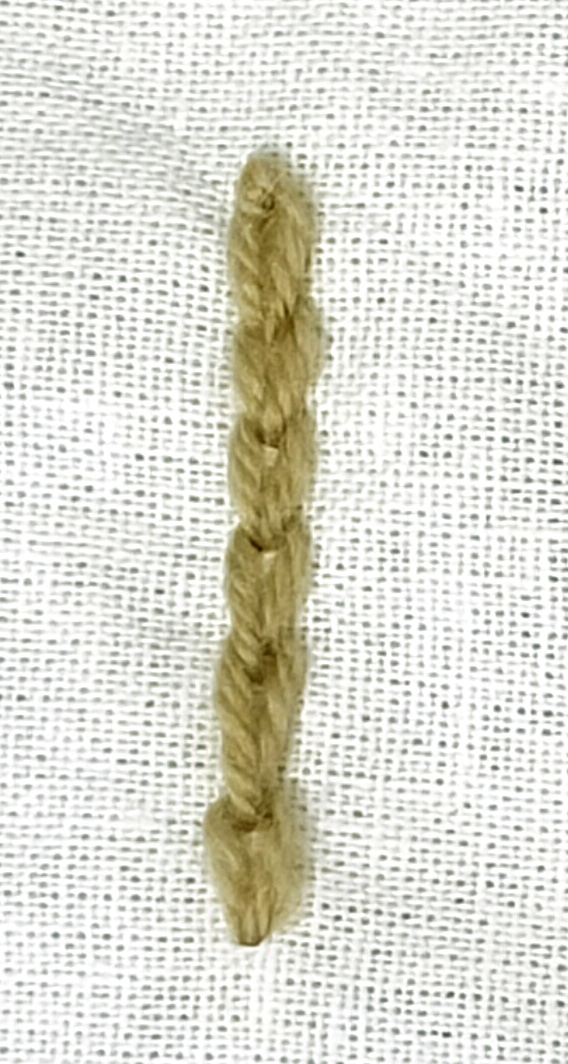
The second picture is after the embroidered thread has been washed and dried. They were gently hand washed with a ph neutral soap in warm water. It was great to see there was no running of colour.
I hope this helps and encourages you to try your own experimenting in the world of natural dyes. 🙂
Join us on Instagram www.instagram.com/DyetoCraft
Etsy Shop Now open
If you like the idea of using organic naturally dyed threads in your craft but just don’t have the time, come and have a look at our Etsy Shop where you will find an array of beautiful colours provided by nature.

