A Surprise : Dyeing with Water Gum Leaves

I was not sure what to expect dyeing with this plant and I am certainly glad I tried!
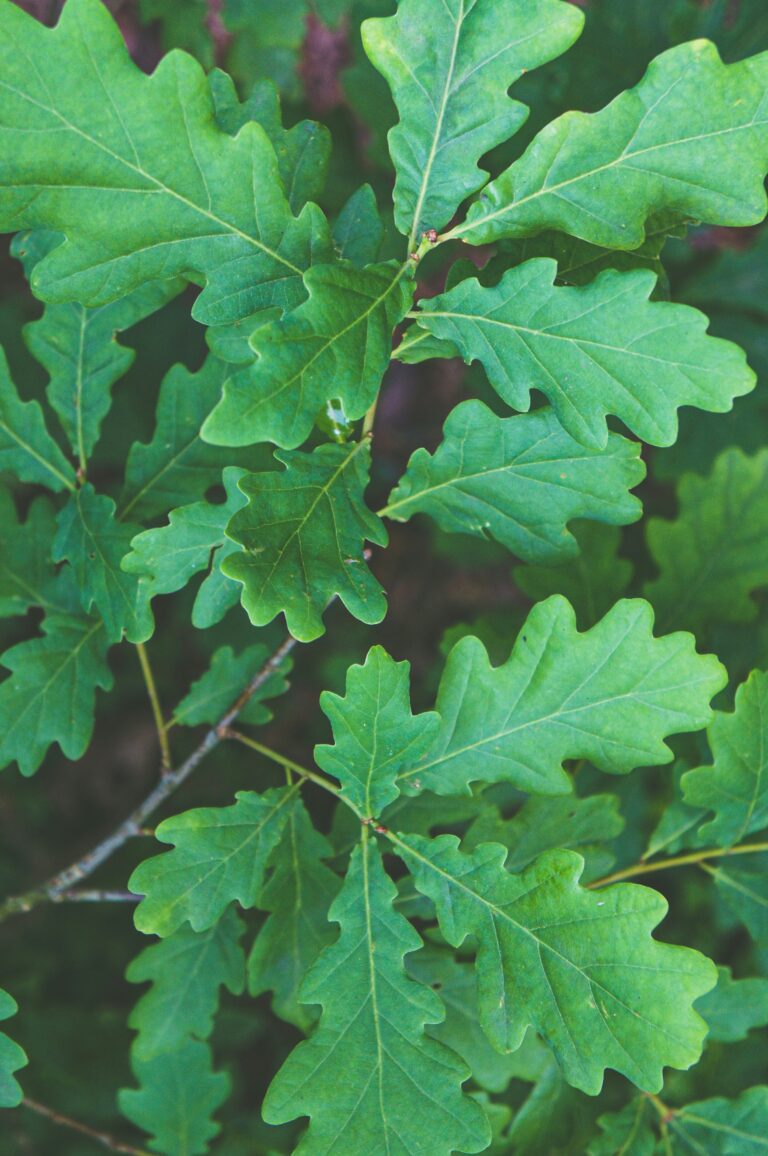
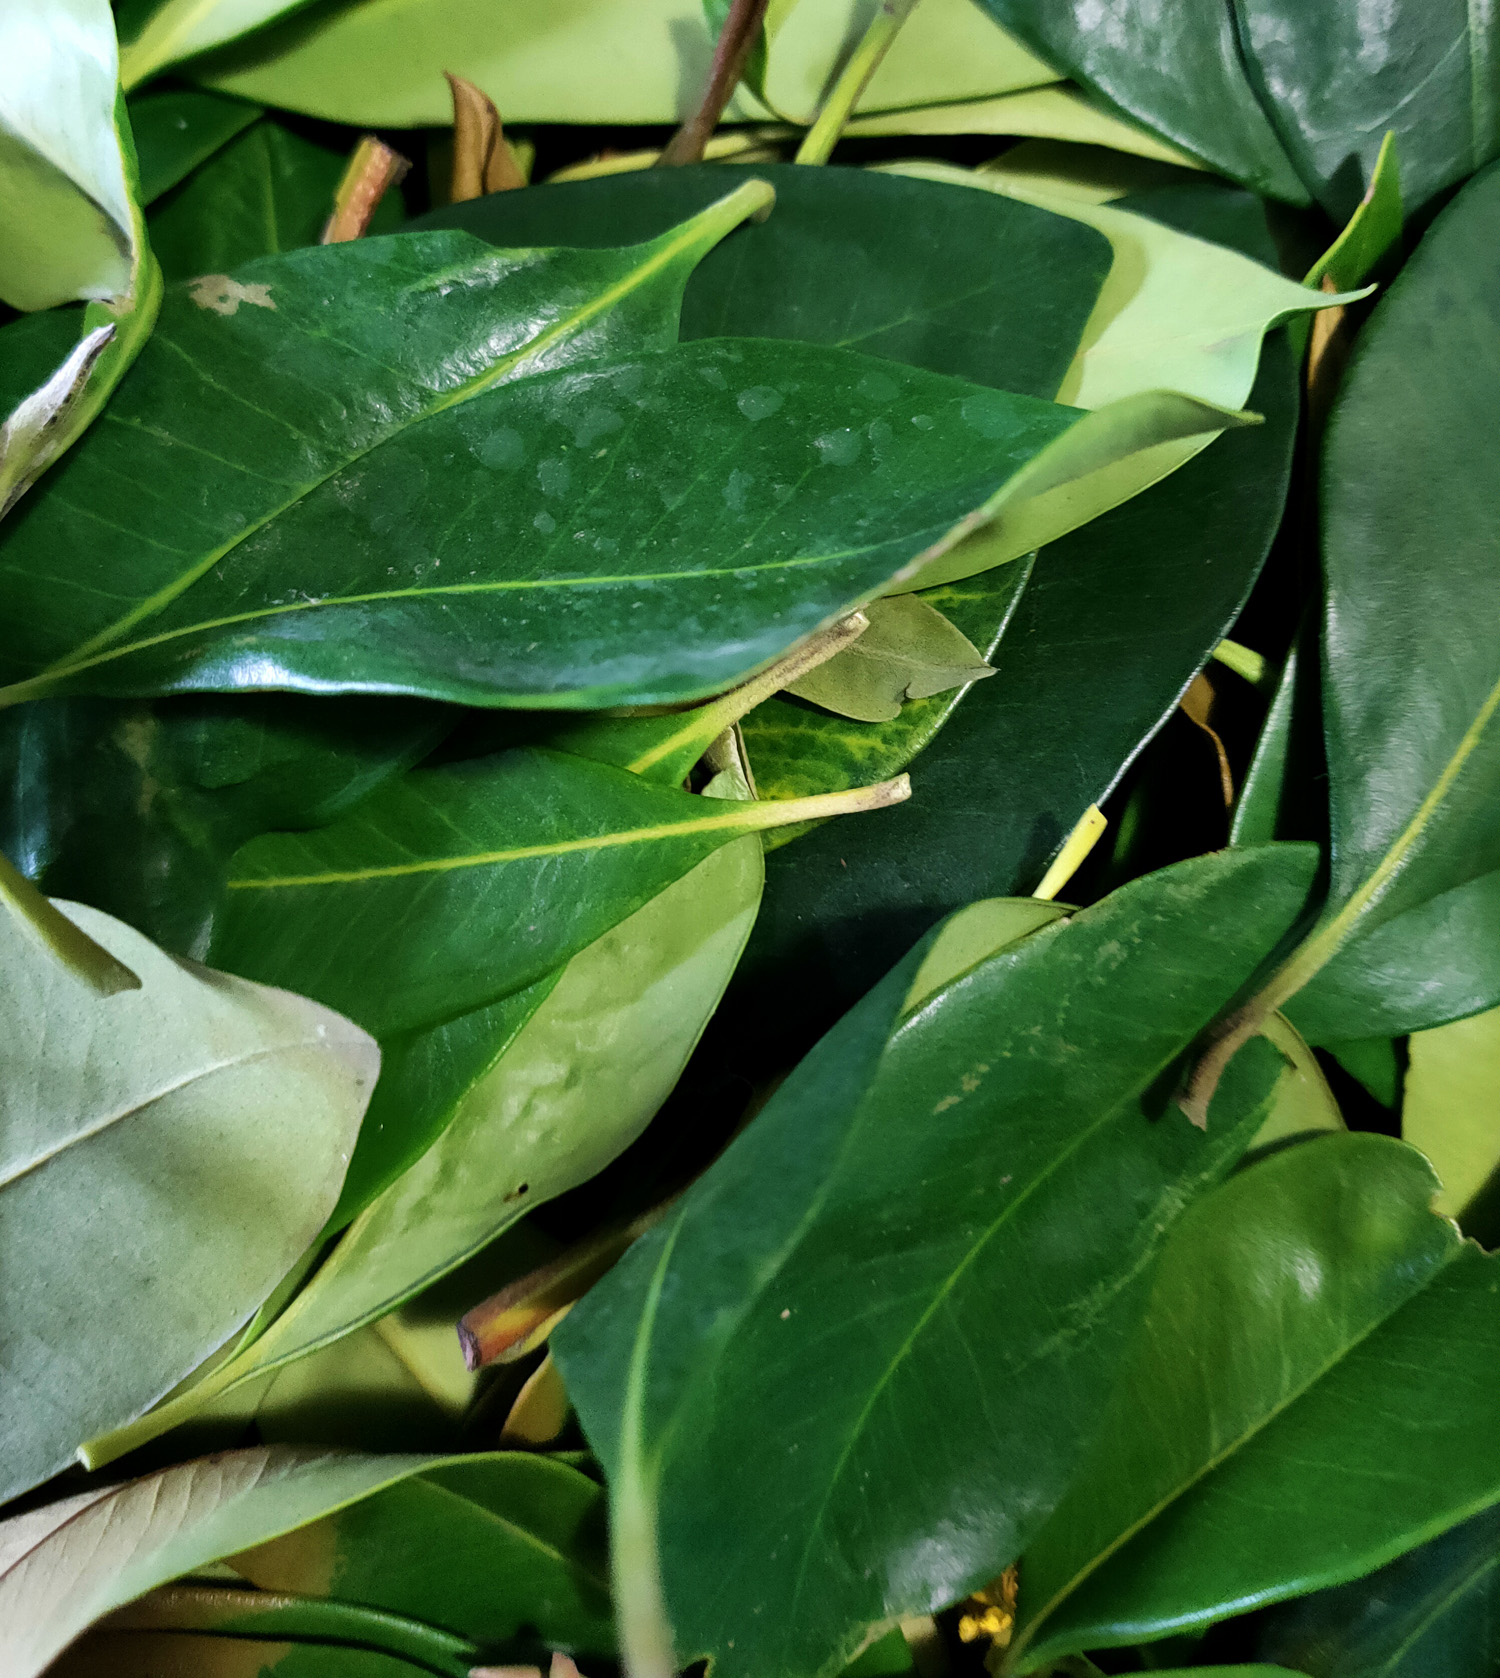
My mother has a water gum tree sitting in the middle of her front garden. It bursts into yellow bloom every year and looks lovely in front of her window. She trims it quite regularly to give shape and form and I just couldn’t see all of those lovely leaves go to waste.
Although a lot of native leaves are good for dyeing, I was not too sure what my results would be. The leaves are quite waxy in comparison to eucalyptus leaves which can become quite dry, but I figured it didn’t hurt to give it a try.
Solar Dyeing with Water Gum
As with most experiments, I am going to use the process of solar dyeing.
This is basically putting your dyestuff in a glass jar and leaving it in the sun to work its magic. The beauty of living in Australia means that I do have the benefit of hot summers. If you don’t have these conditions, it does not mean you cannot try this process. You will just need to experiment with your own environments advantages and disadvantages. Leave it in a room that gets sunlight and may have great heating or try longer dyeing periods.
These experiments are only to show you what has and hasn’t worked for me, so you can pick through the information to start your own experimenting journey.
Safety Note
Always ensure when dyeing of any nature, to keep all saucepans and utensils used in the process, separate from your general cooking supplies. You do not want to cook with anything that has been used to mordant or naturally dye your fibres. You should also wear gloves and a mask while handling your chemicals.
Fibre Preparation
Before dyeing you must first scour (wash) and mordant your fibre.
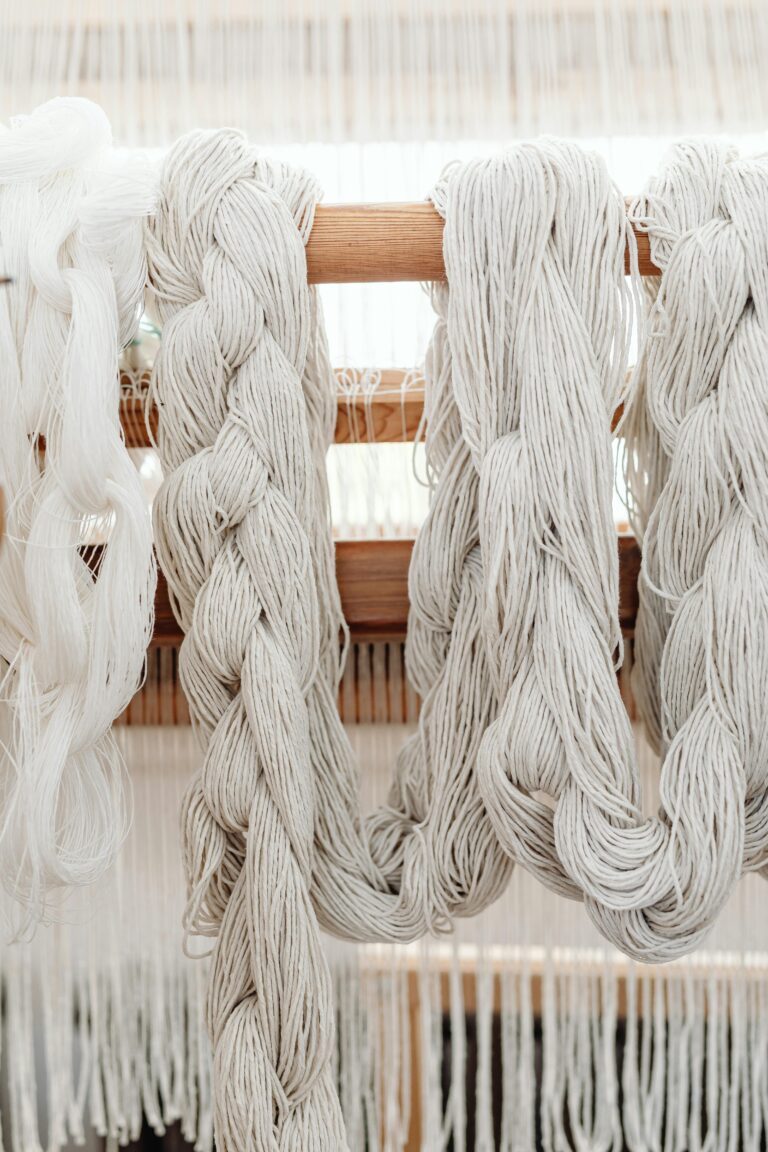
For this experiment I have used wool roving mordanted with both alum.
What you will need when dyeing with Water Gum Leaves
Water
Water Gum Leaves
Wool Fibre- I used 10g merino wool roving
Glass Jars

Procedure
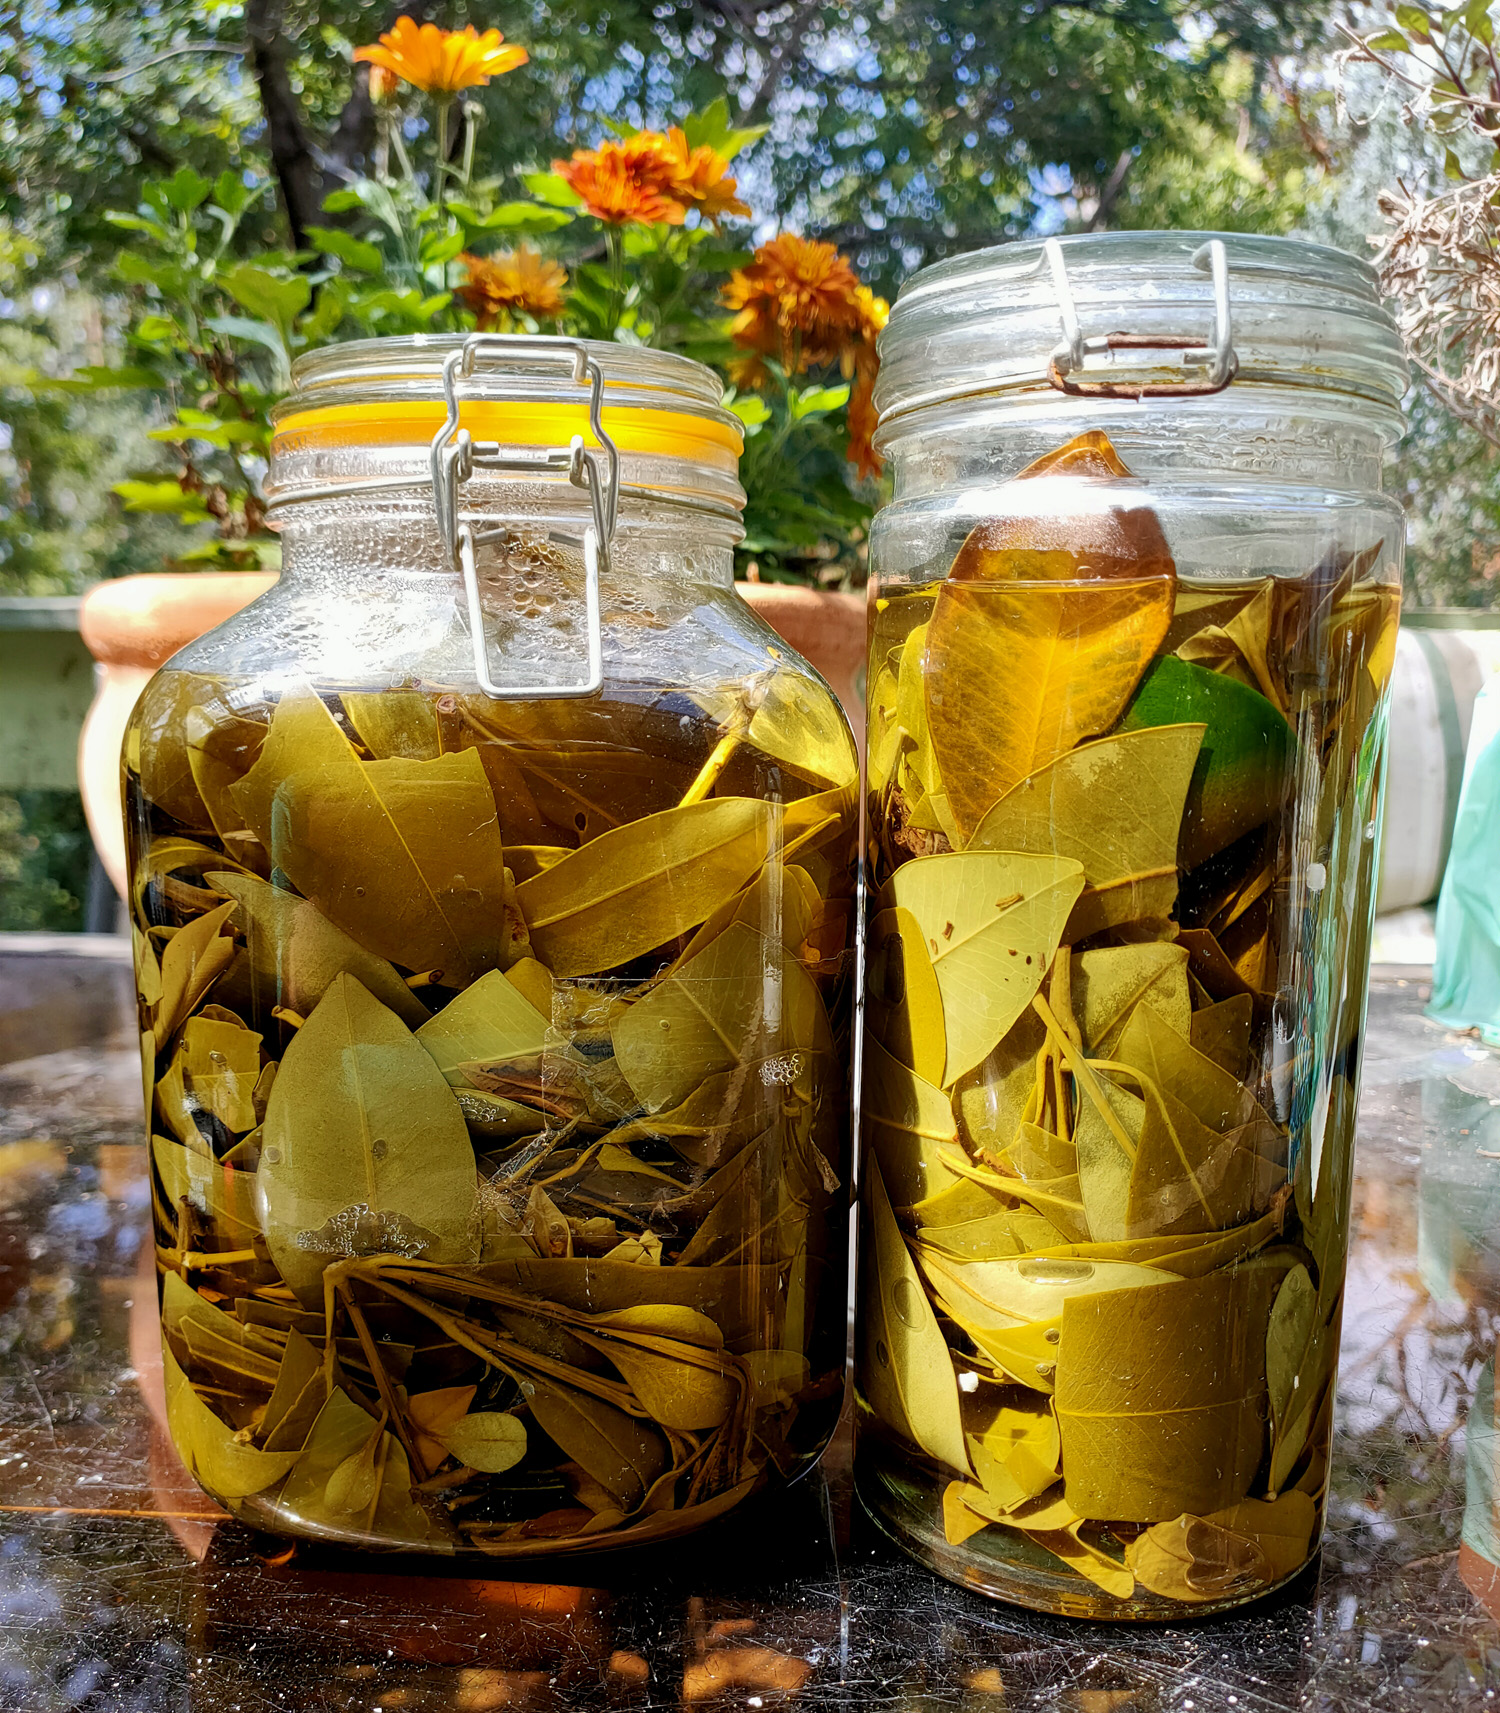
Step1: Place your broken up pieces of leaves into a heatproof bowl and add boiling water.
Step2: When cool enough, transfer into your large glass jar and leave outside for a few weeks.
Step 3: Sieve you dye bath back into the jar, removing all of the leaves. Add your roving and leave for a week.
Step 4: Take your wool out of the jar and leave to dry completely without rinsing.
Step 5: Rinse in water baths until they are clear. As I was using roving I did not want to use running water to start it felting, so I used a few bowls of water. Always make sure you wool does not experience dramatic temperature changes. Make your water room temperature. Leave to dry
Results from Dyeing with Water Gum Leaves
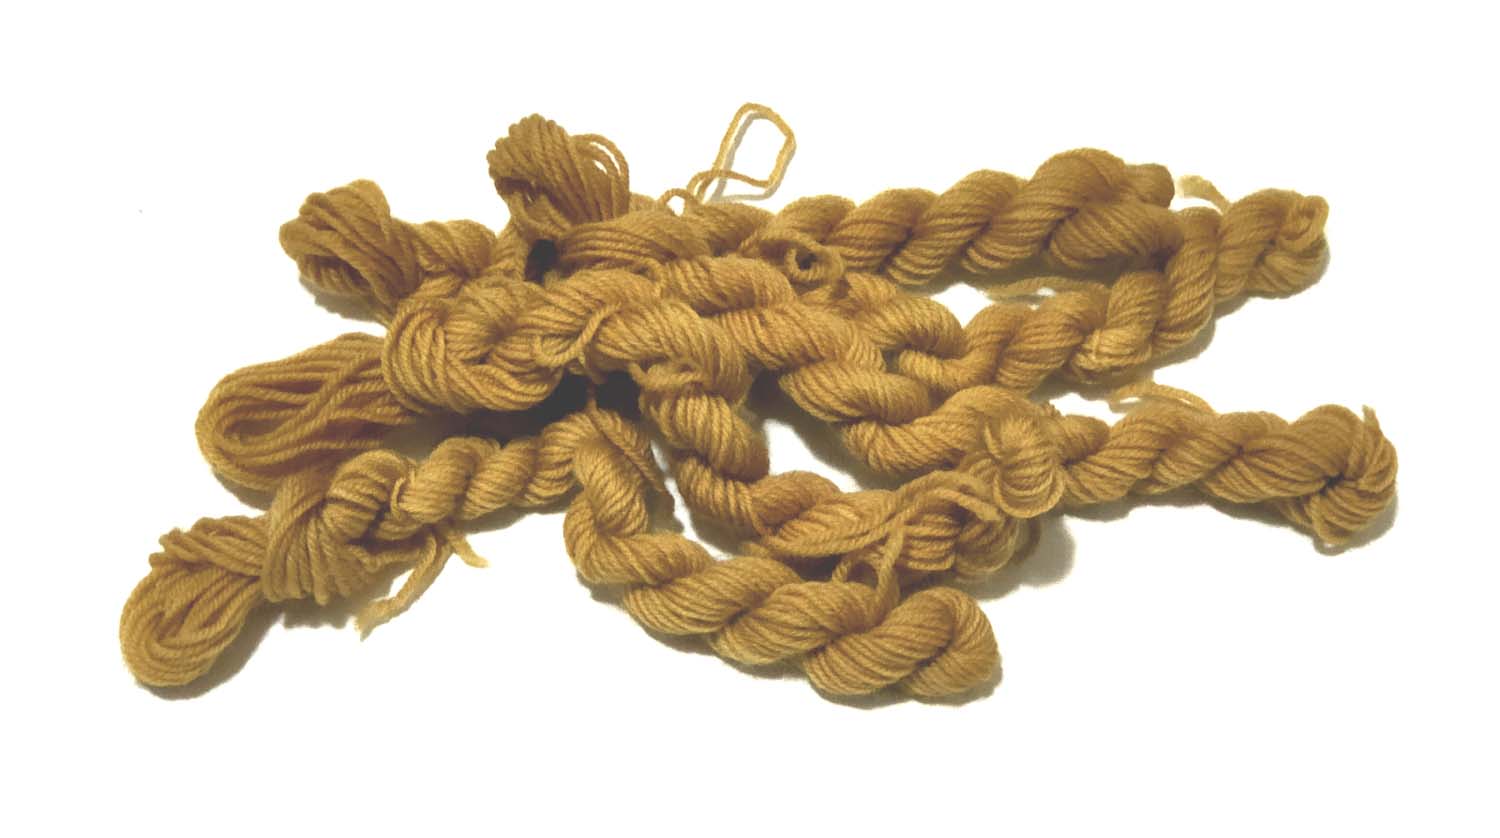
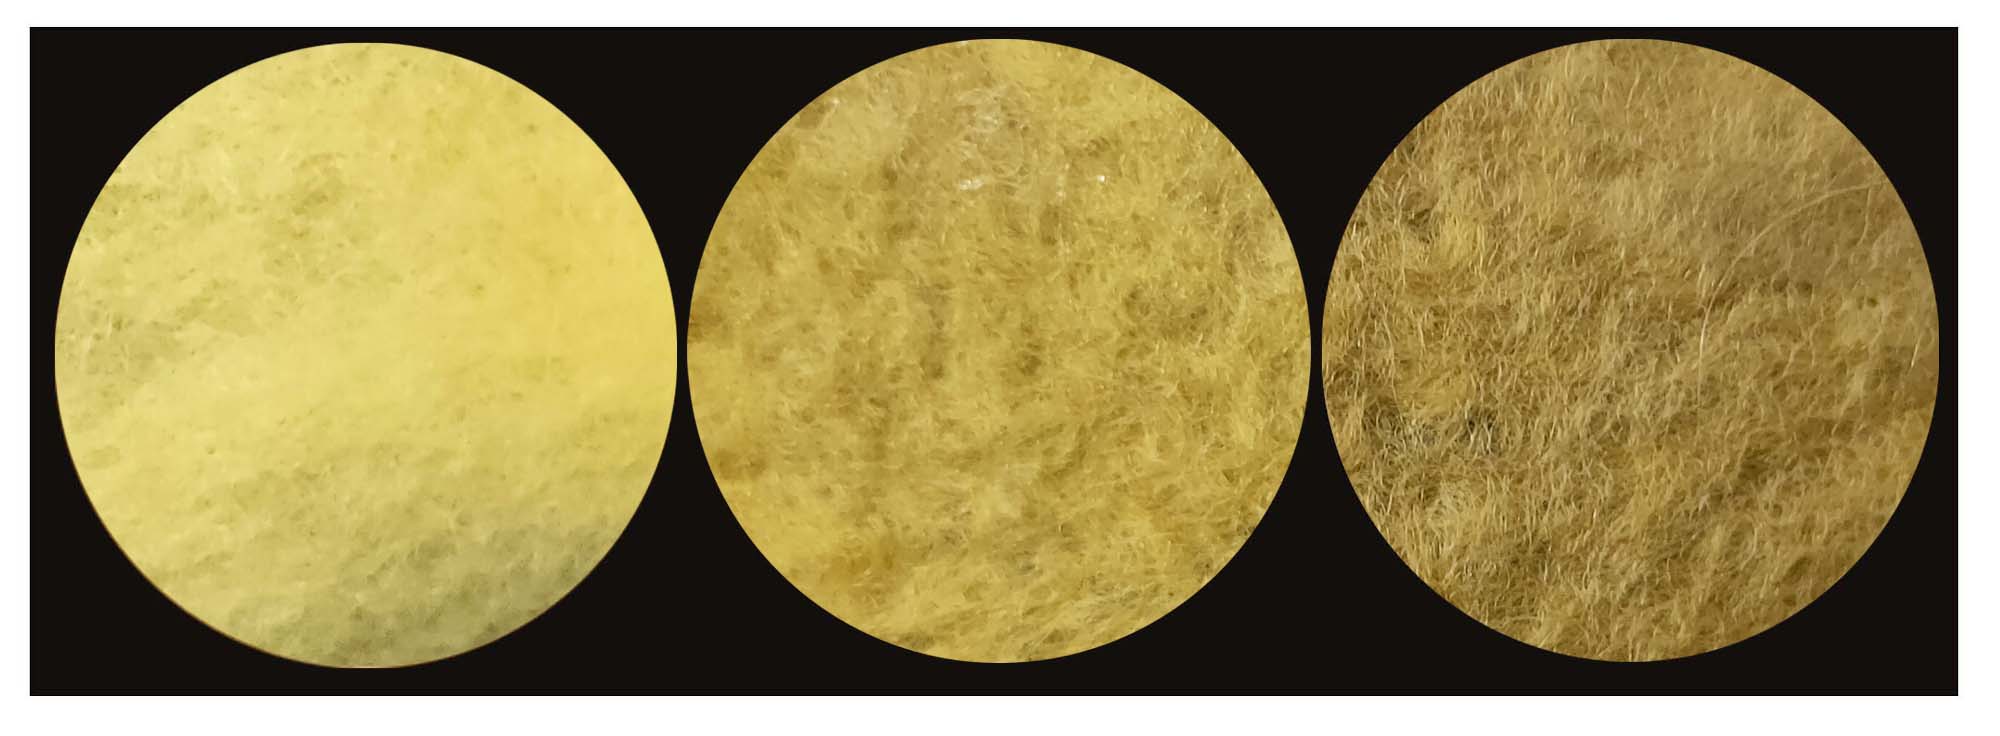
Well as you can see we got a great yellow from this dye bath. The first circle shows the wool roving after rinsing and drying and I was very pleasantly surprised.
The second circle shows the roving after wet felting. This allows me to test the colour with vigorous scrubbing with water and a soft soap. As you can see there was no fading. The colour looks slightly darker as there are more fibres on top of each other in the felt, concentrating the colour.
The 3rd circle shows the felt after 4 weeks in the hot aussie sun. As you can see there was no fading. It actually darkened and turned slightly browner.
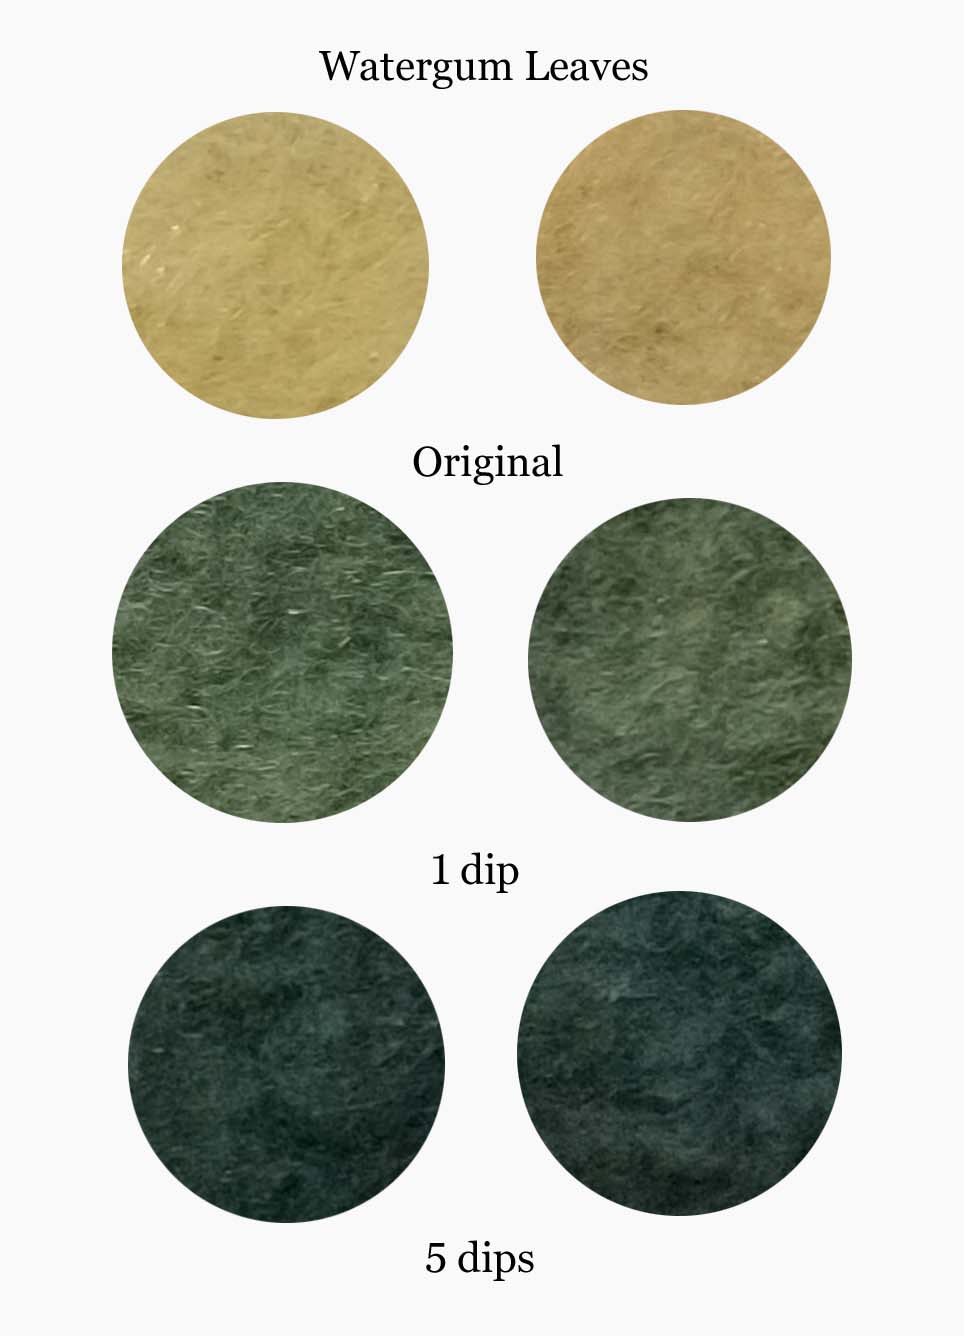
So from this I realised I may not want to use water gum yellow if it is going to be hit by sunlight, but maybe there was another way to utilise this natural dye?
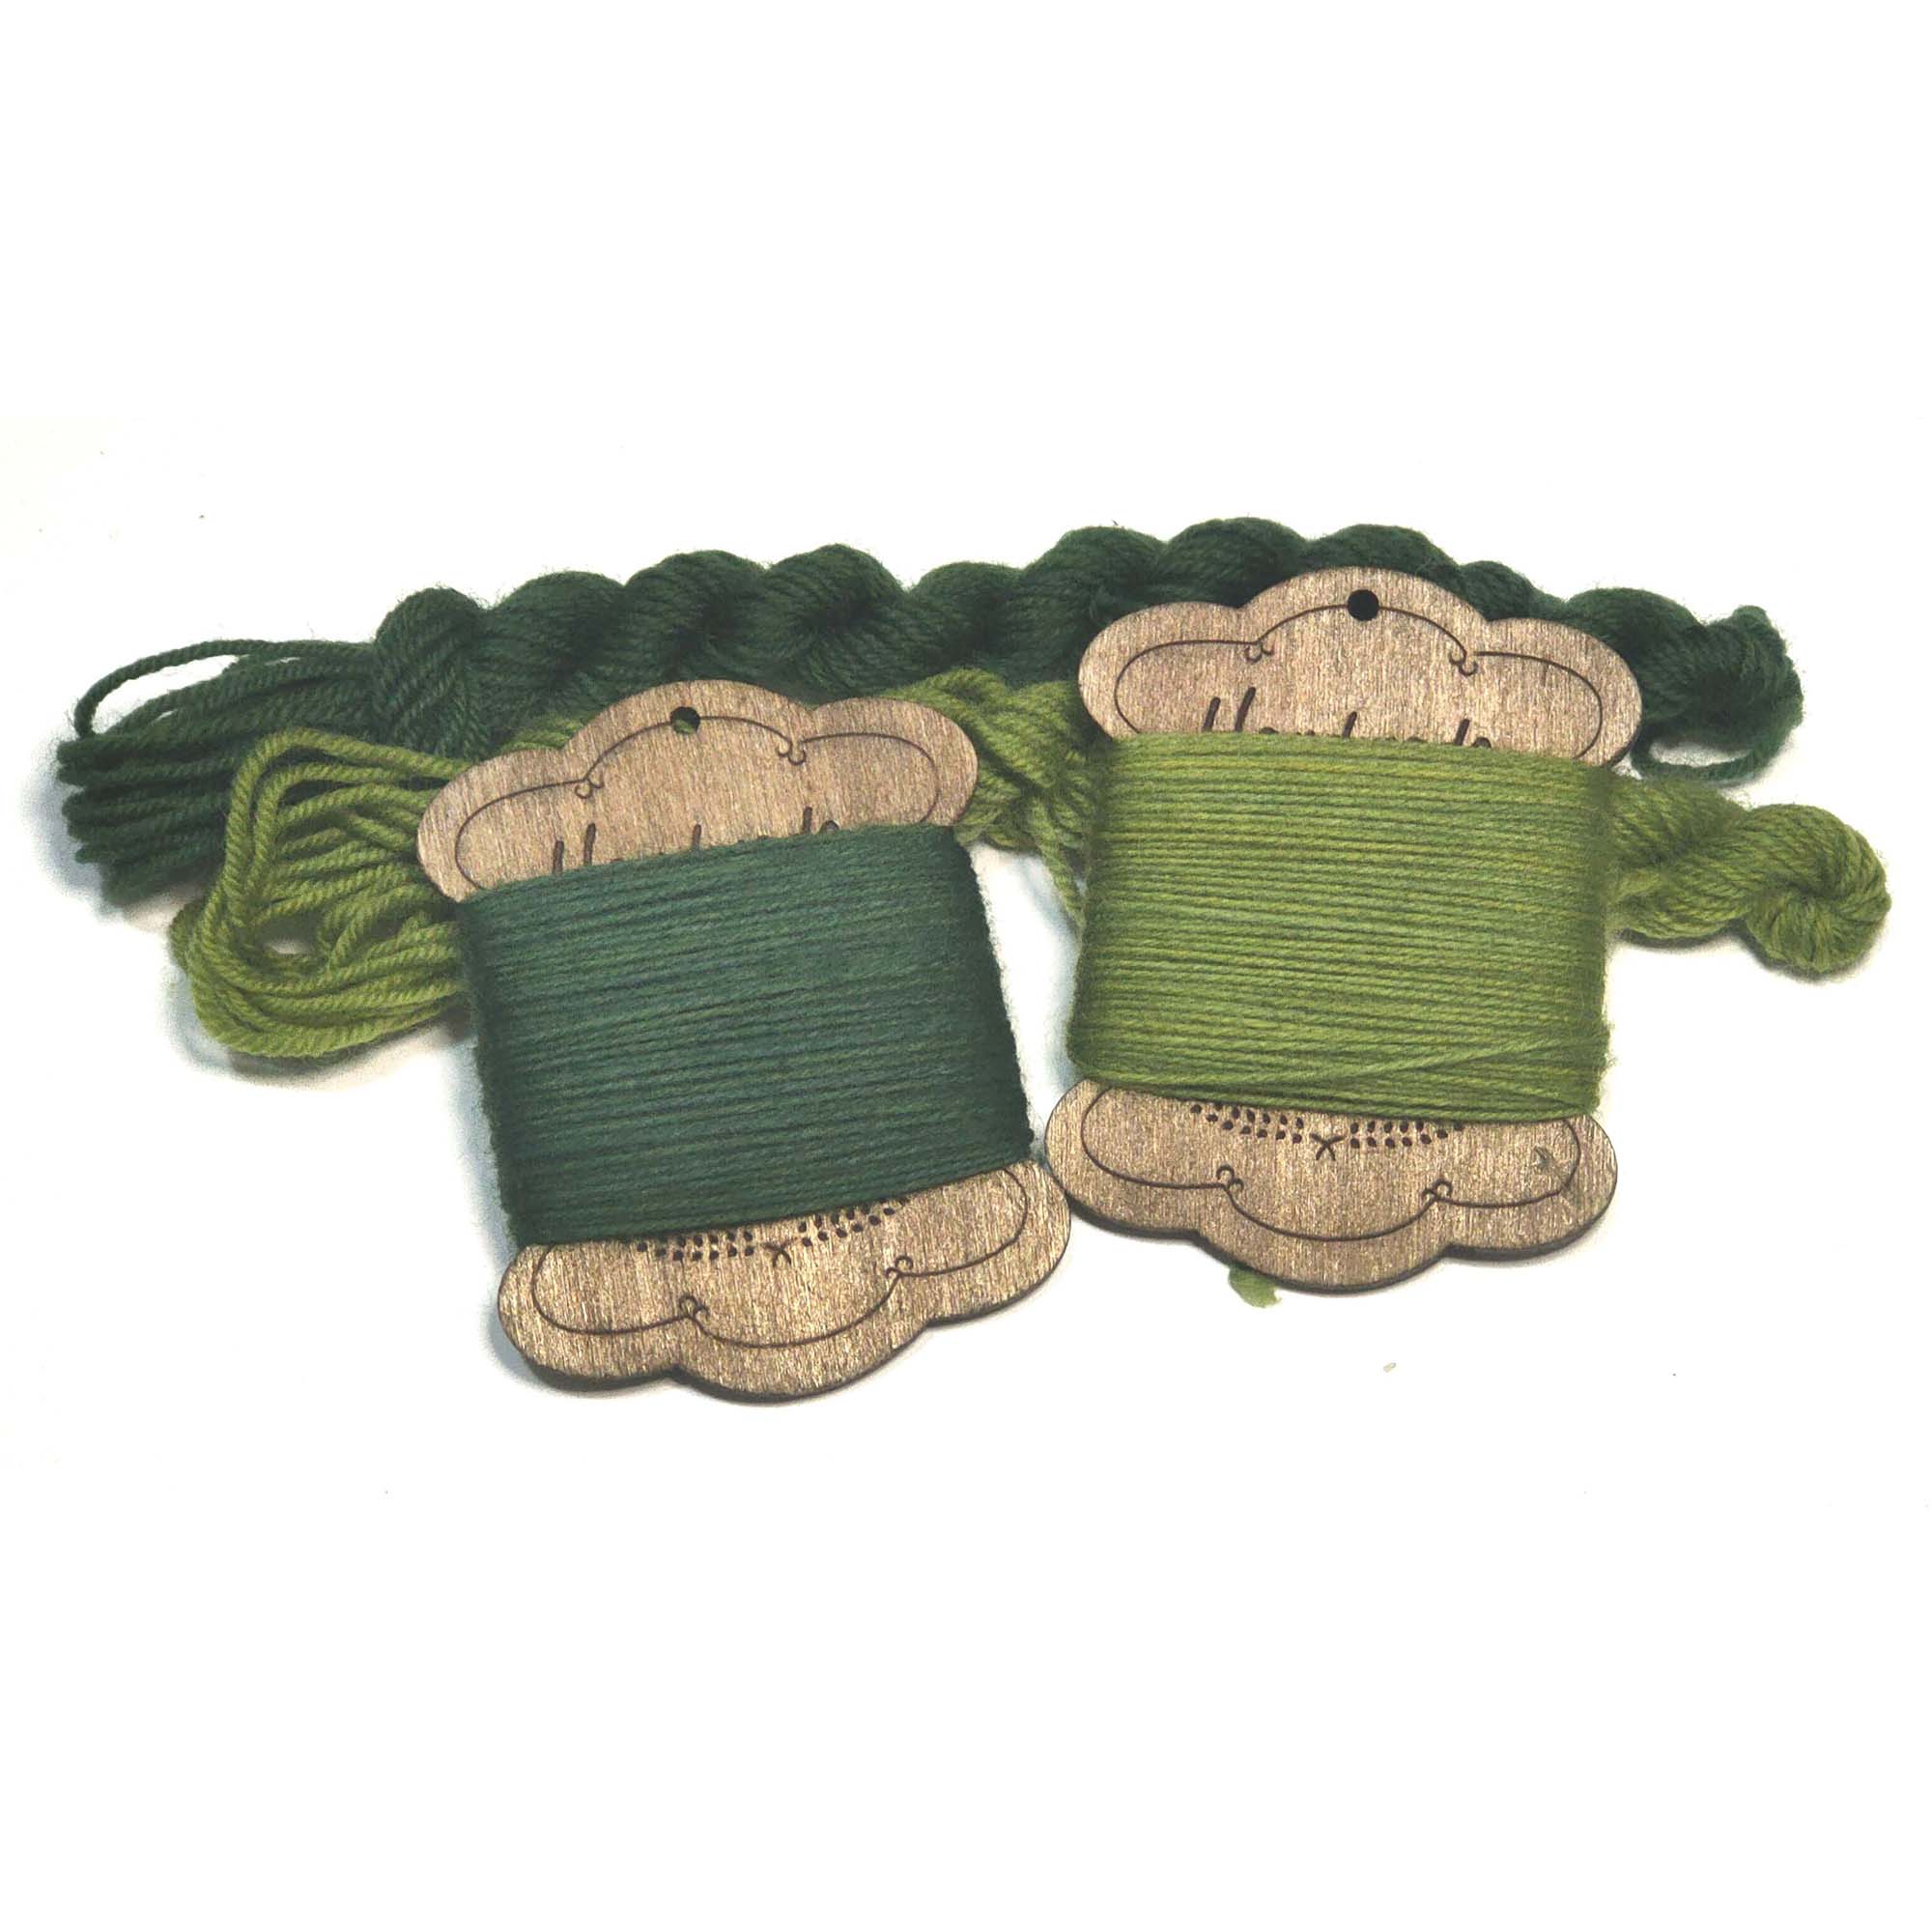
So I tried an indigo over dye and was really happy with the results. The second column shows the felt after 4 weeks in the hot sun. Virtually no change in colour. I am so happy with the results it has become a permanent colour for my wool embroidery threads!
I hope this helps and encourages you to try your own experimenting in the world of natural dyes. See what colours the bark around your own backyard might produce 🙂
Join us on Instagram www.instagram.com/DyetoCraft
Etsy Shop Now open
If you like the idea of using organic naturally dyed threads in your craft but just don’t have the time, come and have a look at our Etsy Shop where you will find an array of beautiful colours provided by nature.

